Yellow-eyed penguin made with LEGO

Converting a 3D STL file to a LEGO model.

It has been some time since I designed this large scale model of a Yellow-Eyed Penguin for the Pop-Up Penguin exhibition. The model is 168cm tall and consist of approximately 60,000 LEGO bricks.

The organiser of the exhibition sent me the STL file of their fibre-glass penguin. I then used the brickplicator software to convert the 3D STL model into a LEGO 3D model that can be build. Since this was a very large model, Gerrit helped me a bit with the conversion. I then imported the model into Stud.io and rendered the model.

This does seem like a good workflow to convert existing 3D models of animals or any organic form, to LEGO models.


5th Edition of the Unofficial LEGO Color Guide

I am happy to announce that the fifth edition of the The Unofficial LEGO Color Guide is now available. The book is available as a paperback and hardcover from Amazon.com. An eBook (PDF) is available from Lulu.

An important update happened behind the scenes. In the past I exported the color database to Adobe InDesign and then create the catalog from there. This process was complicated, labour intensive and error prone. The database has now been changed to create the catalog pages directly. Unfortunately, not all the design tricks possible with InDesign can be replicated with the database. The visual design was therefore modernised and extended.

Bill and Mary’s House

Building Instructions for Bill and Mary’s House

The LEGO Idea Book 6000 was a great inspiration for me as a child. I did not have all the bricks back then and probably not now either. But we can build all the models digitally. This is my first go at creating a model with instructions in Stud.io. You can download the instructions in the PDF format. Happy building!

bill-mary-house-lego-idea-book-6000


Creating a custom Minifigure in Stud.io – The Case of Bill and Mary

Tutorial on creating custom digital LEGO Minifigures.

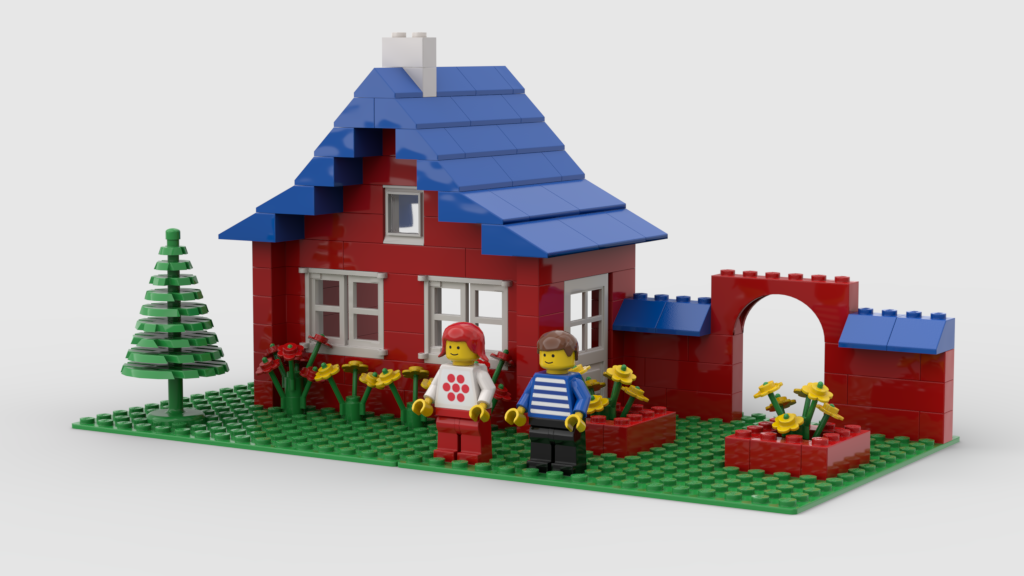
I used to own LEGO Ideas Book 6000 when I was a child and still own a copy. The two main characters in this story, Bill and Mary, are not available in any of the major LEGO digital design software packages, such as LEGO Digital Designer, Stud.io or Mecabricks. Time to learn something new. This tutorial will show you how to create your own custom digital LEGO Minifigure.

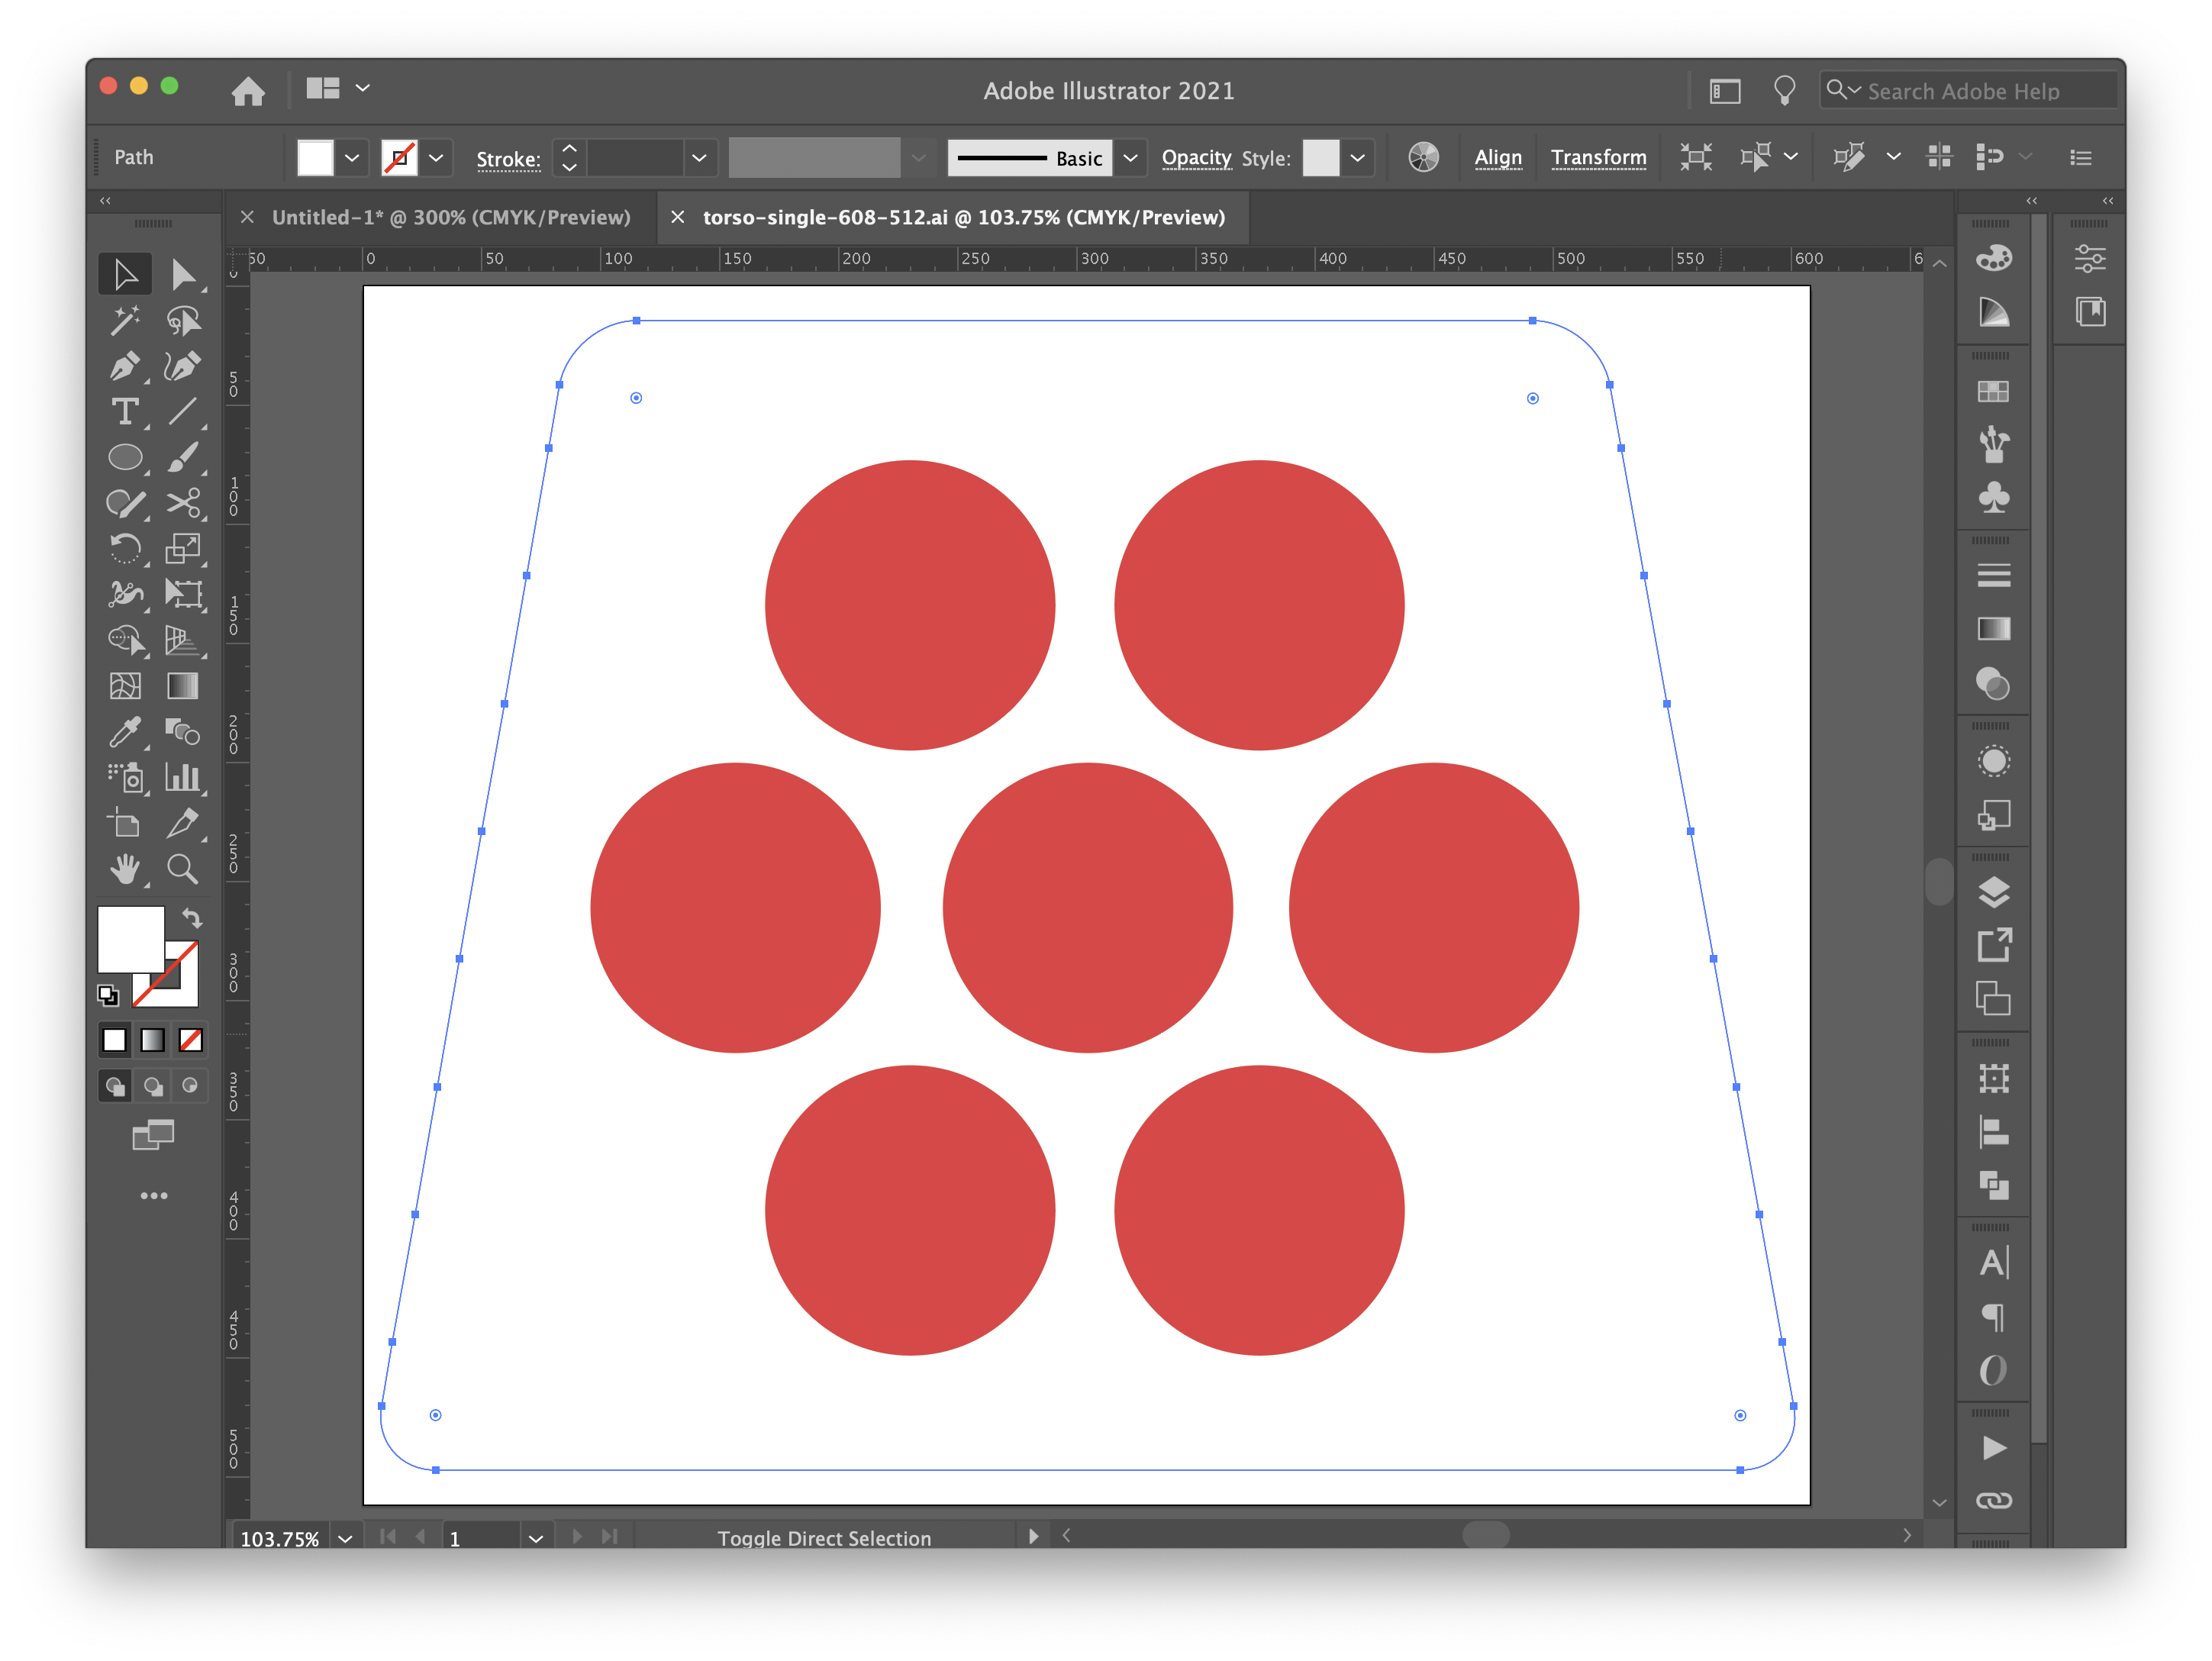
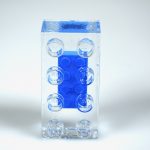
Frist, I had to create the decals for both figures, since the original minifigures had stickers. I used Adobe Illustrator to create the graphics and Bricklink’s PartDesigner to create the custom LEGO parts.

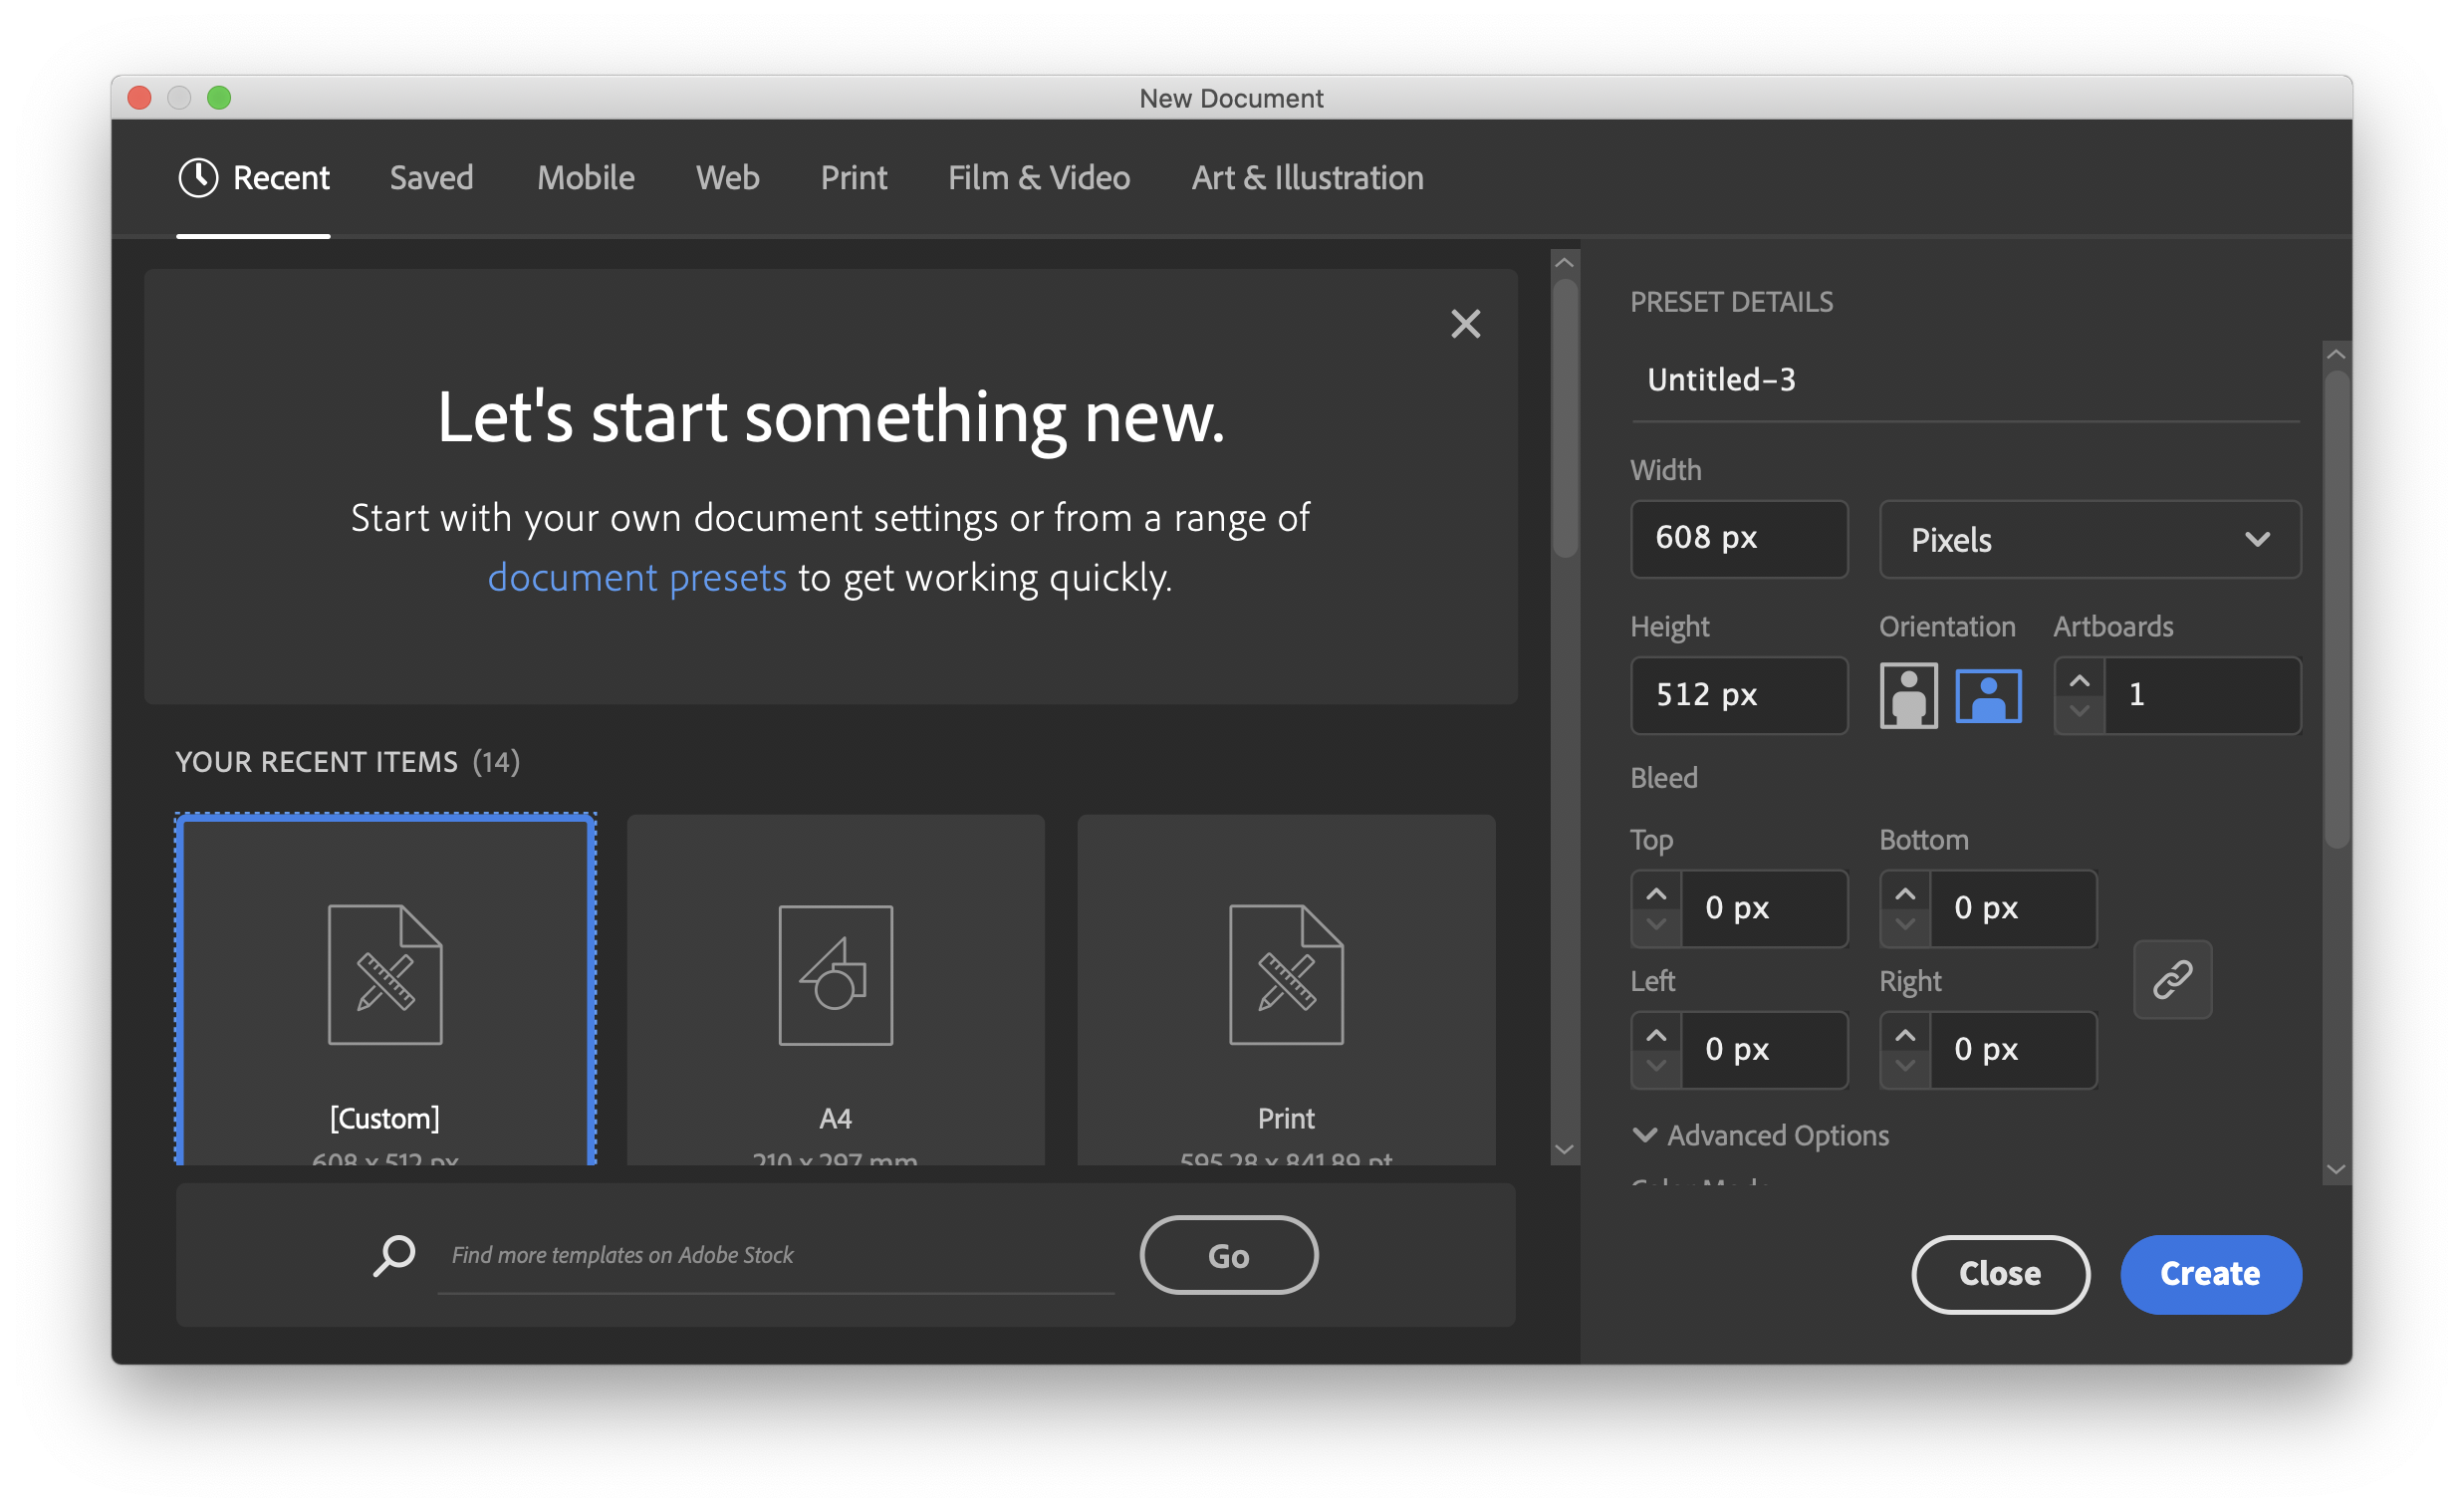
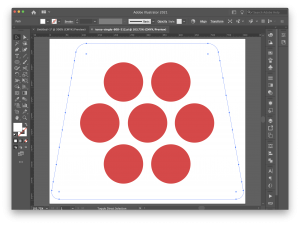
For the decal design, I used  some of the available shape templates. PartDesigner’s manual has the specific dimensions: 605×512 pixels. So let’s start with creating a new Illustrator document with these dimensions.

Next, we create the artwork without a background layer, since this will give us transparency later.

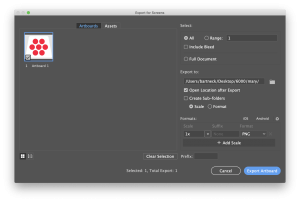
Now it is time to export the graphics as a png file.

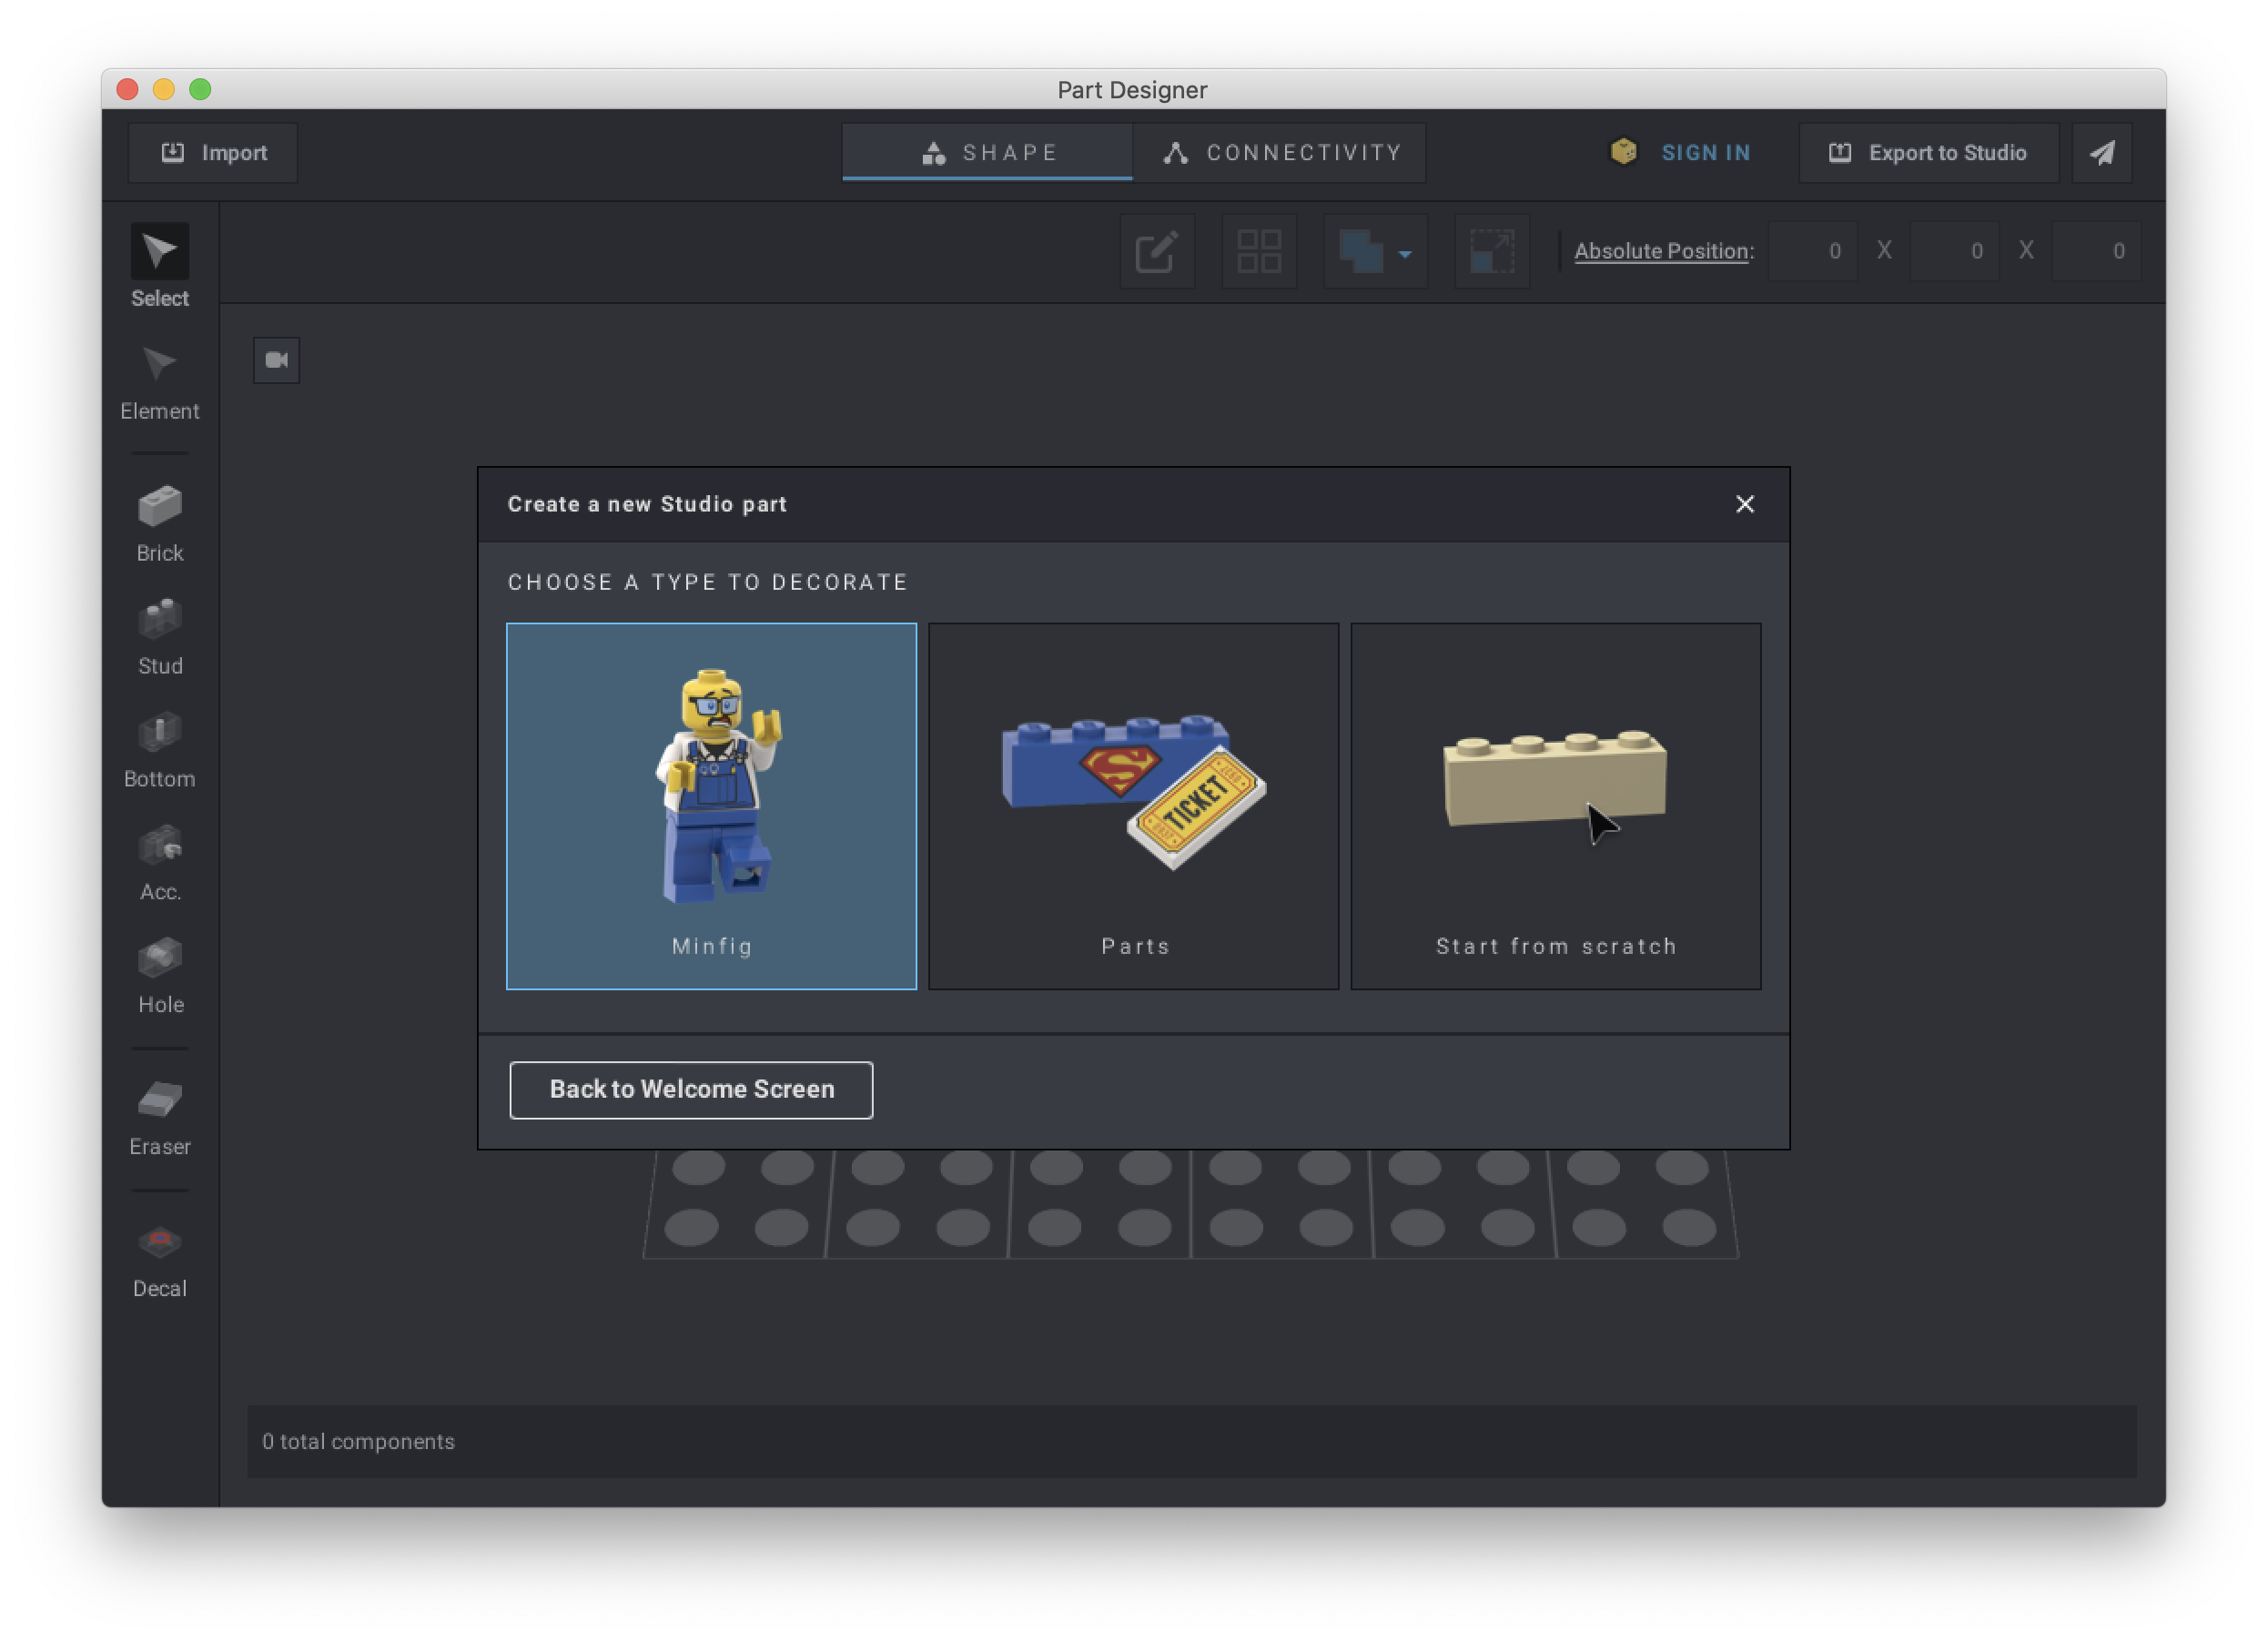
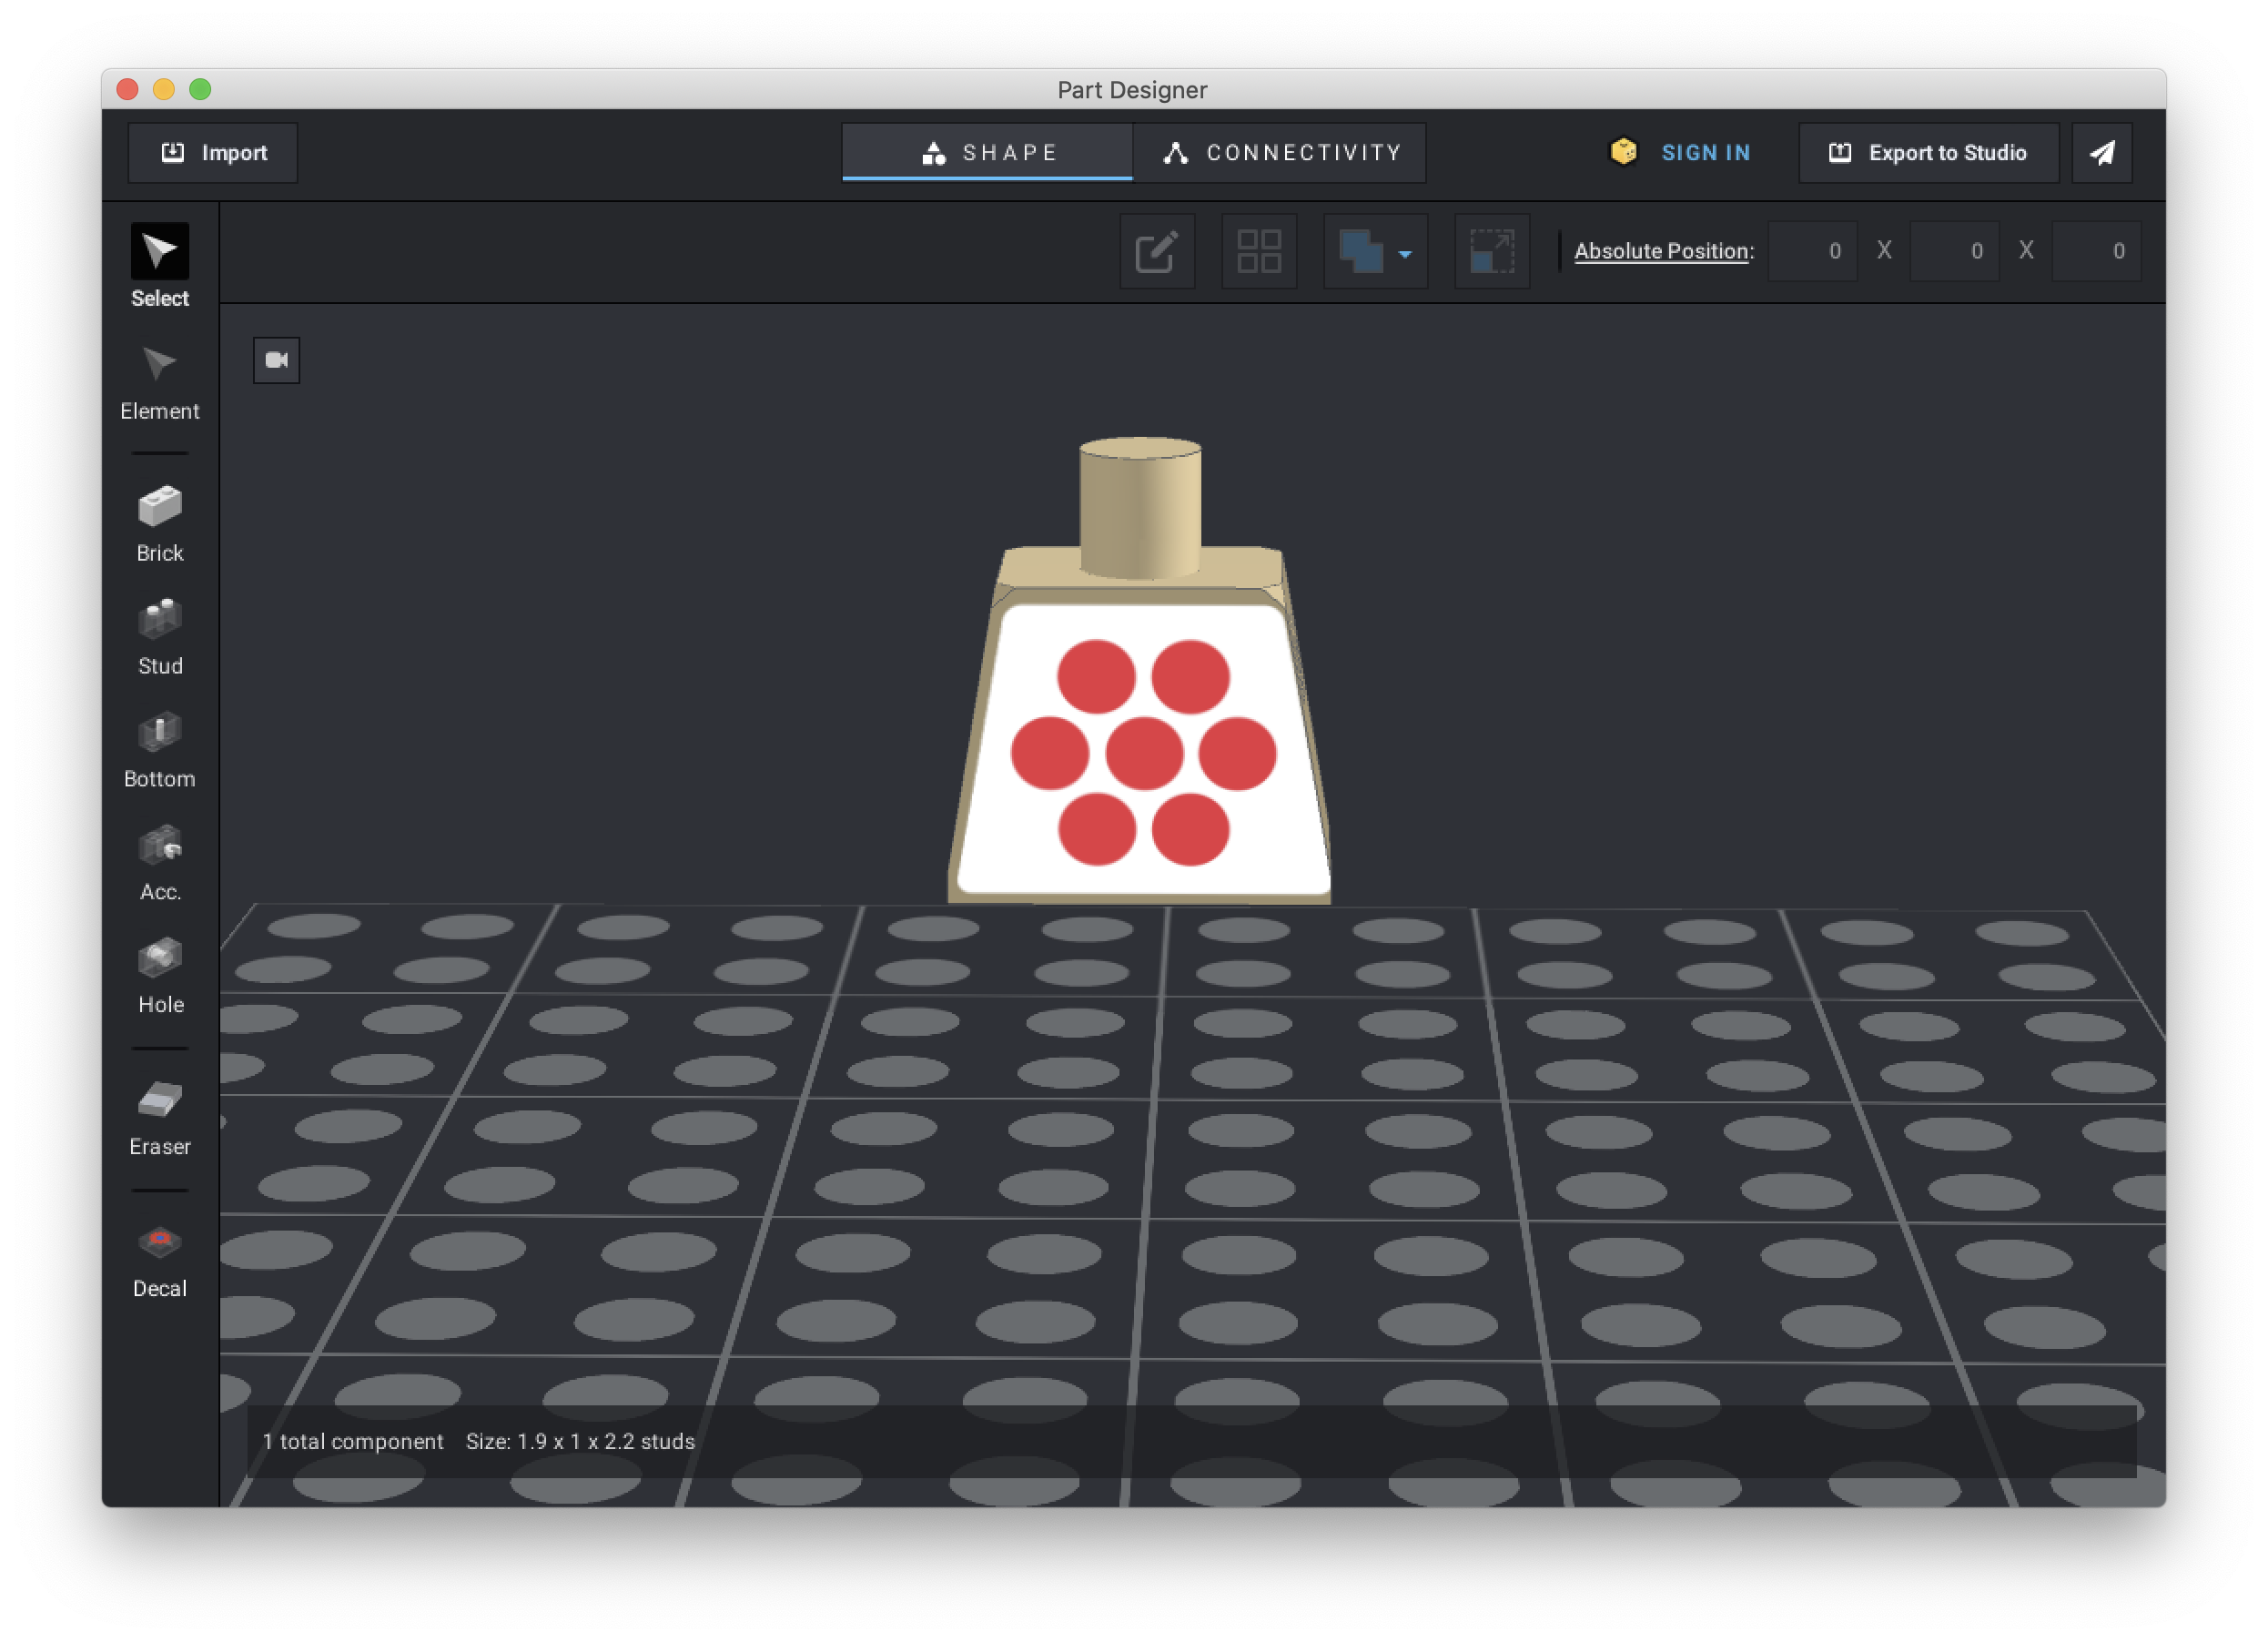
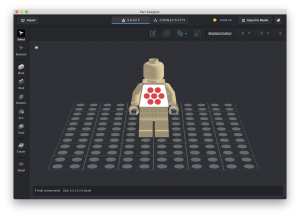
Download and install PartDesigner. When you create a new document, use the minifigure template.

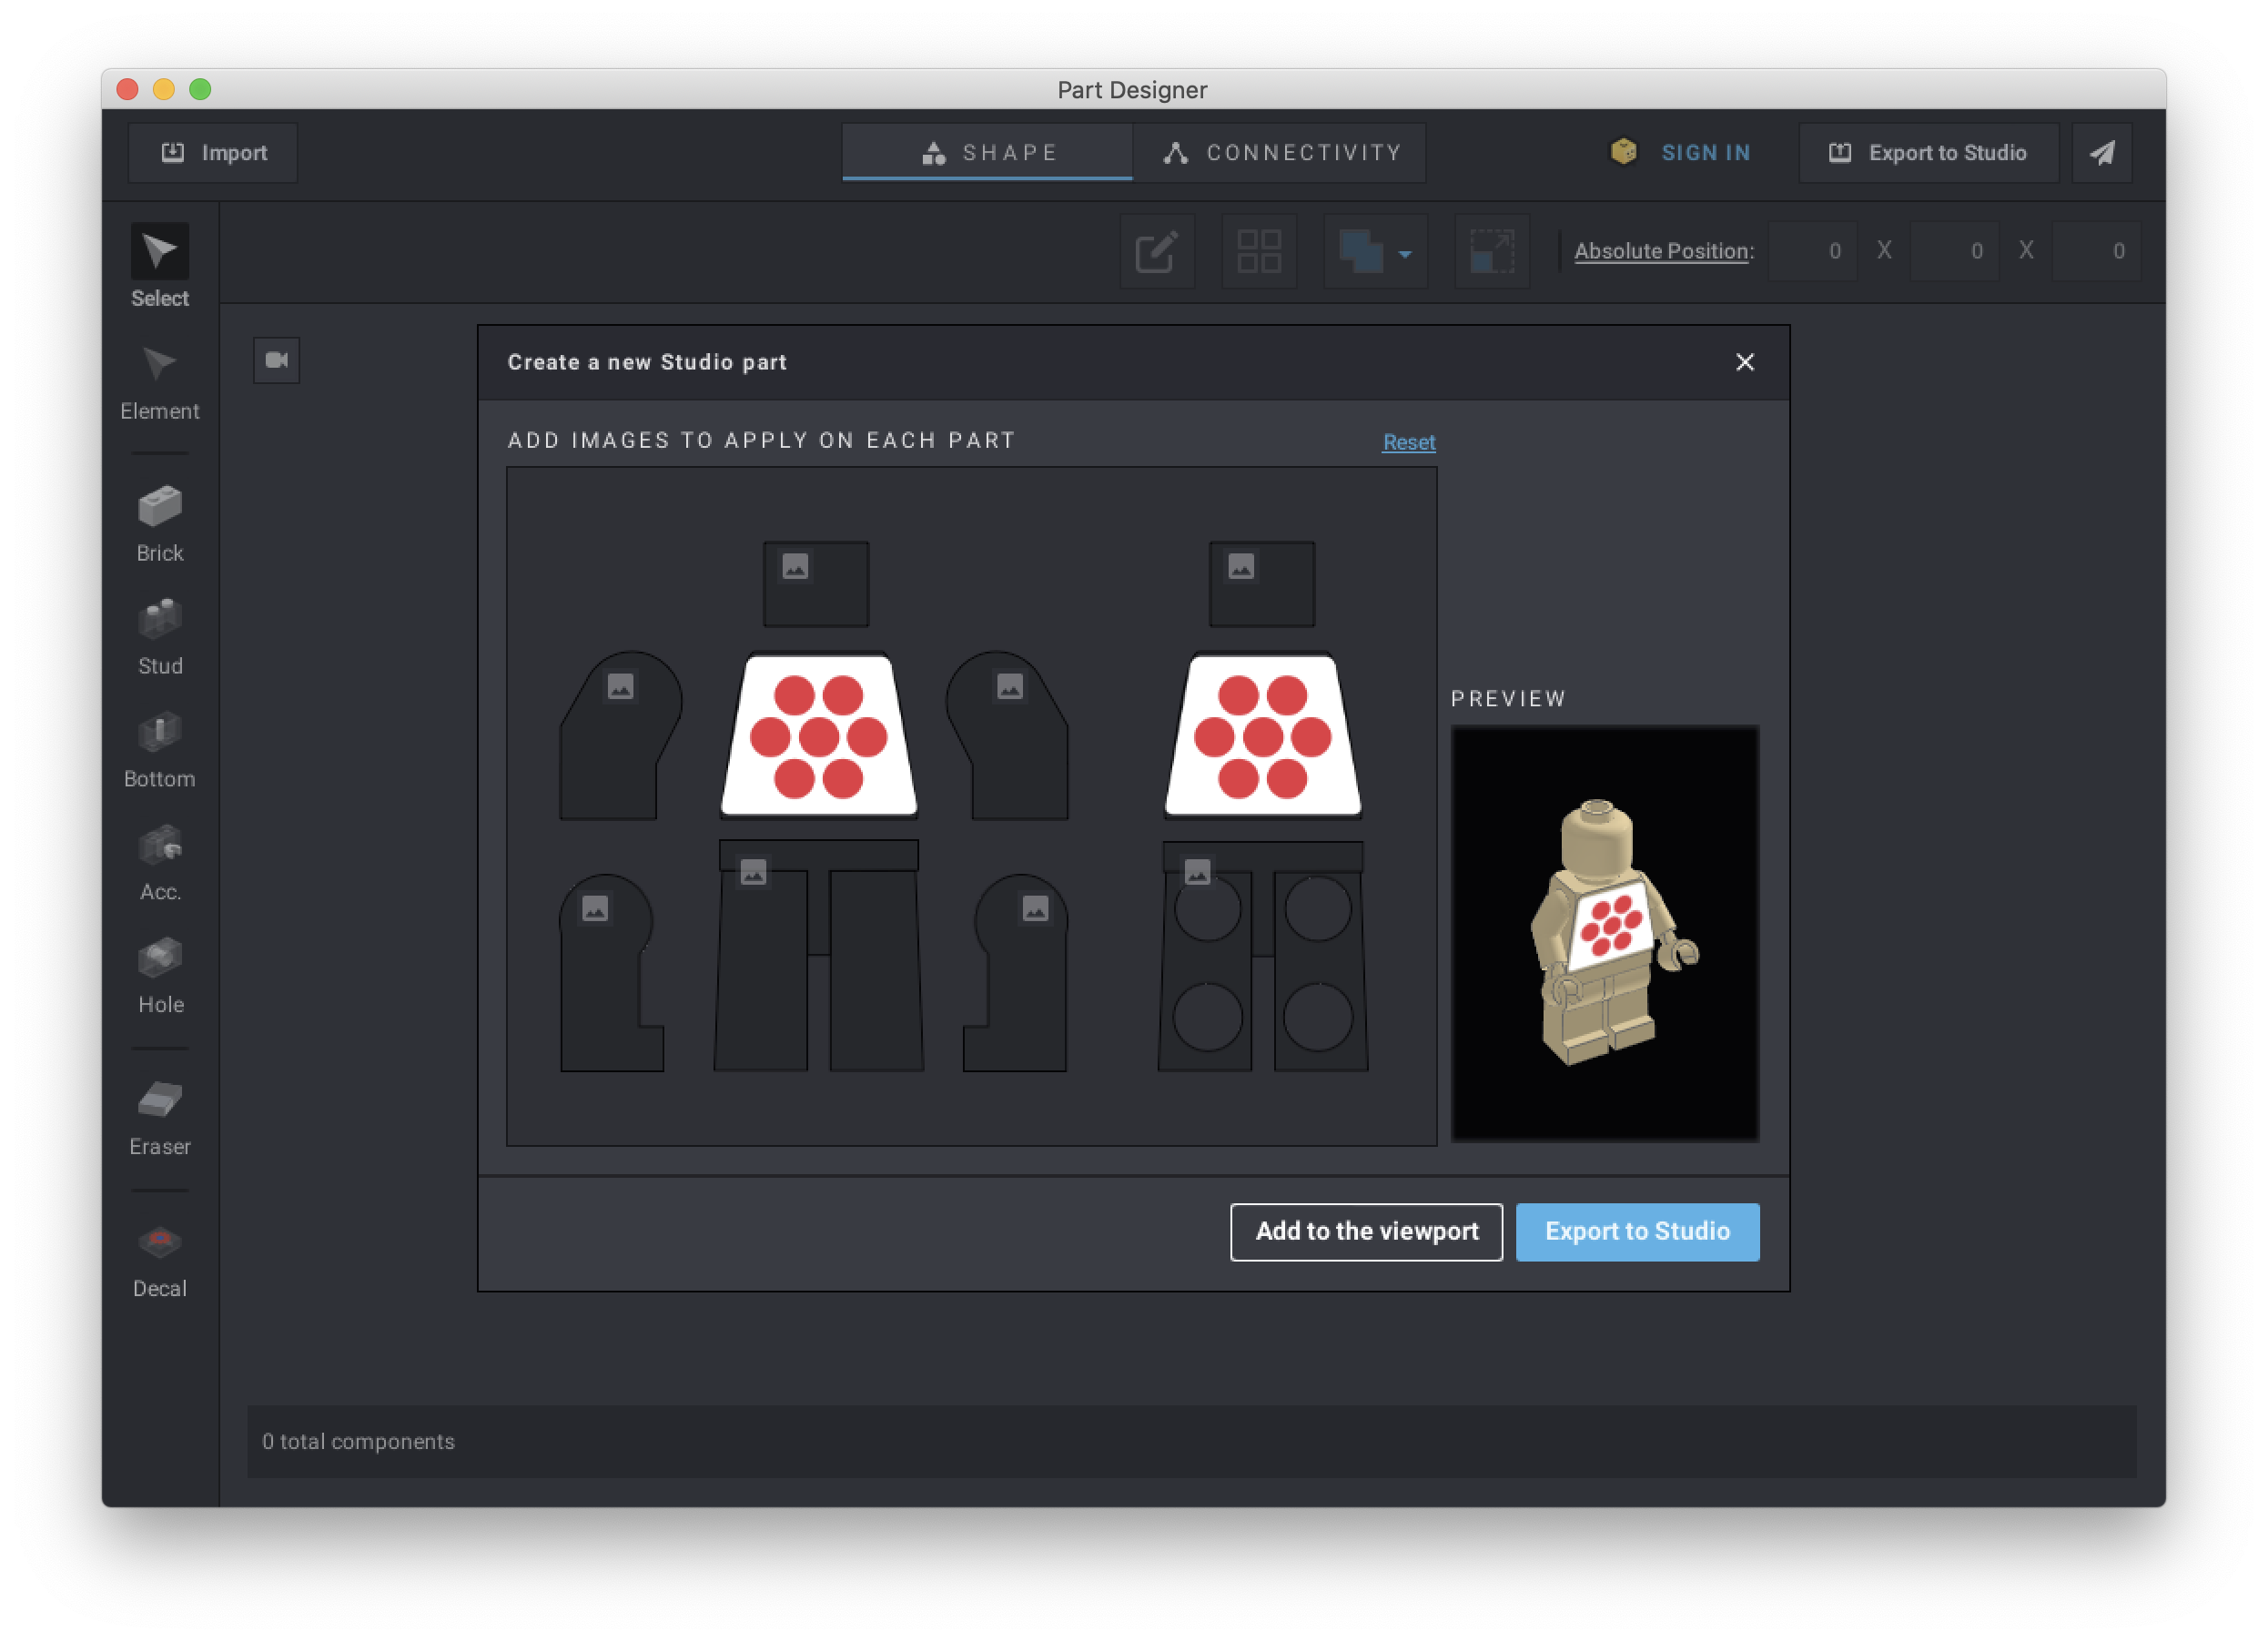
Click on the little mountain icons on the torso and select the PNG file we just created.

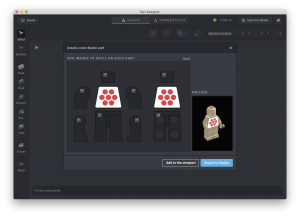
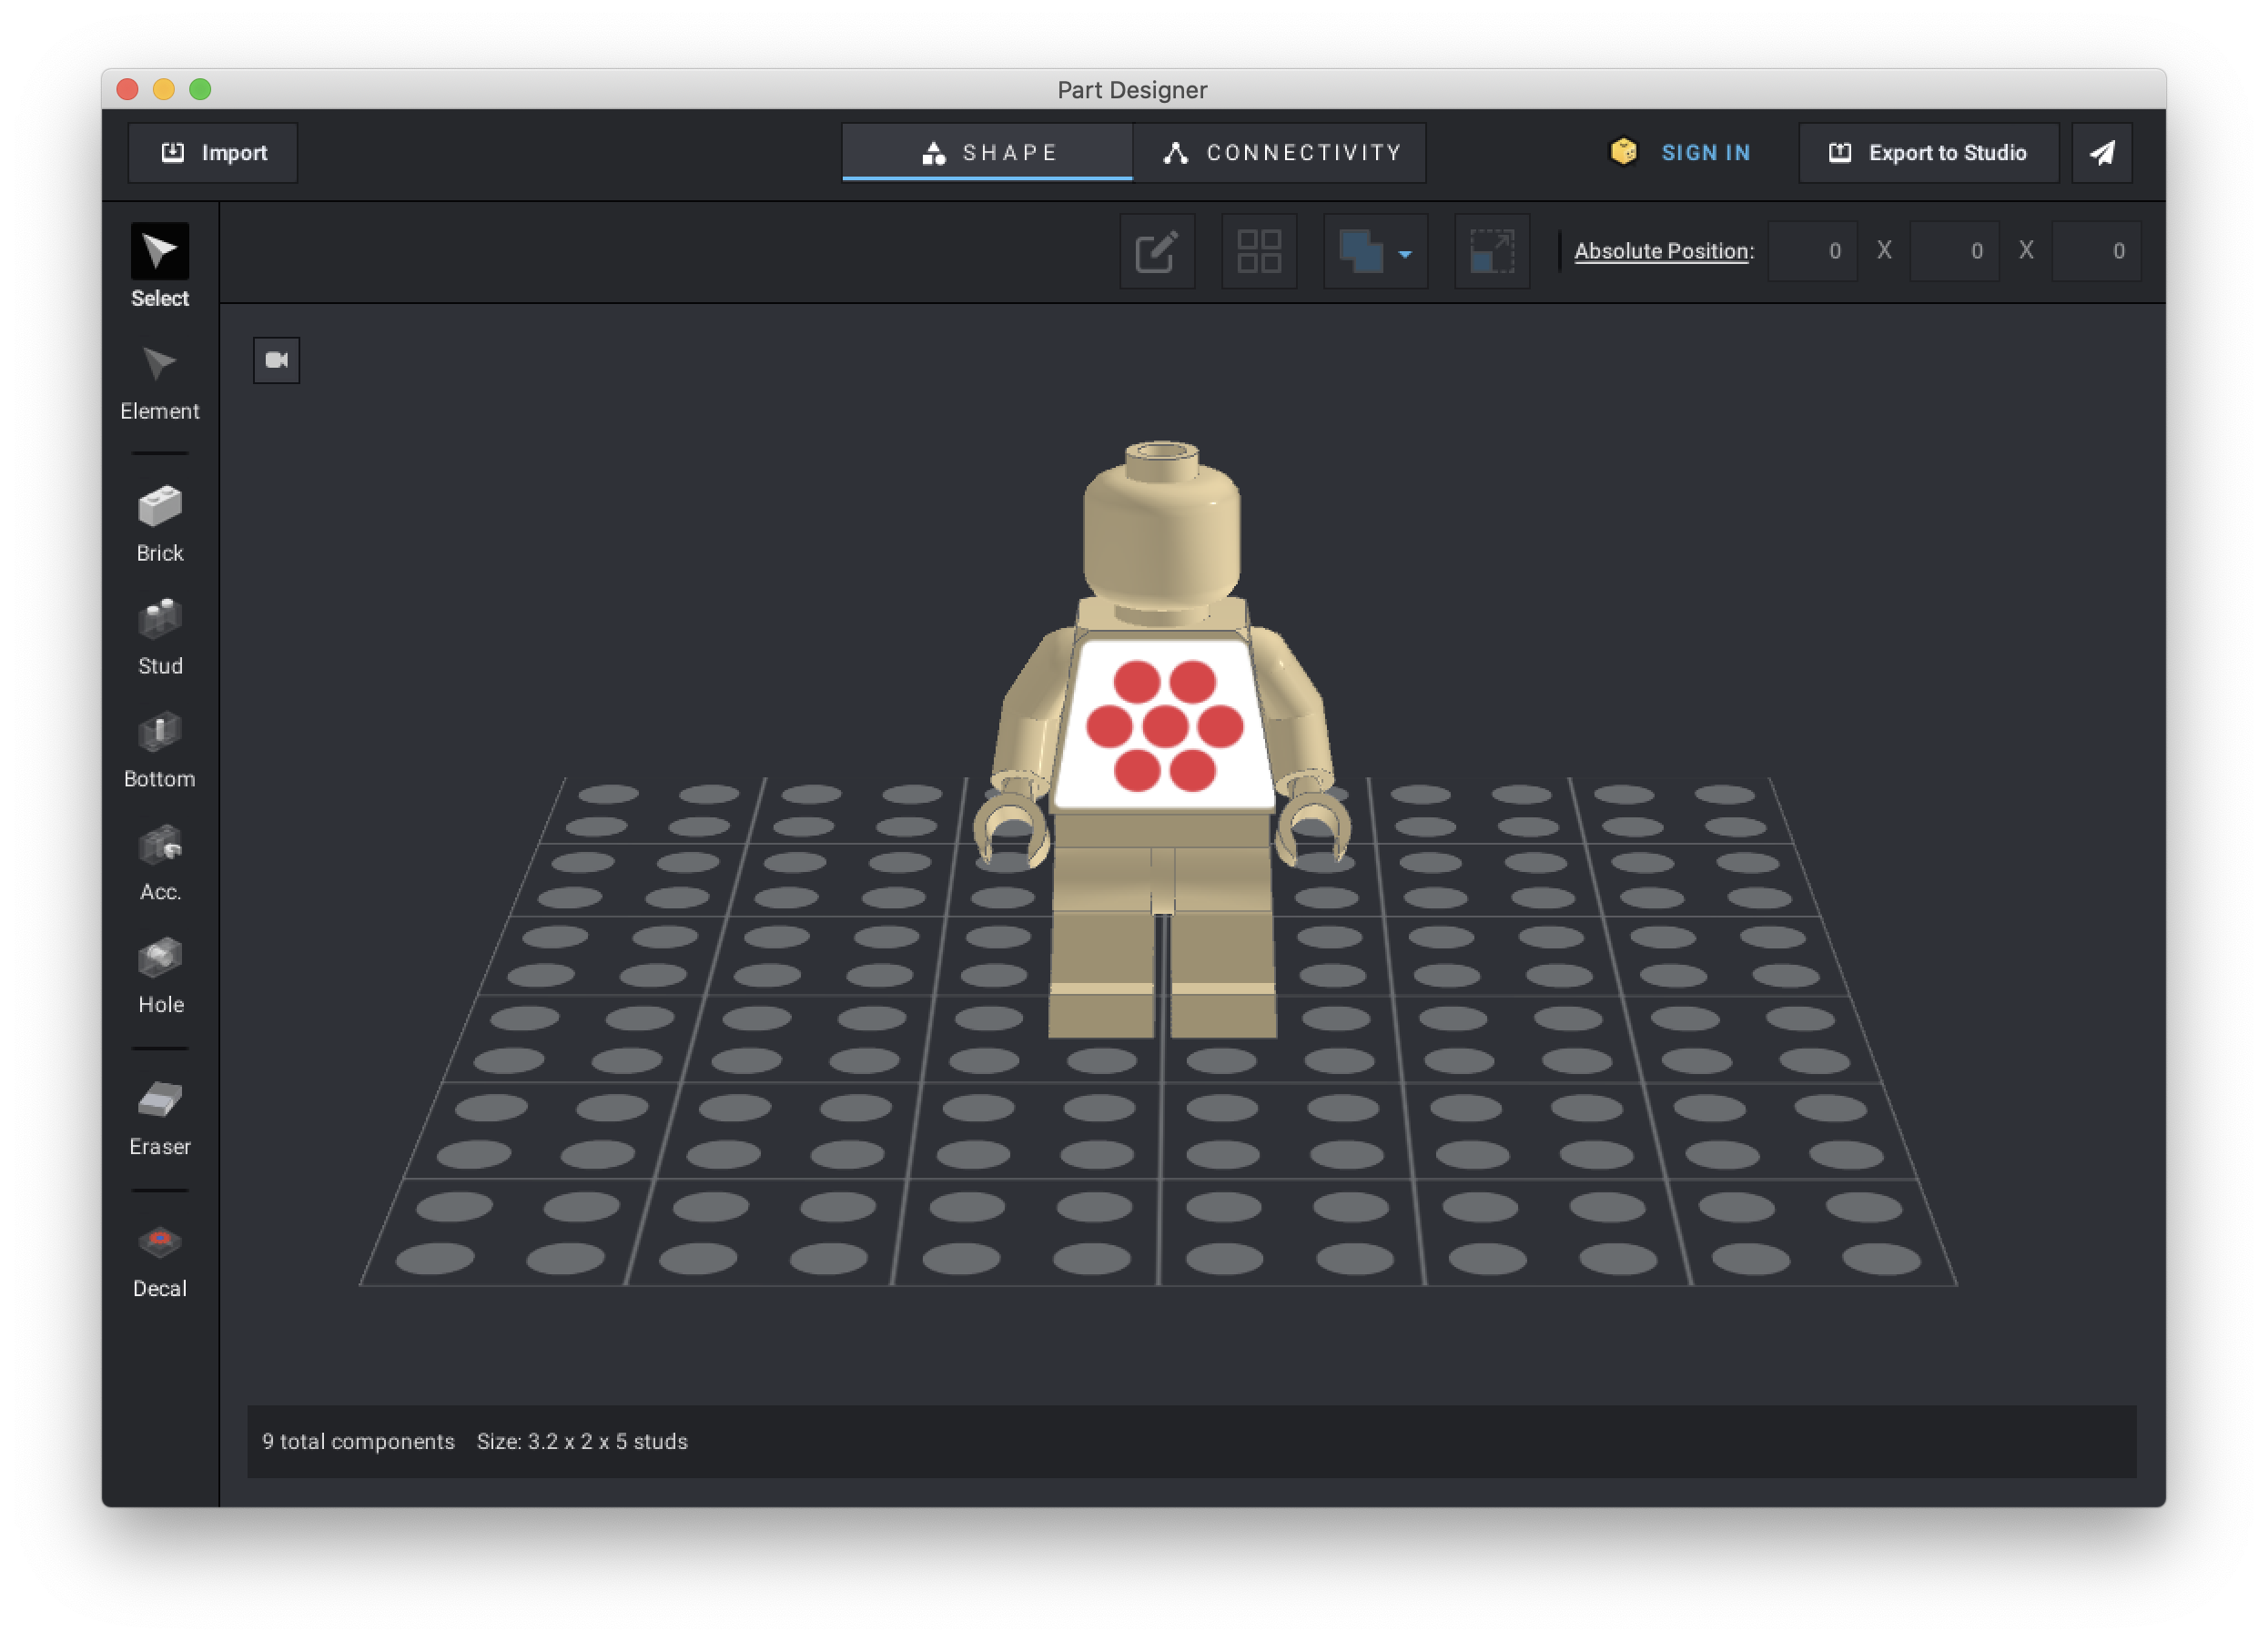
Add the model to the viewport.


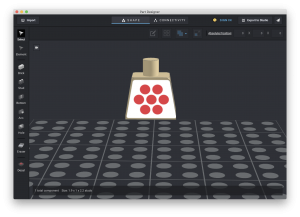
We can now delete the legs, arms and head.

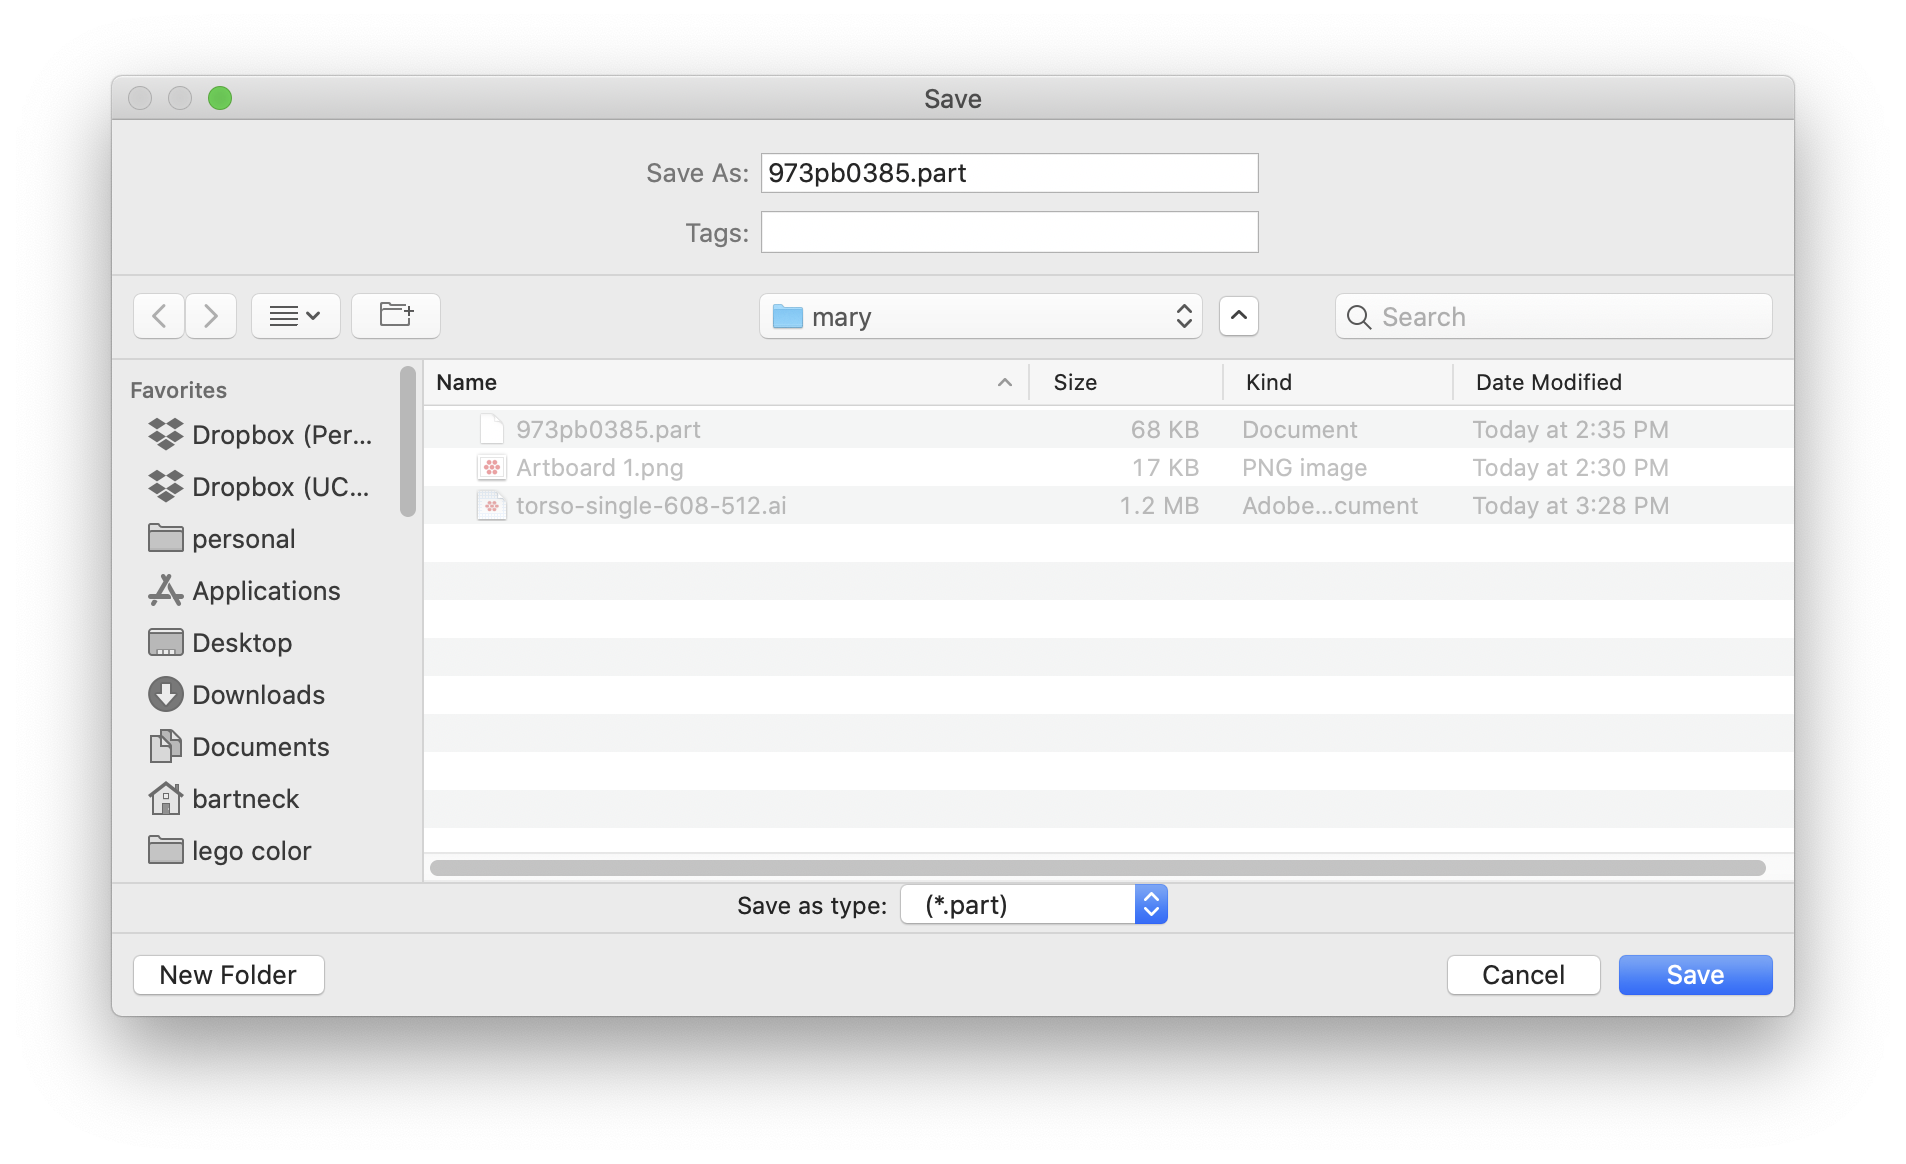
Next, it is time to safe the new part, ideally with its official LEGO number.

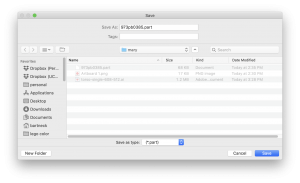
Only the torso of Bill and Mary are unique and I uploaded 973bp0386.part (Bill’s torso) and 973pb0385.part (Mary’s torso) to my website.

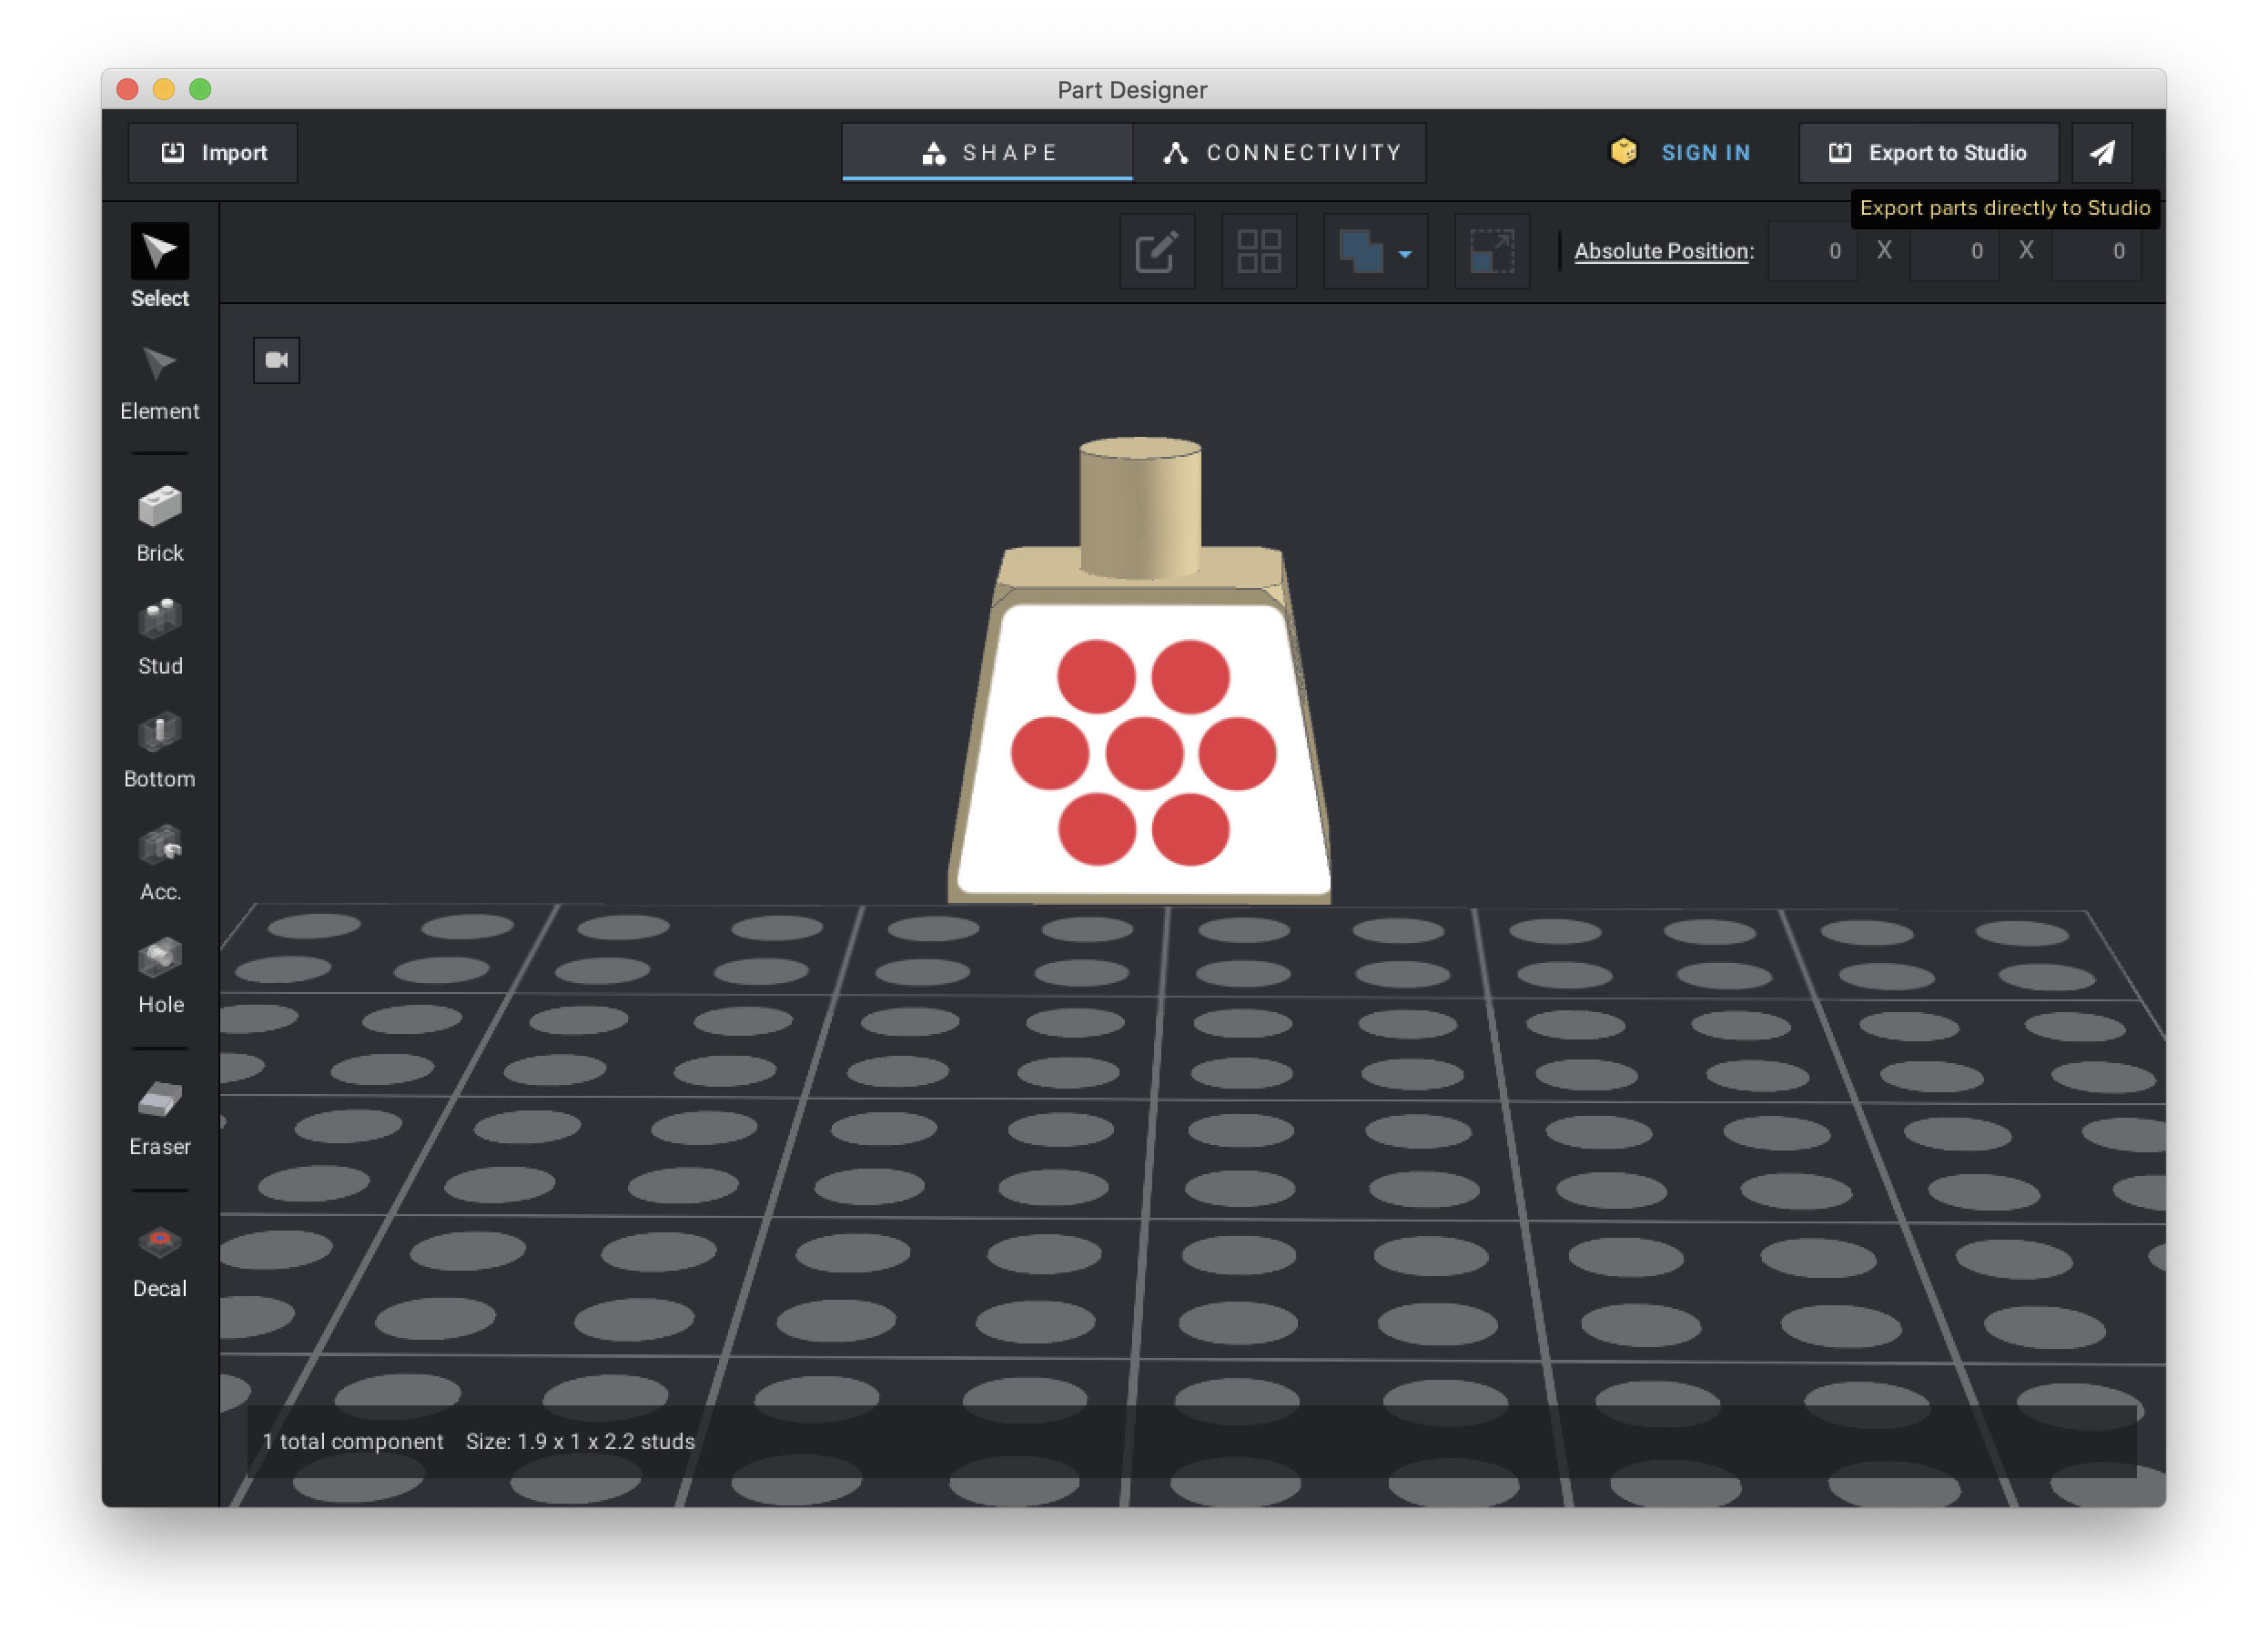
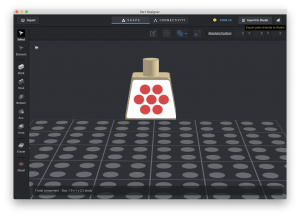
Now, we can export the parts to Stud.io. Make sure that you give the part meaningful names and include the proper LEGO ID number is the optional section.

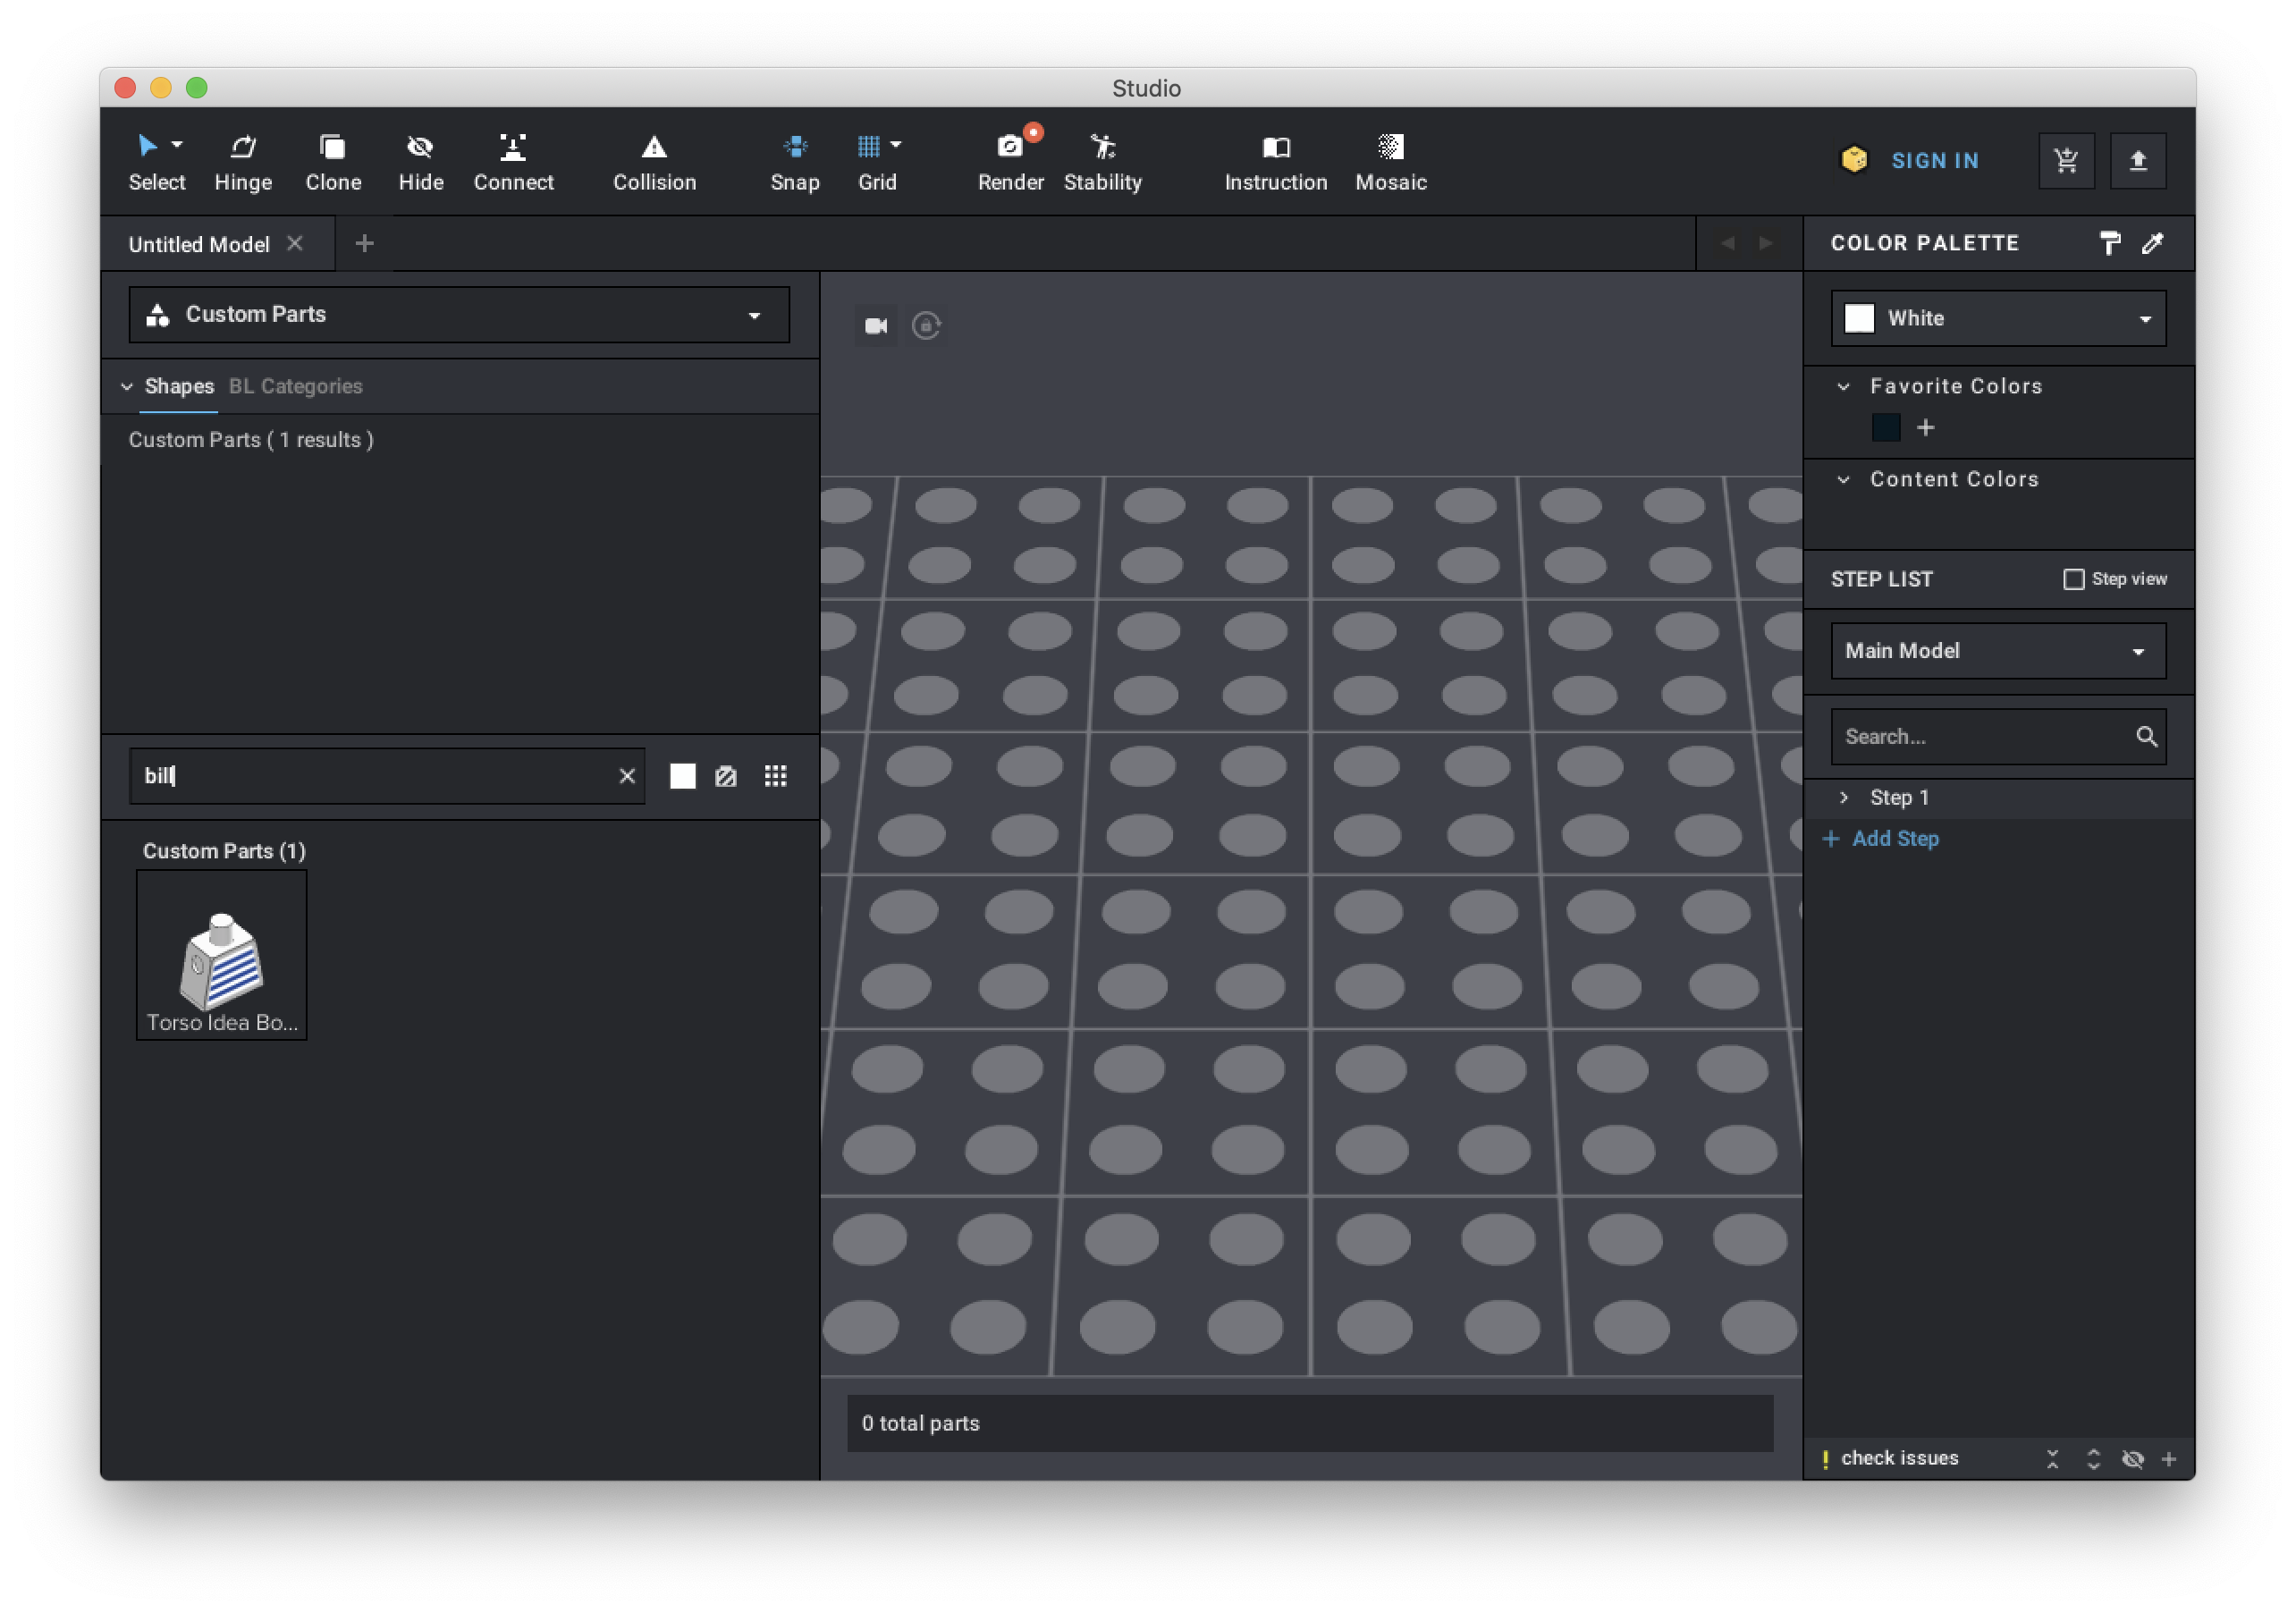
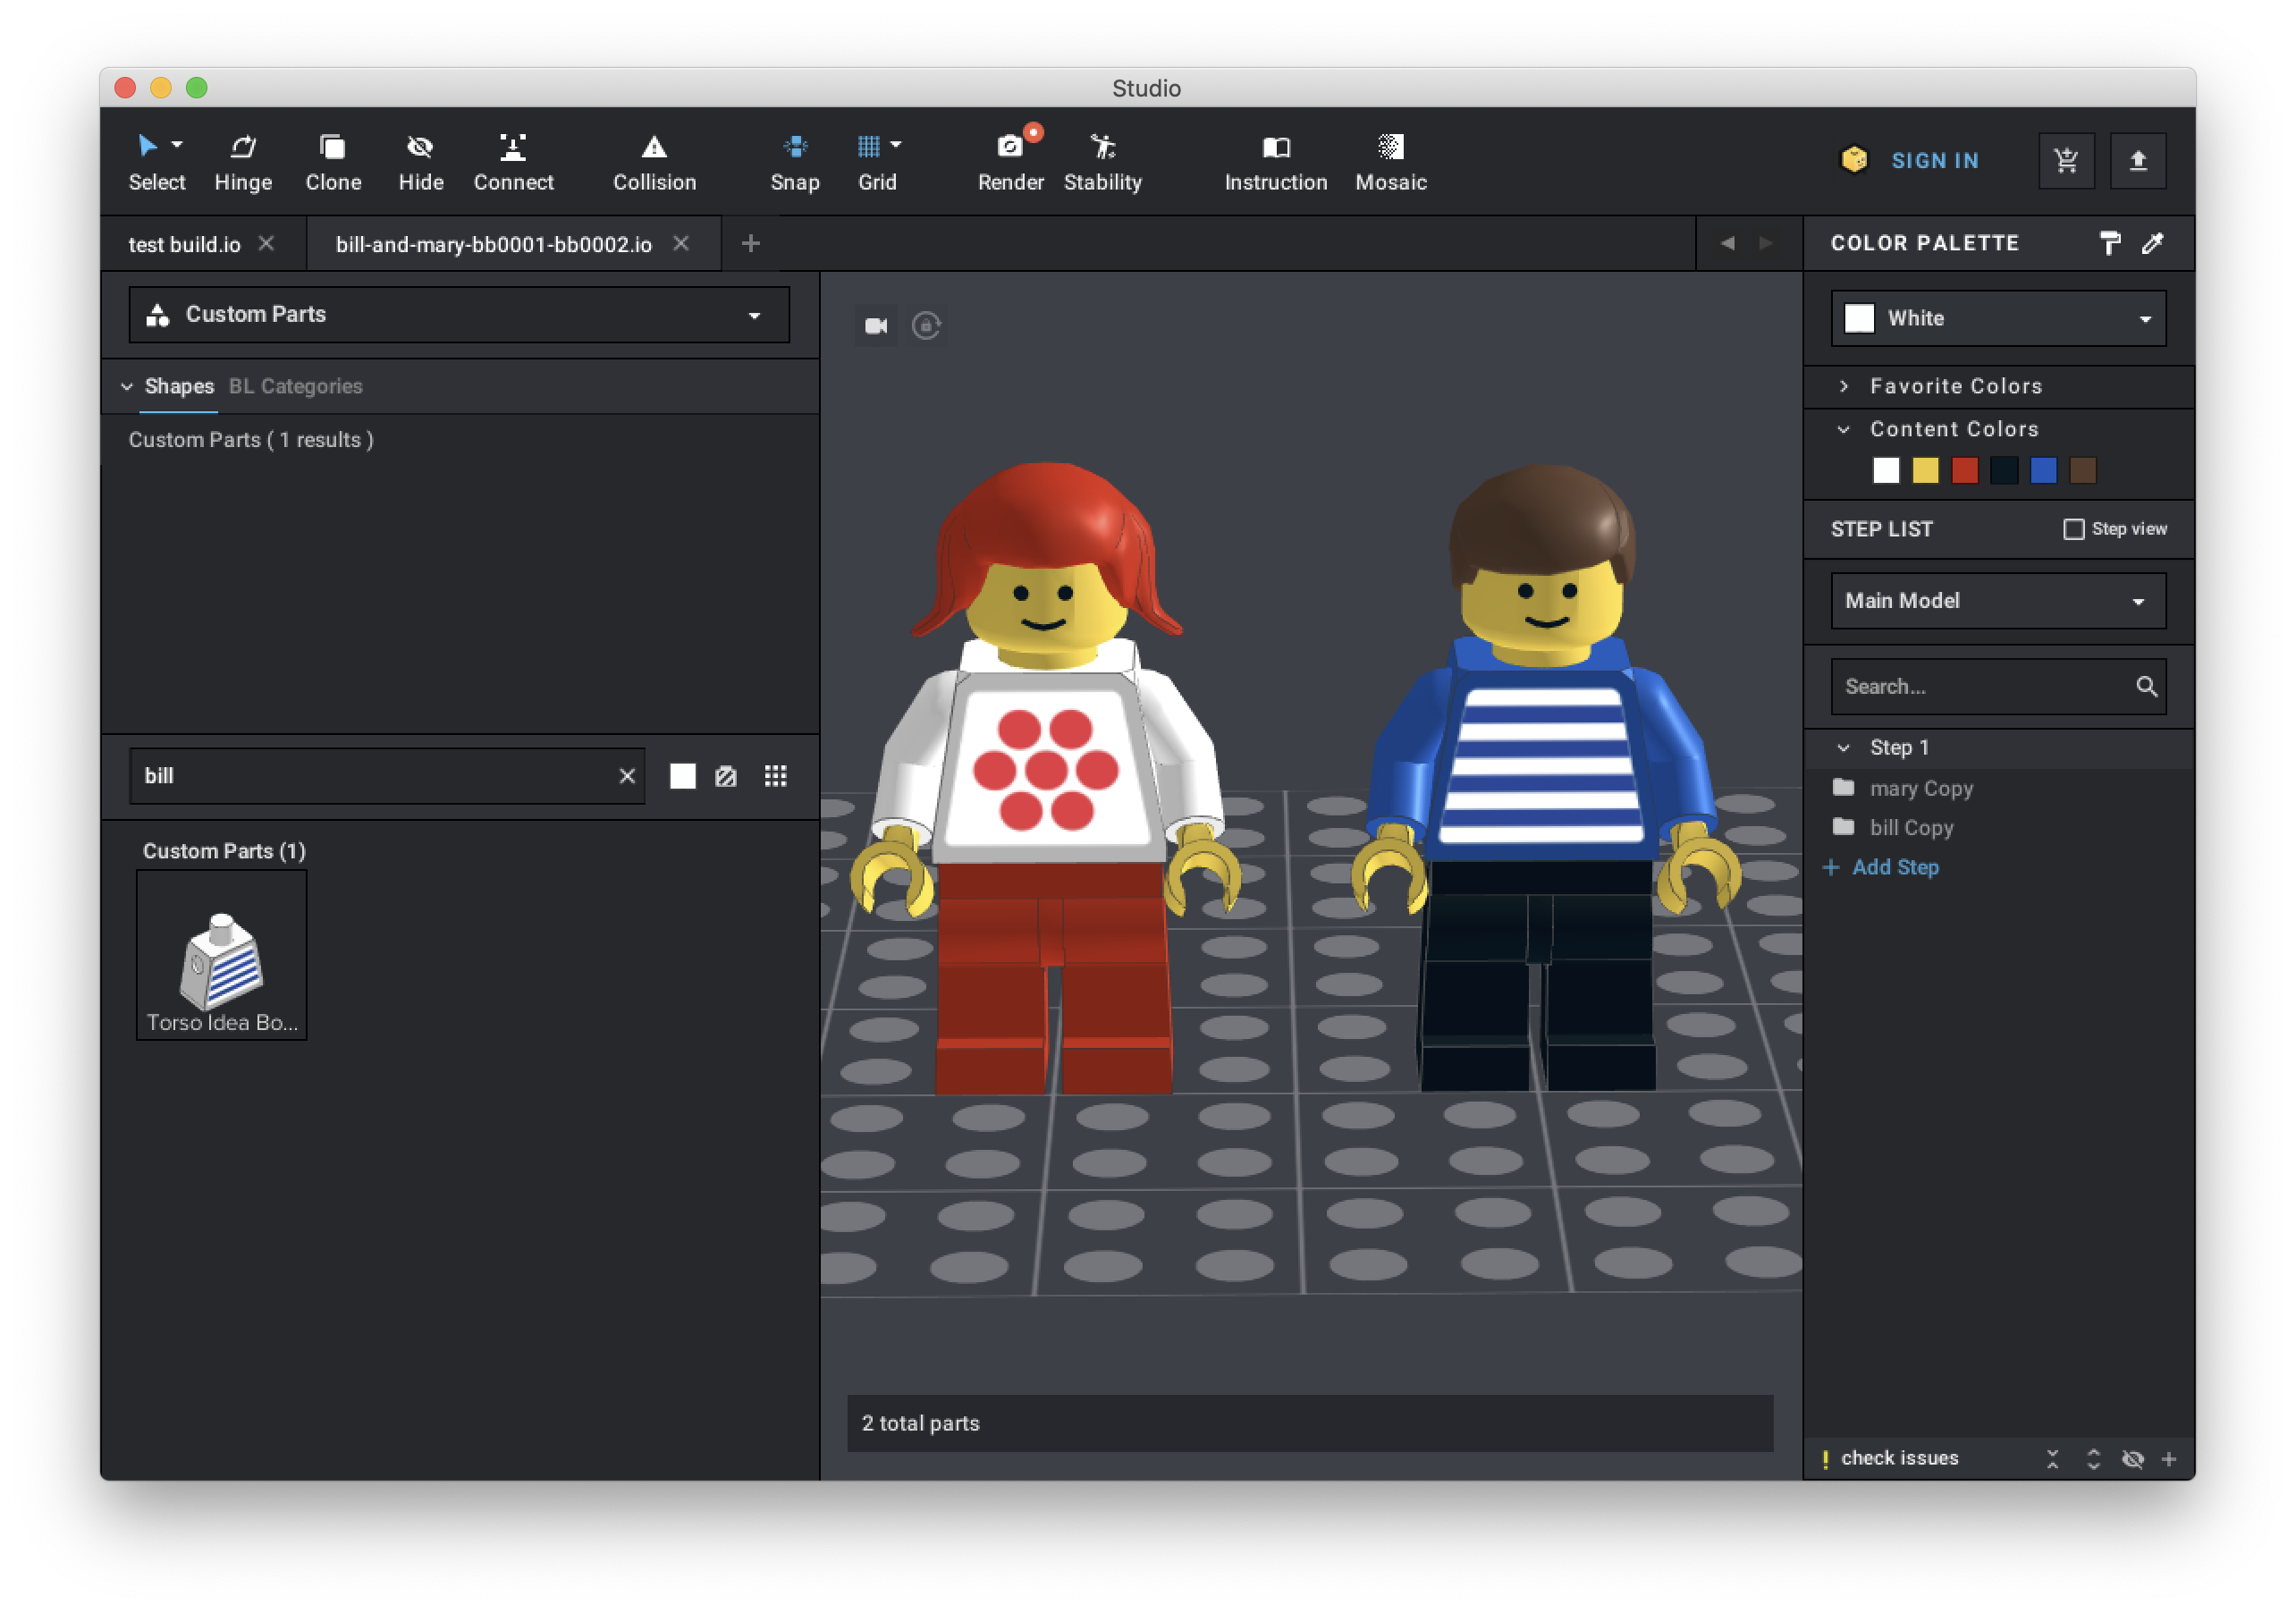
In studio, we have to select the custom parts library.

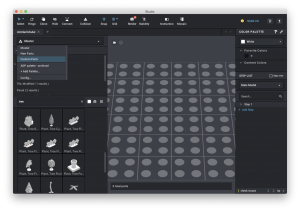
We can search now for Bill and find this part.

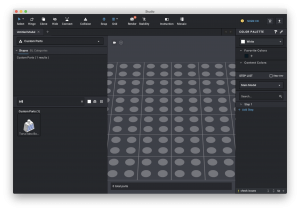
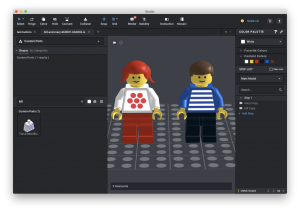
Drag and drop the torso into the scene and add the other parts to the model. The complete model is available for download here.

Now we can add some original models from the LEGO Idea Book 6000, some roads and greenery and we have a perfect first shot.

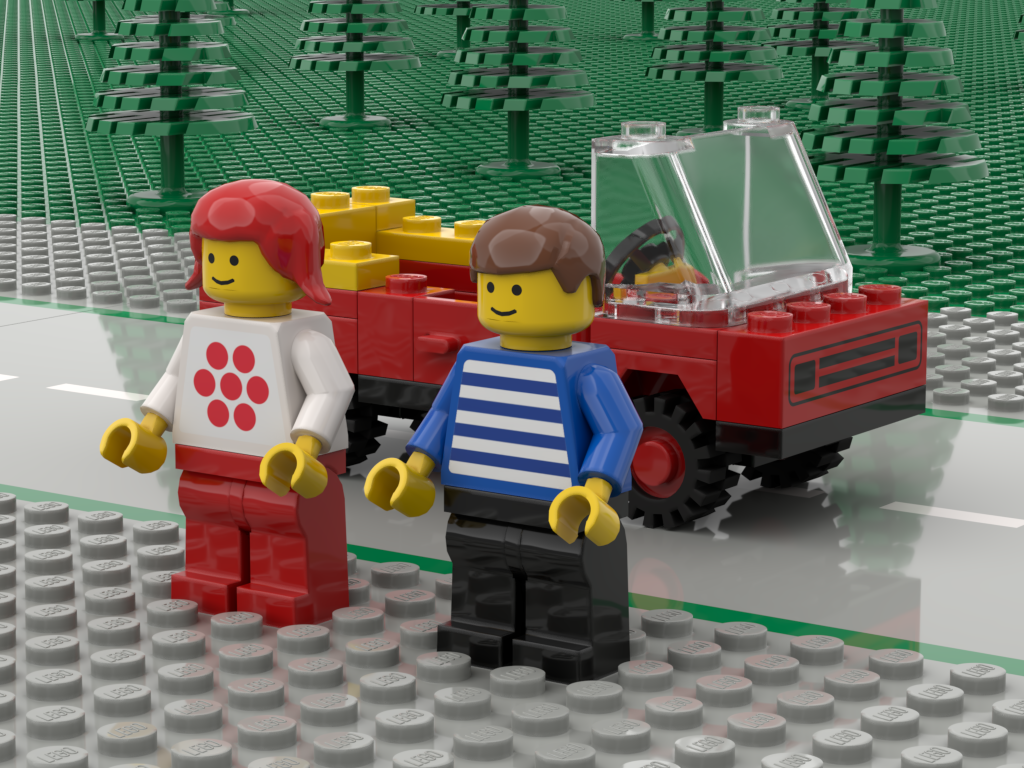
I hope you enjoyed this little tutorial on how to create custom digital minifigures.

LEGO Resin Casting Brick in a Brick

This video will show you how to create your own LEGO bricks that enclose other LEGO bricks. I used the polyester resin pouring method to create the brick by utilising a silicon based mould. These step by step instructions help you to create your own LEGO brick. This is an ideal present for all your AFOL friends.

Here are some more photos of the models I made: