
I created a couple more posters with Patternodes. It is really fun and the results are wonderful. At least from my perspective.
chain3 black-box-01My chatGPT podcast episode
For a while, I have been thinking about a podcast episode on chatGPT. But what better way to talk about it than using it? Have a listen to my new HRI podcast episode: Should I use chatGPT?
Overleaf supports visual tables directly
In the past, I used the TableGenerator to create tables for LaTeX. It was quick and easy to upload a CSV and then format the table. I then copied the LaTeX code to Overleaf.
Overleaf always had a macro for the generation of tables on the code level, but now they also have a visual table editor. To use it you have to switch to the Visual Editor and clicking on the three dots icons reveals the new insert table option. Similar to office applications, you can draw the number of rows and columns you want.
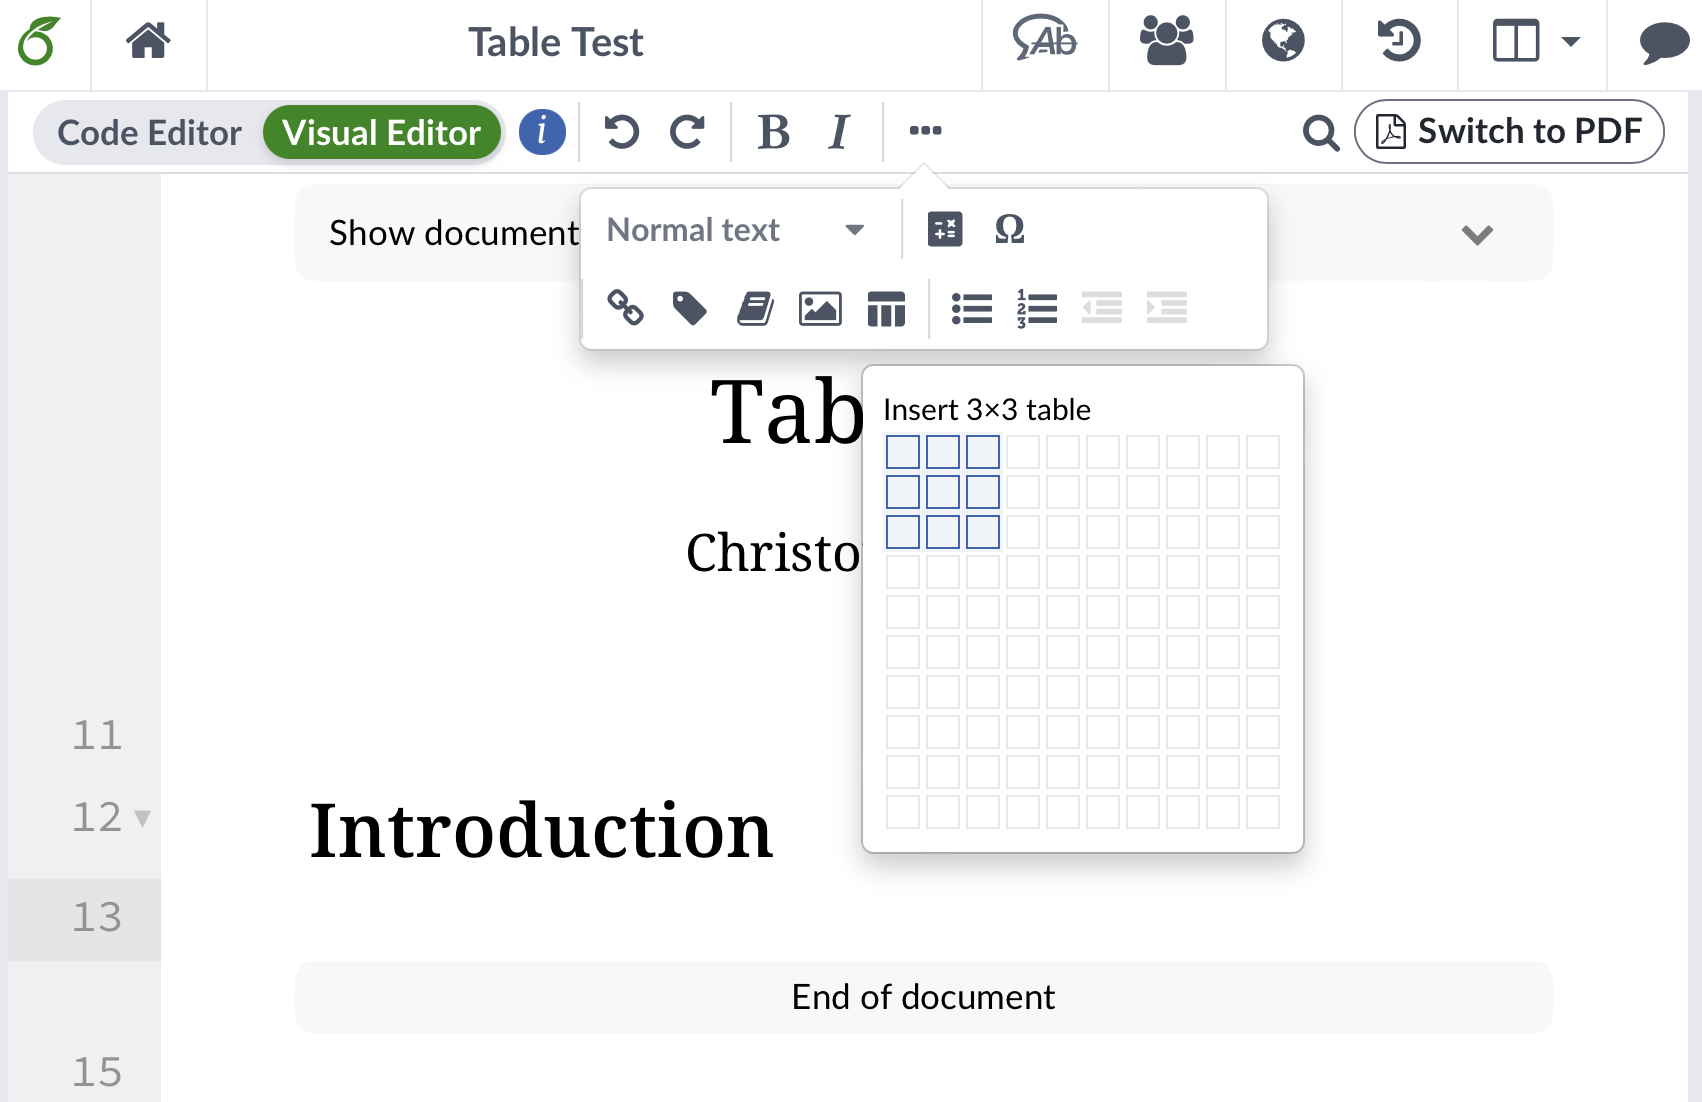
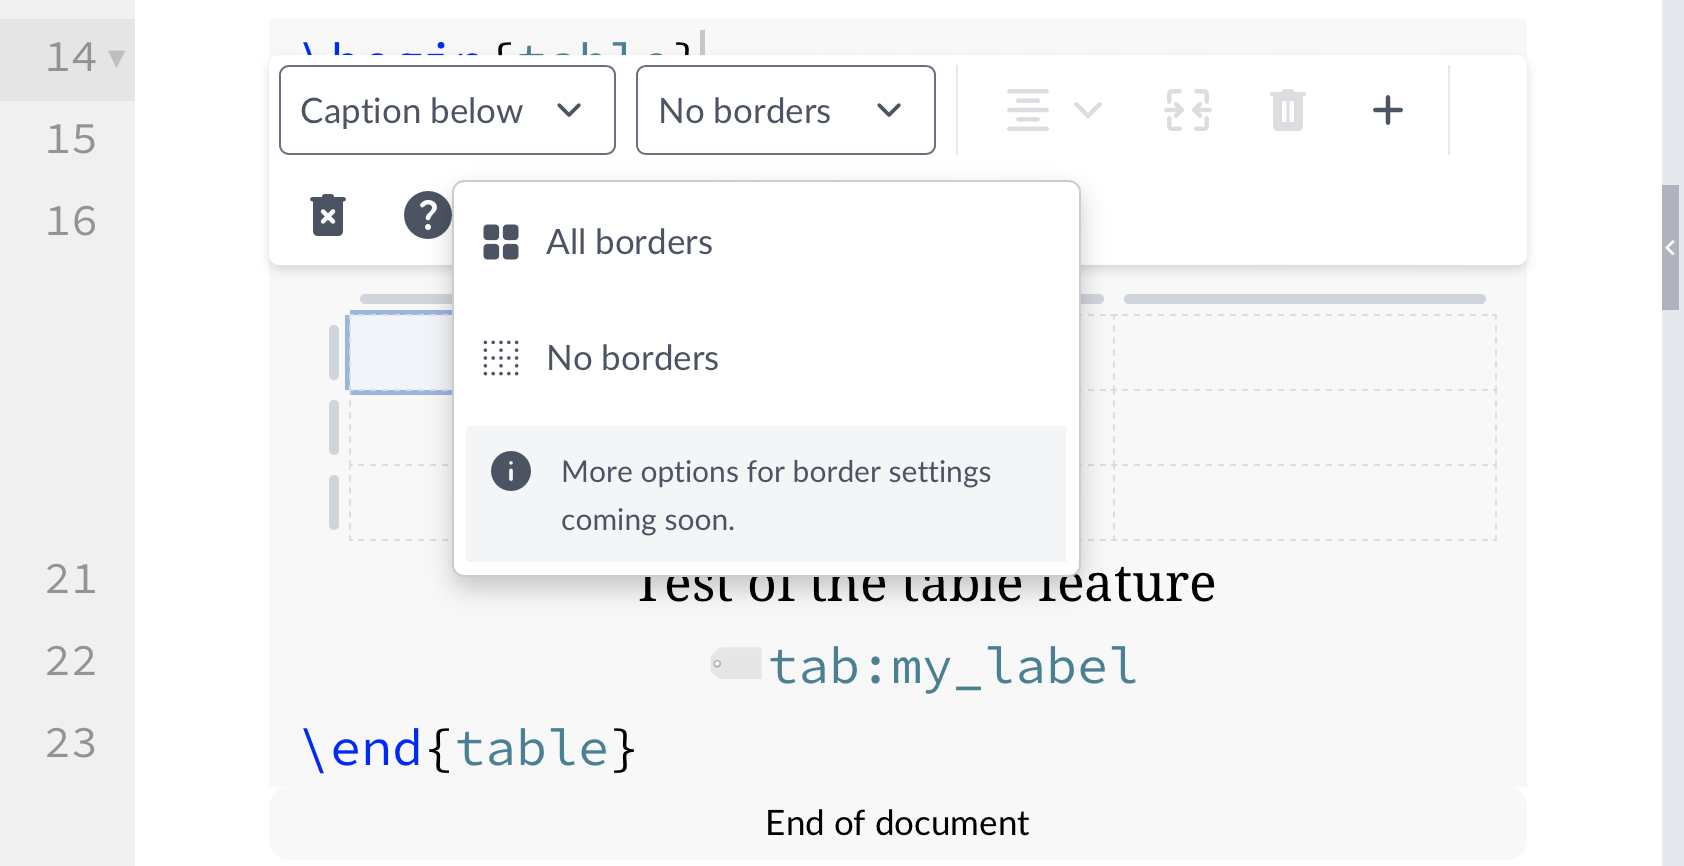
It is not yet possible to draw individual borders, such as horizontal lines. You can only select all or no borders. The menu does, however, announce that they are working in more border settings. TableGenerator is still ahead on this one.
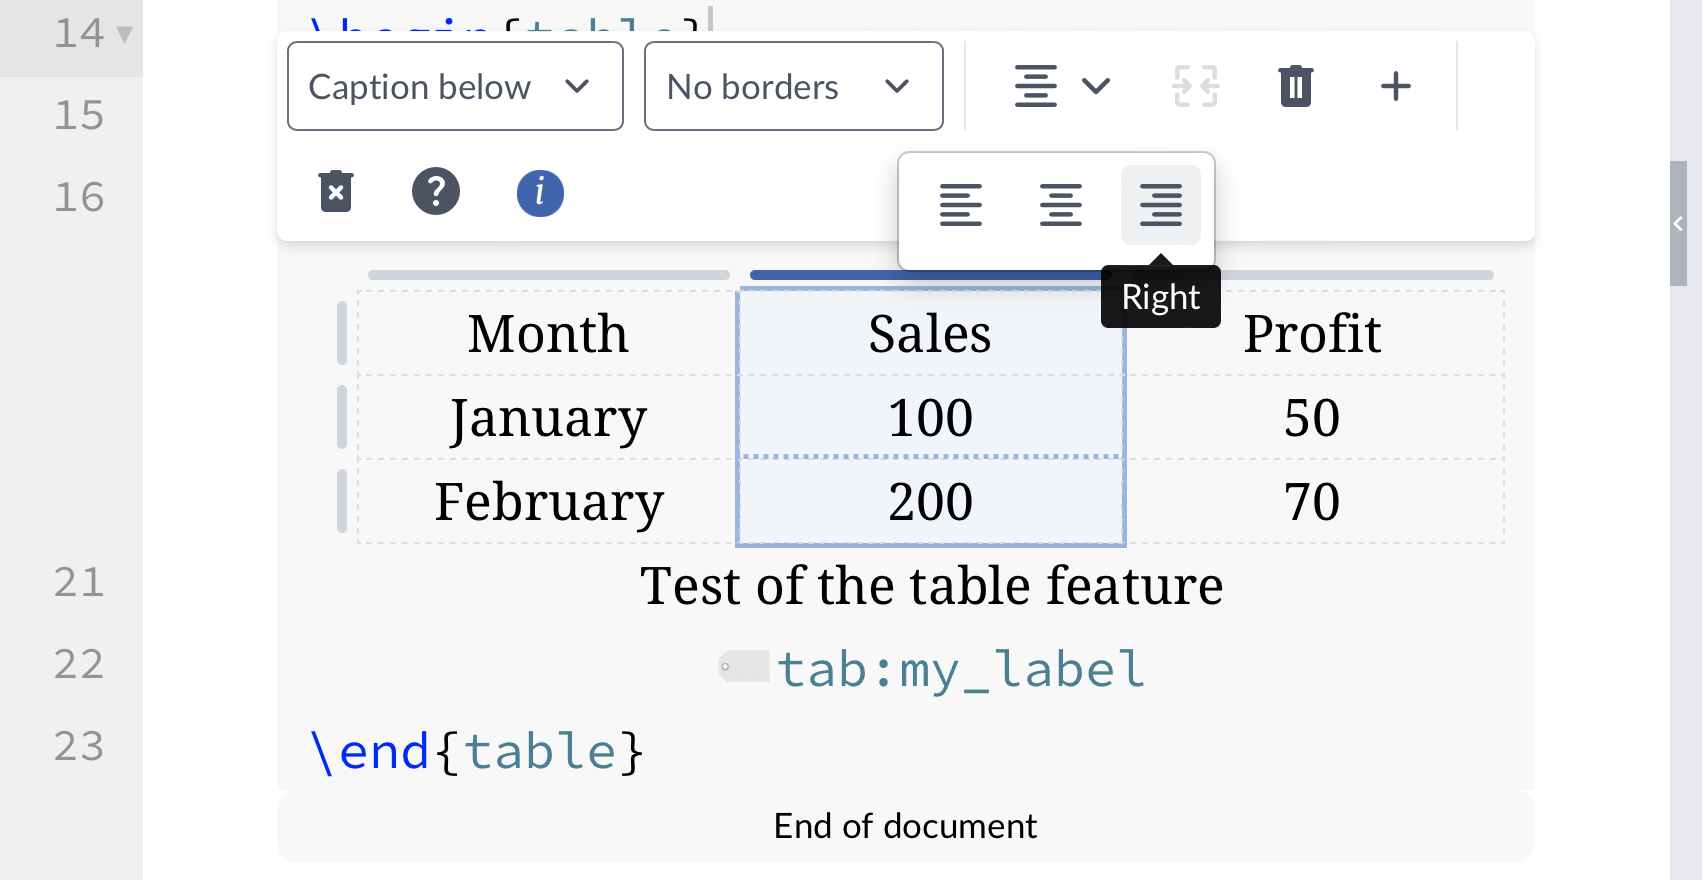
You can enter data directly or copy and paste data from your spreadsheet program. You can also set the alignment of columns.
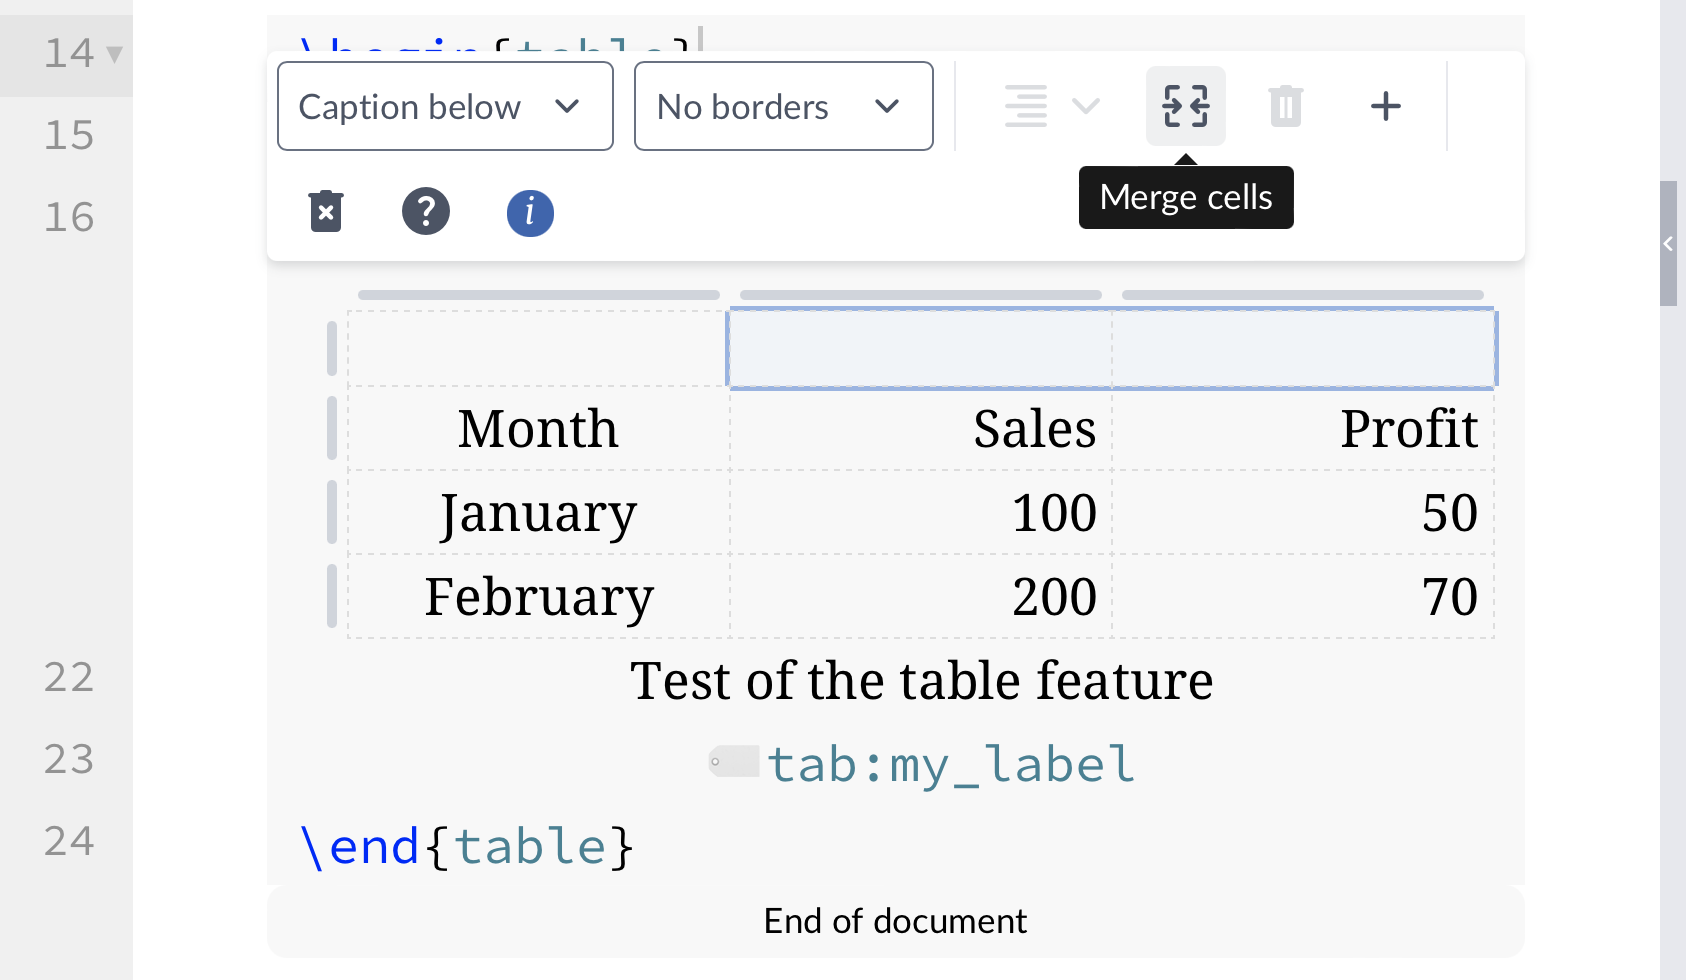
Merging cells also works already.
The complied table is clean and simple.
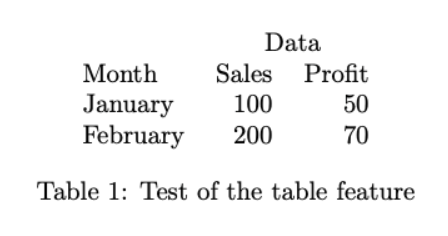
The resulting code is clean and correct.
\begin{table}
    \centering
    \begin{tabular}{lrr}
 & \multicolumn{2}{c}{Data}\\
         Month&  Sales& Profit\\
         January&  100& 50\\
         February&  200& 70\\
    \end{tabular}
    \caption{Test of the table feature}
    \label{tab:my_label}
\end{table}
Patternodes
I started experimenting with Patternodes. Pretty fun. This is just a first test. Still pretty neat already.
pattern02Publishing in an HRI Journal
I just published a new HRI Podcast episode on publishing in HRI Journals. Here is the summary:
Publishing your human-robot interaction study in a journal is an excellent way to share your insights. But in which journal should you publish and what do the journals expect? In this episode, we talk to editors from the three dedicated HRI journals, Agnieszka Wykowska (International Journal of Social Robotics), Selma Sabanovic (ACM Transactions on Human-Robot Interaction) and Bilge Mutlu (Frontiers in Robotics and AI | Human-Robot Interaction). We talk about Open Access publishing and what the future of scientific publishing might look like. Besides the three dedicated journals, there are also some journals that encourage HRI topics without focusing completely on them. I talked with Kerstin Dautenhahn from the Interaction Studies journal and Ramanarayan Vasudevan from the IEEE Transactions on Robotics.