LEGO Digital Crawler with EV3 Controlled Gear Box

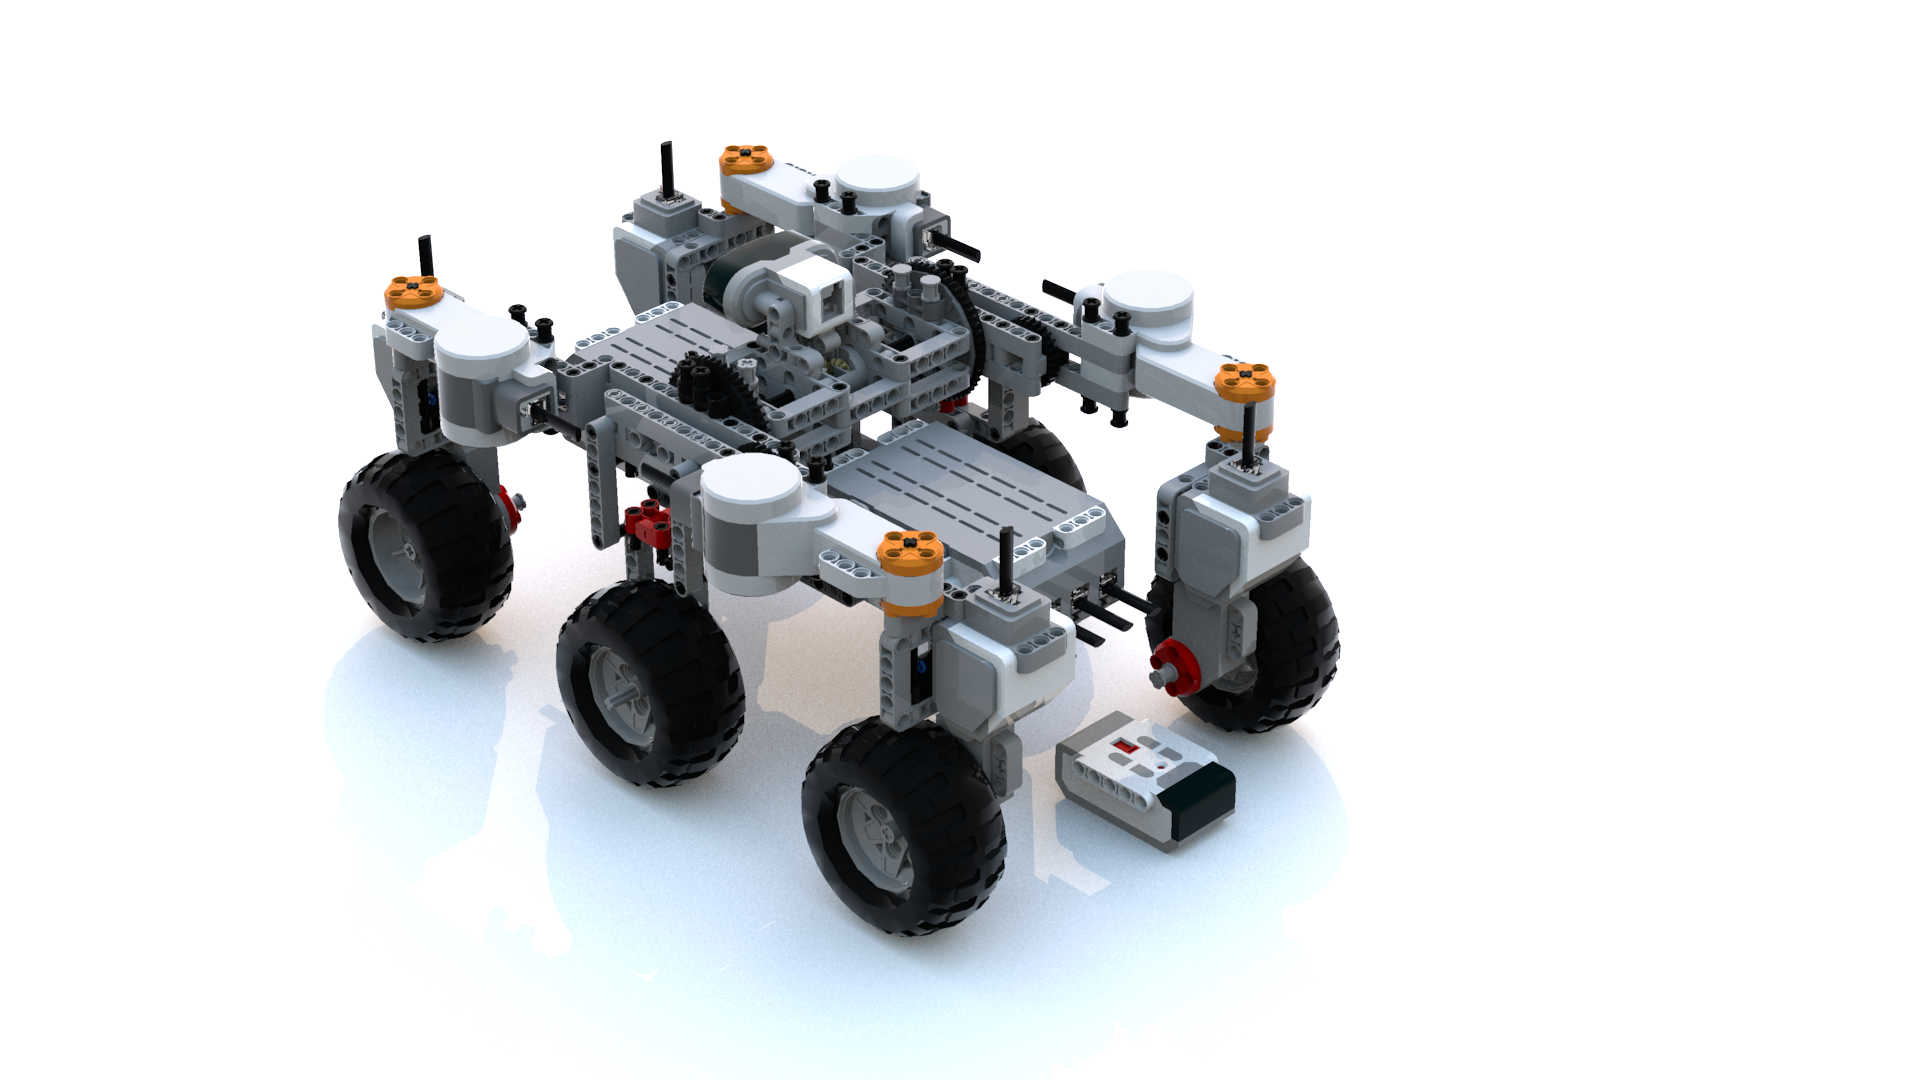
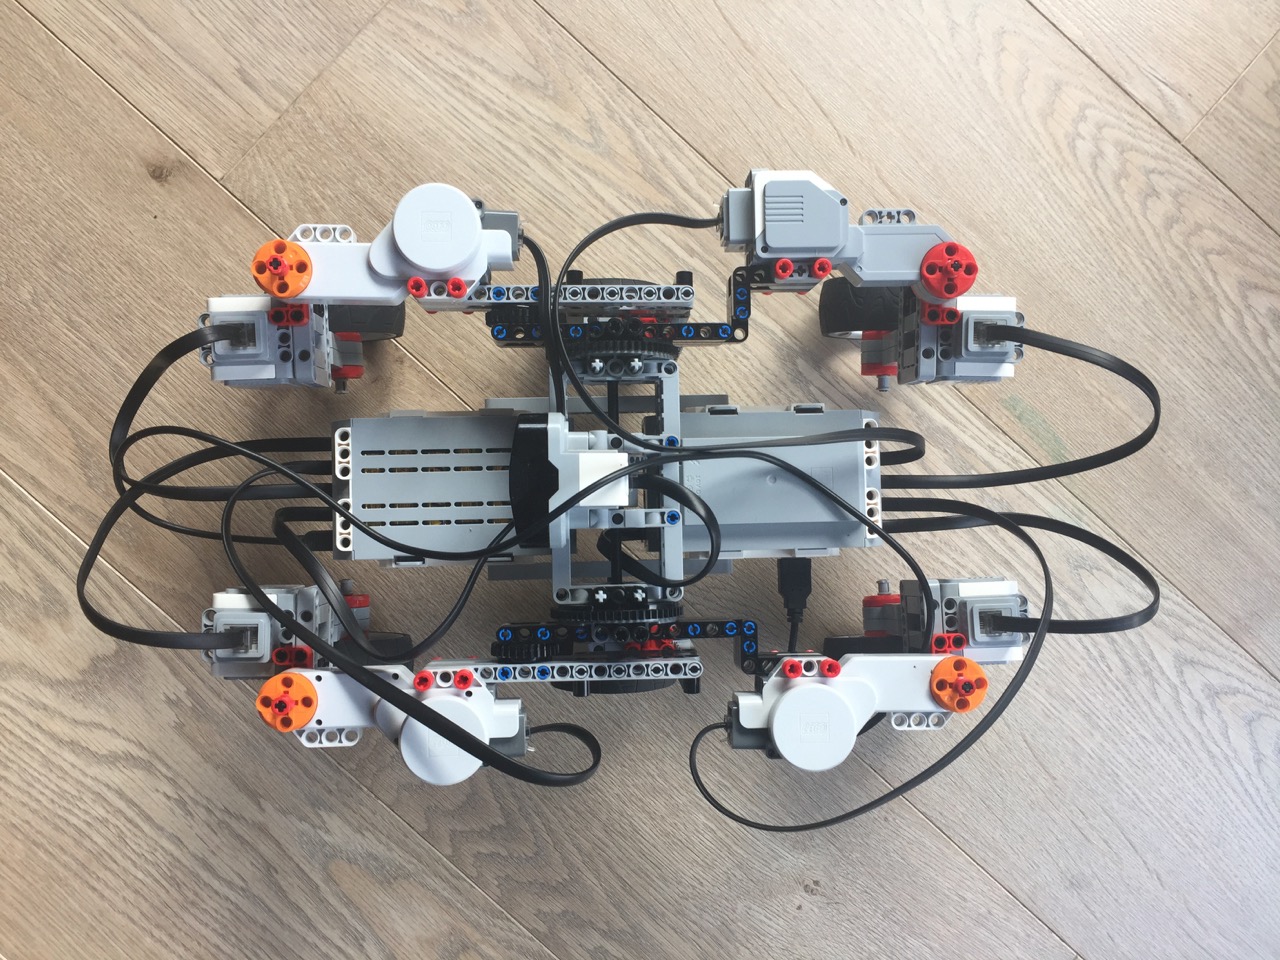
This LEGO remote controlled crawler uses a sequential gearbox from Sariel and a Mindstorms EV3 to control the car. The remote control used force feedback and offers proportional control over speed and direction. It also allows you to change gears and change the forward and backward drive. The two EV3 Mindstorms communicate using Bluetooth. The remote uses two rotation sensors to measure speed and direction.

The building instructions are available for LEGO Digital Designer and Stud.io. Please notice that I had to replace the 35188 Technic Changeover Rotary Catch with another gear in the digital model and I could also not include Mindsensors Glide Wheel Rotation Sensor. These bricks do not yet exist in digital form. I also put up the model are ReBrickable and the inventory there is almost complete. Feel free to also use different wheels. In the LDD model I also had to use other shocks.

Here is a video that explains the model’s function:

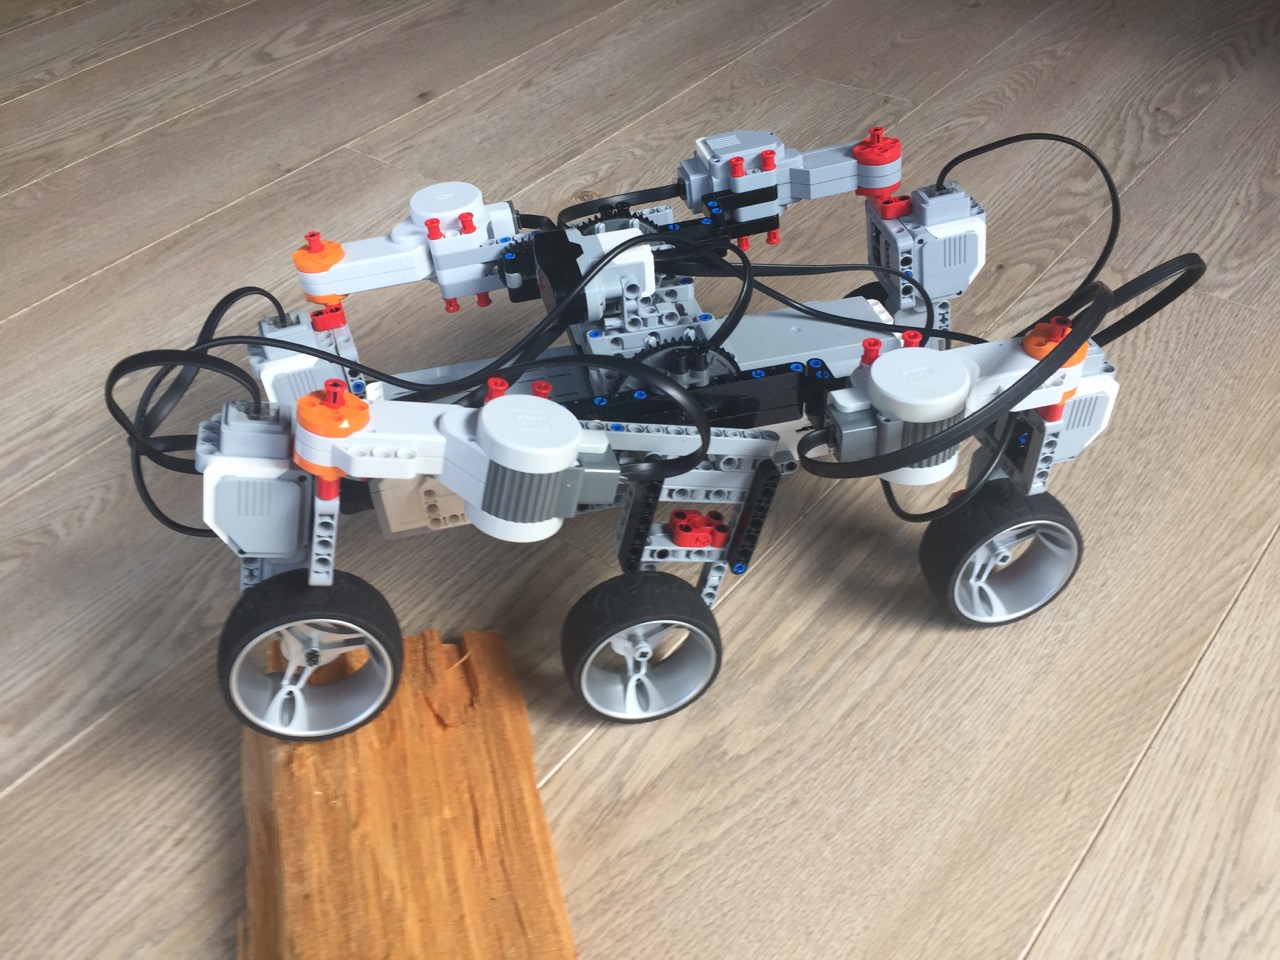
And here is the crawler in action:


Simple LEGO Mindstorms Mars Rover

This is simple Mars Rover model using two LEGO Mindstorms EV3 and a total of eight motors. The two EV3 are daisy chained and the model can be controlled using the EV3 IR Remote Control. The model uses the rocker-bogie suspension system including a differential in the middle axis. The two EV3s are suspended and remain horizontal in any position. There are much more complex Mars Rover models already available using many more Mindstorm bricks. My design goal was to keep it simple and experiment with the rocker-bogie suspension system. The principles works, but there is a bit too much flexibility in the model.

The 3D model and the building instructions are available for LEGO Digital Designer. The parts list and instructions are also available at Rebrickable.


Holonomic LEGO Mindstorms Robot

A holonomic robot uses omni-directional wheels to drive and turn in any direction on the spot. Agilis is an example of an early LEGO holonomic robot. My model is much simpler and robust. Essential to all holonomic robots are the use of omni-directional wheel, such as the the ones from Rotacaster. I am using a compass sensor to allow the robot to be remote controlled on an absolute grid using Connexion’s Space Navigator. This 3D input devices can be mapped to the unique movements and rotations of a holonomic robot.

Continue reading “Holonomic LEGO Mindstorms Robot”

Easy LEGO Mindstorms Spirograph

Ever since I created the Spirograph Automaton I remained interested in drawing machines. For this years Christchurch Brick Show I wanted a more compact, easier to build version of the Spirograph. This time I used three motors instead of just one. Controlling the speed of both arms and the table was very easy this way. The Spirograph worked reliably throughout the whole show. The MinuteBot baseplate makes the construction even easier. The building instruction are available for LEGO Digital Designer. More information is available at Rebrickable.

TicTacToe Playing LEGO Mindstorms Robot Using Computer Vision

You can play TicTacToe with this LEGO Mindstorms EV3 robot. It uses three motors to drop the balls into the right field. It uses a NXTCam to view the board and then calculates the best move using a MiniMax Algorithm. All future moves are explored an rated according to their winning chances. The work is based on the TicTacToe code of Thomas Kaffka. An IR sensor detects your hand when you drop your ball. The robot is using red balls and the human player uses blue balls. The Java code is available over at Github. The building instructions are available for LEGO Digital Designer. I used the MinuteBot baseplate, which is useful for building static Technic/Mindstorms models.


LDD does not have all the required pars in its database. You will have to replace 22961 with 27940. You will also need to add a worm wheel 27938. In addition you should use a lamp to provide consistent lighting. I used a USB powered LED circular lamp the can be powered through the USB port of the EV3. I only had to take out the lens in the middle so that the camera fits through the hole. A rubber band holds the light in place. To calibrate the robot I added a little arm at the end of the base plate against which the robot arm rotates. The position of the camera can be centered on the board using the wrench and through sliding along the axles.

You can also find information about the robot over at Rebrickable. The inventory there is correct and complete. Except for the base plate of course.