
This tutorial will show you how to install and run all the software necessary for you to create PDF files in Java. We will be using the Eclipse editor to write the Java code. Of course there are many other Java editors, but we consider Eclipse to be particularly convenient. This tutorial focuses on the Windows platform. You will work through the following five steps:
- Installing Java on your computer
- Install iText on your Computer
- Install and configure Eclipse on your Computer
- Write and run a “HelloWorld” program
The order of these steps is very important. Please go through them one by on. In addition to this tutorial you may also want to consider reading these books that are of particular use:
 iText in Action iText in Actionby Bruno Lowagie view at Amazon.com |
1. Install Java on your Computer
Download and install Java SE (Standard Edition) JRE (Java Runtime Environment). You do NOT need to install the JDK (Java Developer Kit). We will install Eclipse later, which does already include all the tools you need to write and compile your programs. After the installation you also do NOT need to set any Path or Classpath variables for Java itself. Java will be installed in “C:\Program Files\Java”
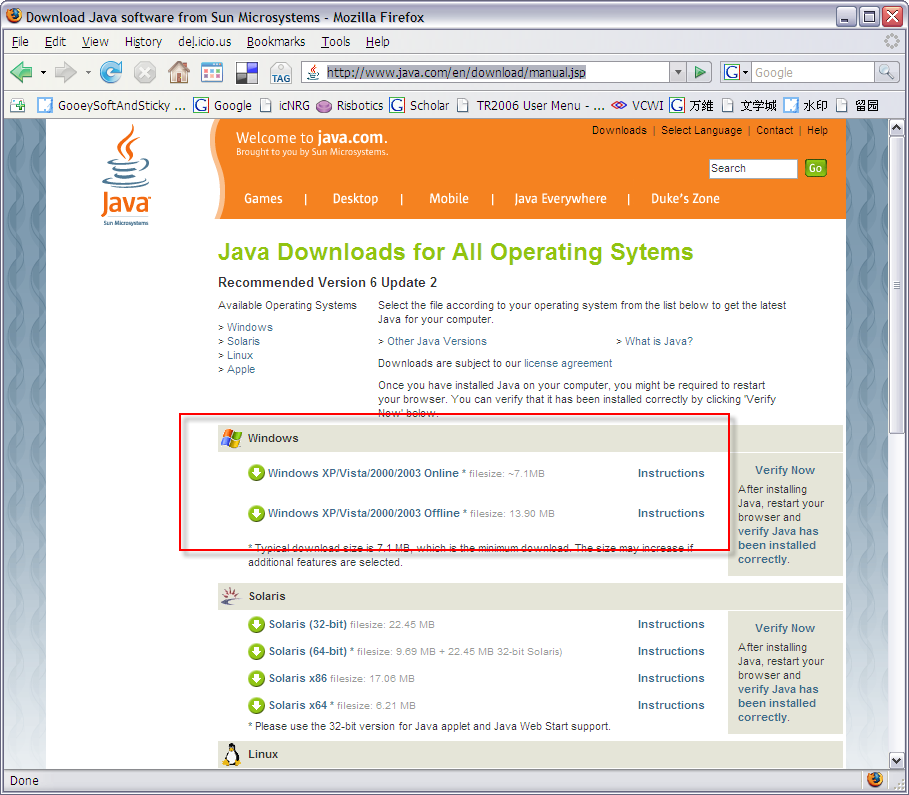
If you already have Java installed you need to verify that you have at least version 5, preferable of the JRE, but the JDK will work as well. We will install Eclipse, which does require at least this version.
2. Install iText on your Computer
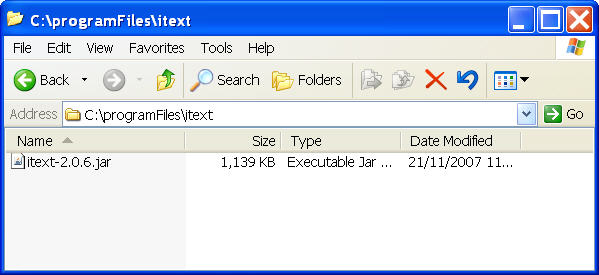
Download iText jar file. Create a directory called “ProgramFiles” on your hard disk. The already existing directory “Program Files” does contain a space character between “Program” and “Files” that sometimes causes problems in the usage of Java technology. You will later also install Eclipse into the “ProgramFiles” directory. Place the iText jar file in your “ProgramFiles” directory.
3. Install and configure Eclipse on your Computer
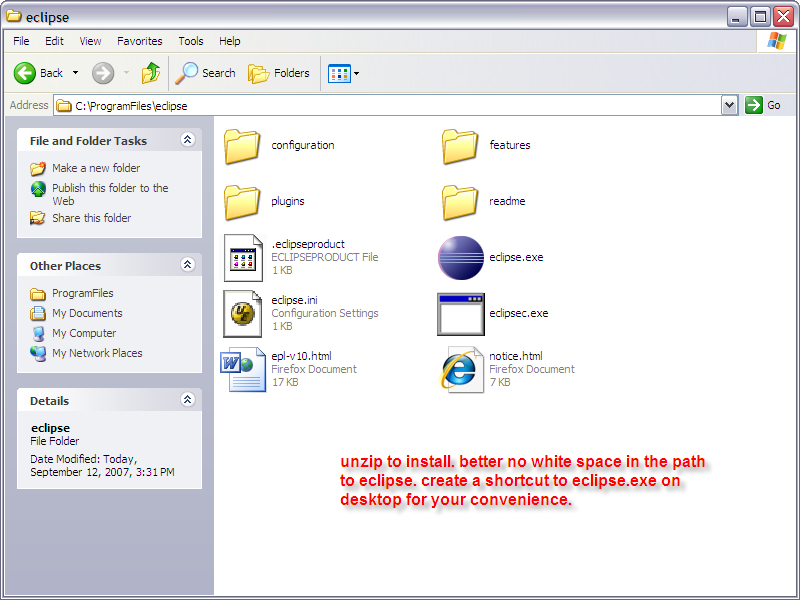
Download Eclipse IDE for Java Developers. Eclipse itself is written in Java and does not contain an installer (setup.exe). It comes in a simple ZIP file that you should unzip into the previously created “ProgramFiles” directory. You may want to create a shortcut to “eclipse.exe” on your desktop for your own convenience.
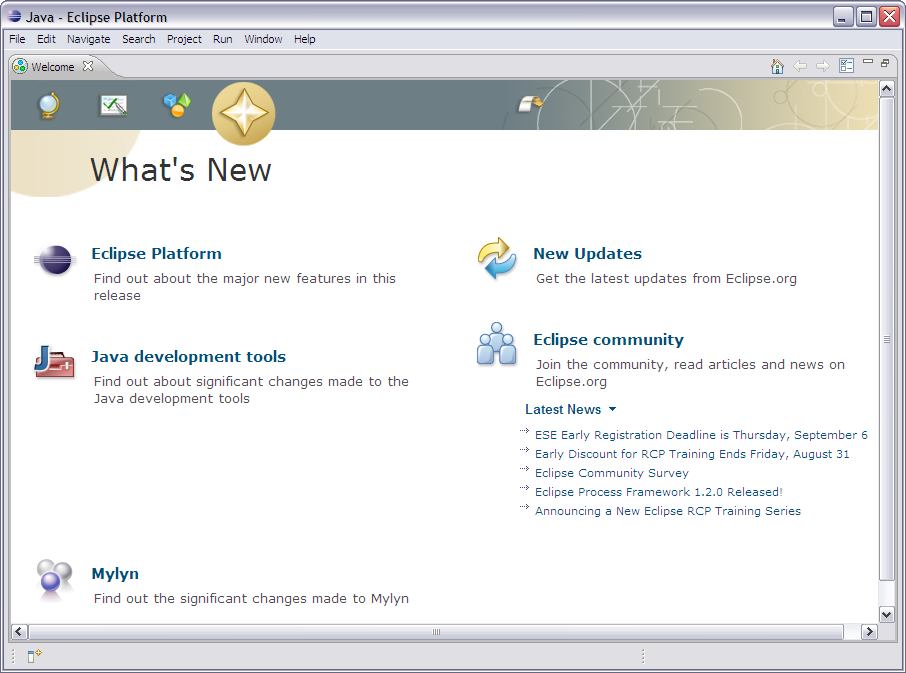
When you start Eclipse you will be asked to choose a workspace. The workspace will contain all the files that you create. Again, you should create a directory in a location so that the path does not contain any space characters ” “. In our example we use the directory “d:\programming\workspace”. You will then be greeted with the welcome screen.

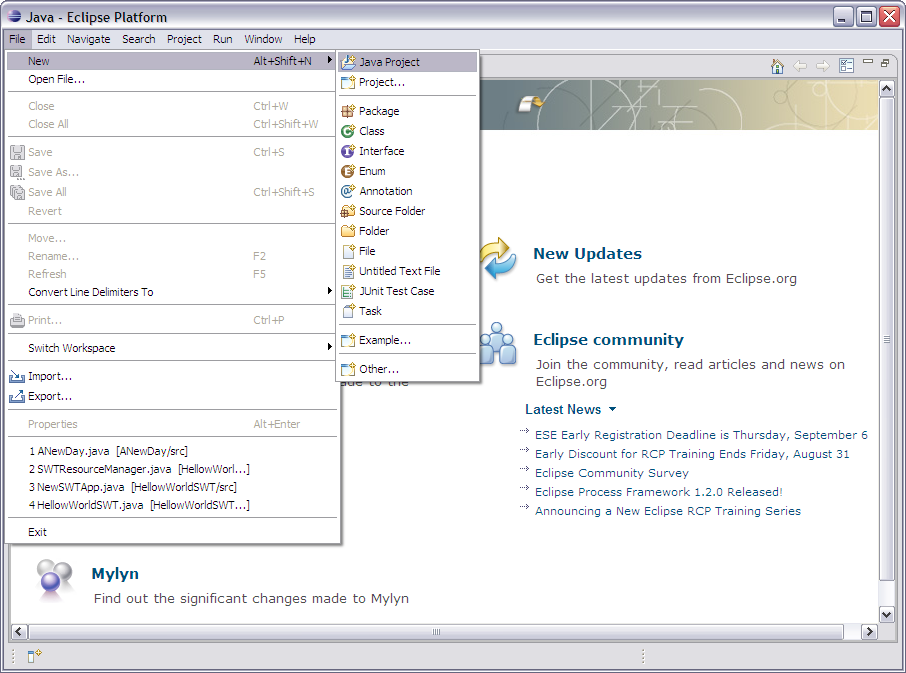
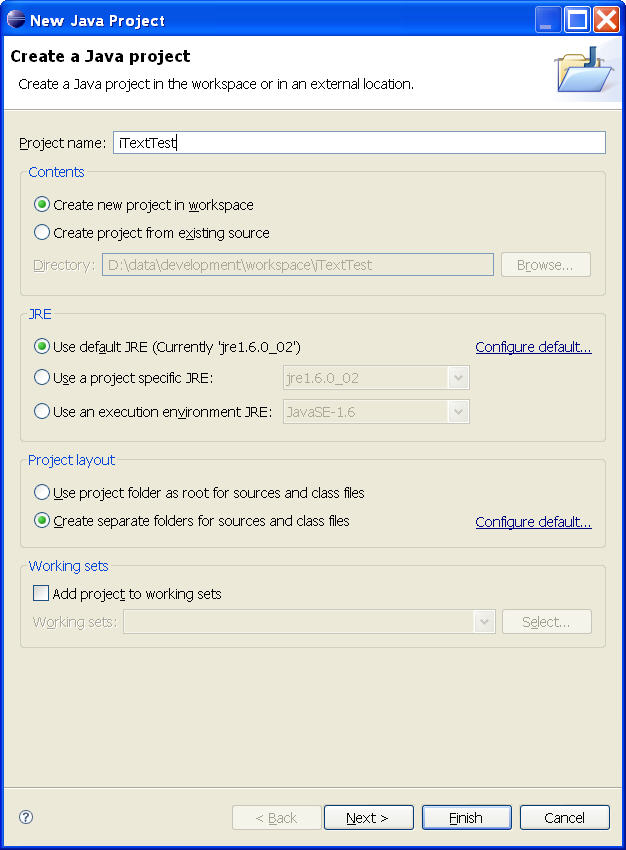
We will now create a Hello World program. First, you need to create a new Java project. Click on “File => New => Java Project”. Give the project a new name, but avoid space characters. We called ours “iTextTest”
Next, you need to turn this project into an iText project. Right-click onto the project and select “Properties”. Select “Java Build Path” on the left and click on the “Libraries” tab. Afterwards, click on “Add External JARs…” and locate the directory “ProgramFiles”. Select the iText.jar file and press “Open”. The iText library will now be listed. Click “OK” to leave the properties.
4. Write and run a “Hello world” program
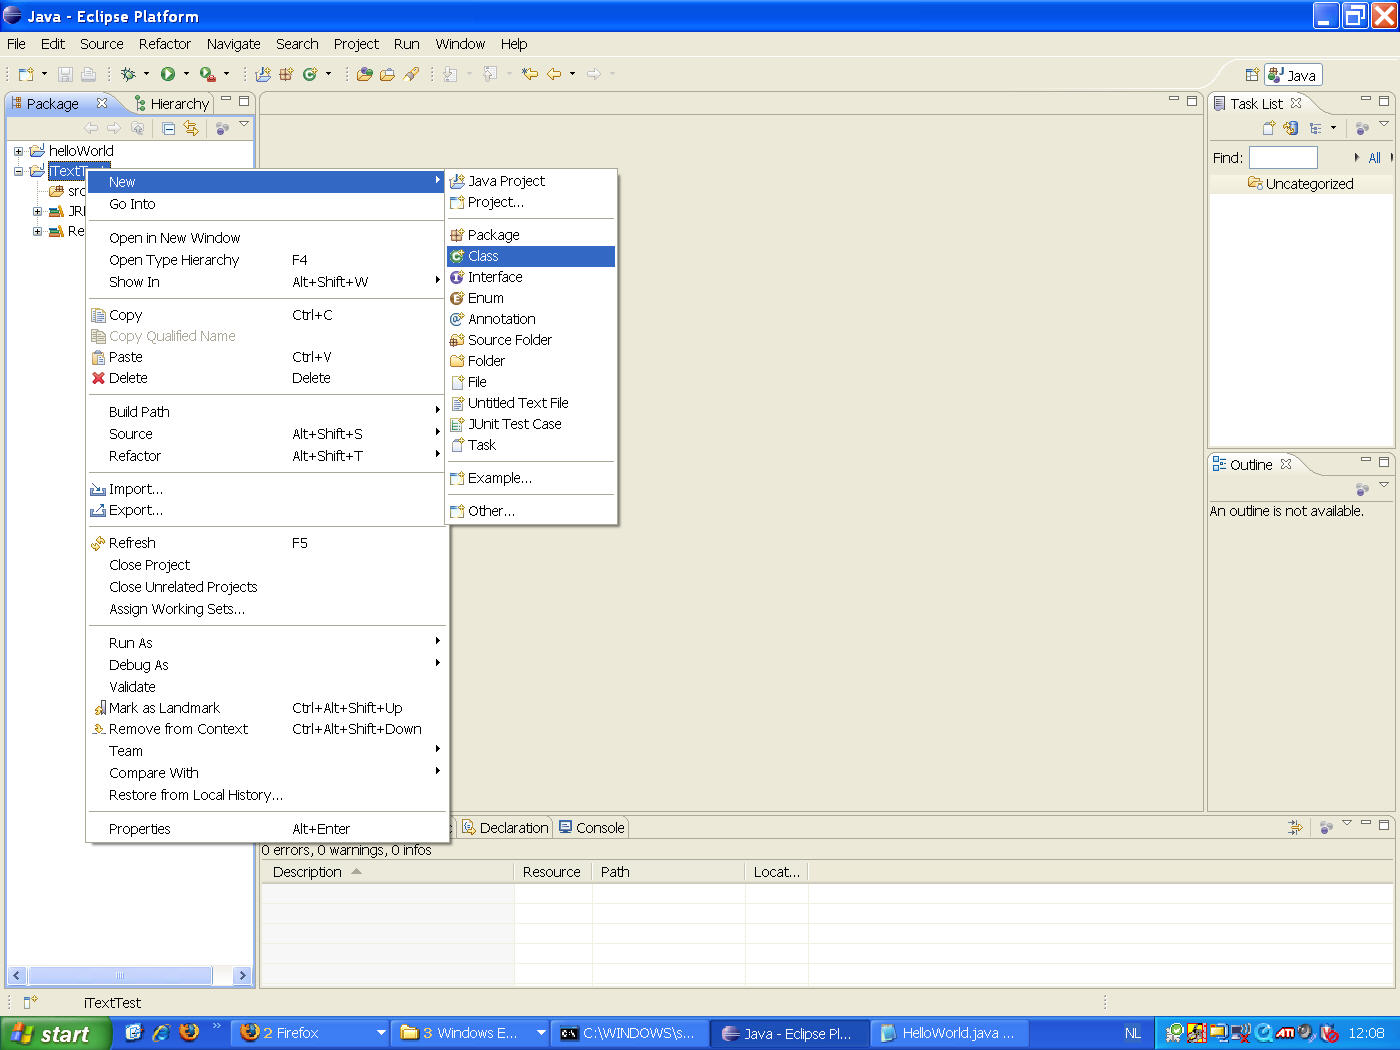
First, we need to create the main class of your program. Click on “New => Class”. Name it “HelloWorld” and check the box “public static void(String[] args)”. You will receive an almost empty class. Eclipse is a very smart Java editor that tries to compile your program while you write. Similar to M$ Word, it will underline errors with a red line. Sometimes this automatic compilation does not work and you want to force Eclipse to compile. You can achieve this by simply saving the file.

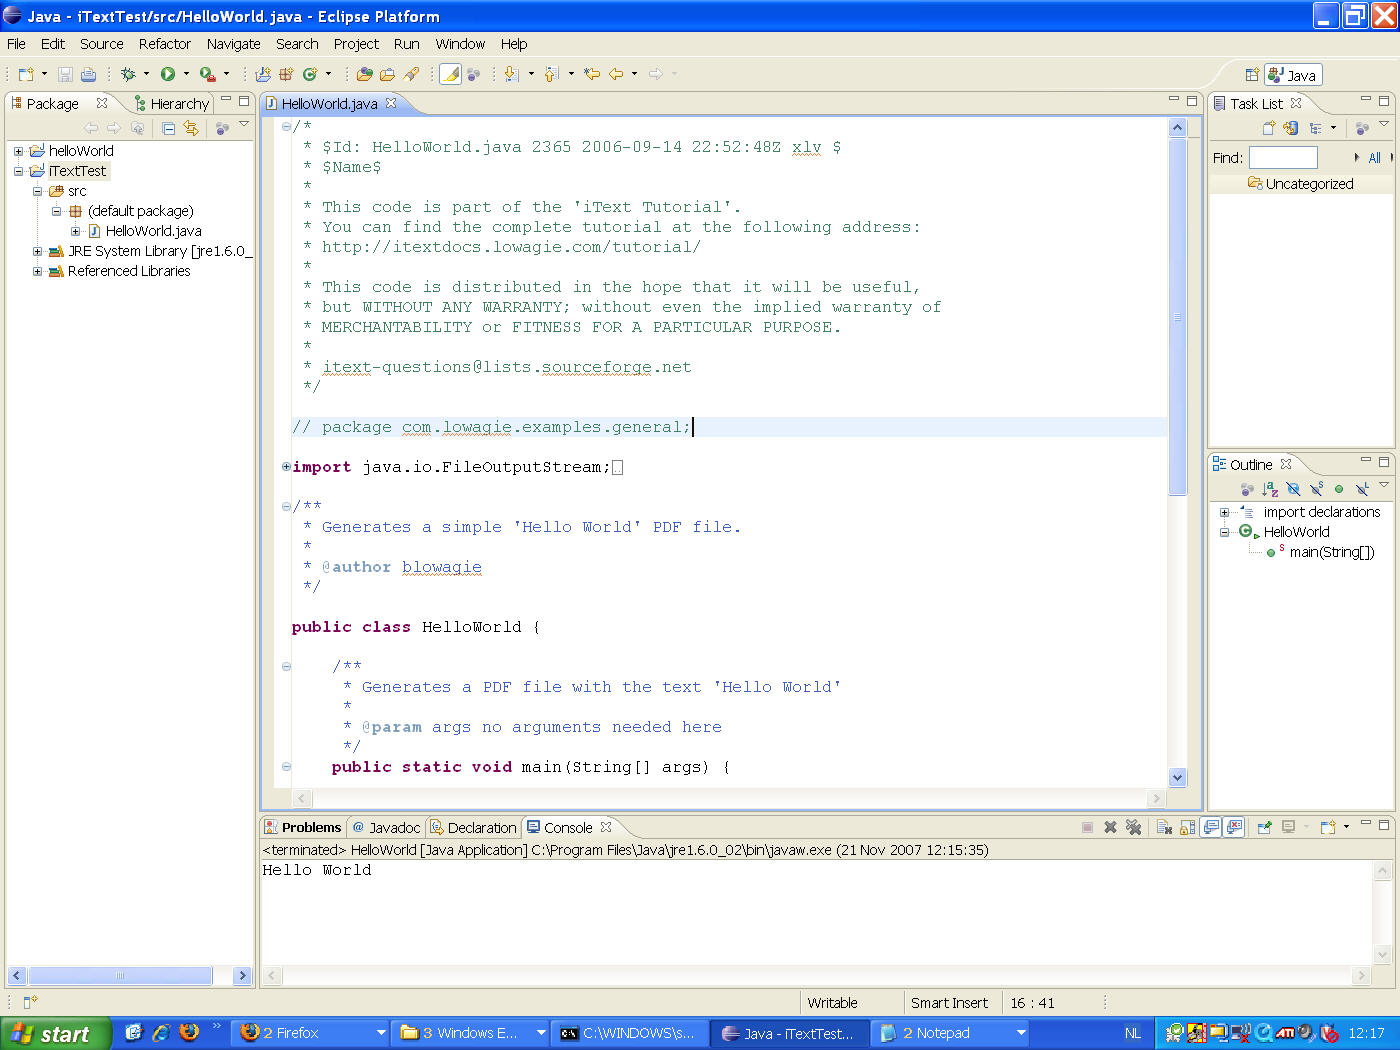
You now need to copy iText’s example HelloWorld java file which is available here. Replace all the text in the class with the example file. Make sure that you comment out the line containing pachage:
// package com.lowagie.examples.general;
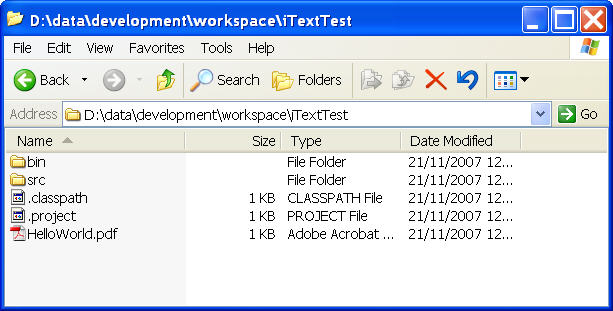
Now you can safe and run the program. The program will create a pdf file in your project directory inside of your workspace directory.
this tutorial was excellent and helped me get started with itext and java – just what i needed.
thank you!
Rob.
“Afterwards, click on “Add External JARs…” and locate the “lib” directory in your “ProgramFiles\iText” directory.”
This should be:
“Afterwards, click on “Add External JARs…” and locate the JAR-file in your “ProgramFiles\iText” directory.”
But I guess this minor flaw wouldn’t give any problems.
The rest of the Tutorial is well written and easy to follow.
Thnx,
Ruben
Hey Ruben,
I changed the text. Thank you for this feedback!
Christoph
Cool! Easy to understand!
Thanks a lot!
Its very helpful to me,
To know atleast to know how pdf is generating through itext
its fine…
Excellent guide, had no problems and got iText and Eclipse up and working perfectly.
Really appreciate the time you took to put this together.
Kamran
very useful and straight forward tutorial..thank you.
Hey great job! This tutorial was very helpful!
Hey,very good job thank u.
But, where can i find your other tutoriels please??
thank u …..
it’s good….
thanks alot ..itz reallp excellent….thanks once again
Hi,
I was trying to follow your steps but it seems like the HelloWorld.java is no longer available at your site. Is it possible you could post the code to see if I did all steps correctly?
Thank you
Hi,
I was trying to follow your steps but it seems like the HelloWorld.java is no longer available at your site. Is it possible you could post the code to see if I did all steps correctly?
Thank you
————————–
Sorry I re-posted but I provided the wrong email
The HelloWorld.java is located at lowagie’s website. I seems like they moved it. Maybe you can look for it on their website and let us know where it went…
Great tutorial this really helped me to join my PDF’s together. Keep up the good work.
The HelloWorld source code may be found at the following link:
http://examples.itextpdf.com/src/part1/chapter01/HelloWorld.java
BTW, an easier way to proceed is to create a mven project and add dependency on itext artifact.
Add the example class that’s it :)
really helpful thank u!!!
Great info. This gets me out of a bind. I’ve been using different open source PDF libraries in PHP for years but have found in Java that iText seems to the the only open source option. If anyone knows of other options, please let me know.
Thanks.