The 2013 LEGO Minifigure Catalog is now available. It contains photographs of more than 550 Minifigures that were produced in 2013. It is very complete and I was even able to photograph the very rare Minifigures.
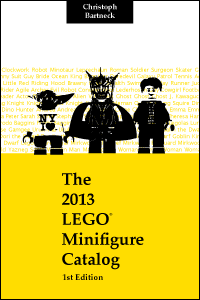
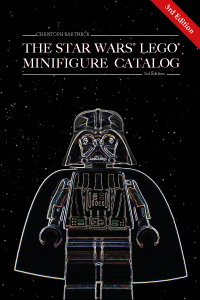
Furthermore, I am happy to announce that the 2nd edition of the 2012 LEGO Minifigure Catalog and the 3rd edition of the Star Wars LEGO Minifigure Catalog are now available. The later contains all the photographs and data of the 2013 Minifigures in addition to several corrections and extensions. The 2nd edition of the 2012 catalog contains mainly additions and some minor corrections. The Minifigures from the Arkham Asylum, for example, have been added to the catalog. I hope you enjoy the books.