

Taking 360 degrees panoramic photographs has become easy due to the arrival of dedicated 360 cameras, such as the Ricoh Theta V. But their 4K resolution is spread thin across the whole 360 degree viewing angle. There is still a need to panoramas with high resolution that can only be taken by stitching multiple photographs together. The GigaPan Epic Pro is a robotic camera head that tilts and pans your camera before triggering the shot. You can stitch hundreds even thousands of photos together into one GigaPixel panorama. I have uploaded a few on GigaPan’s website.
One problem when shooting GigaPixel panoramas is that some parts of your panorama will be very light due to the sun shining directly on them while other areas might be very dark, for example by simply being in the shadow. Finding a compromise exposure for your camera might be difficult and hence we are using bracketing to shoot multiple photos of the same area. Each of these photos will be several exposures apart from the others. For any shot you will have in fact three shots, each with a low, medium and high exposure. When you stitch the panorama together in AutoPano Giga, for example, you can use all three exposures. Autopano has several modes to select the best exposed pixel.
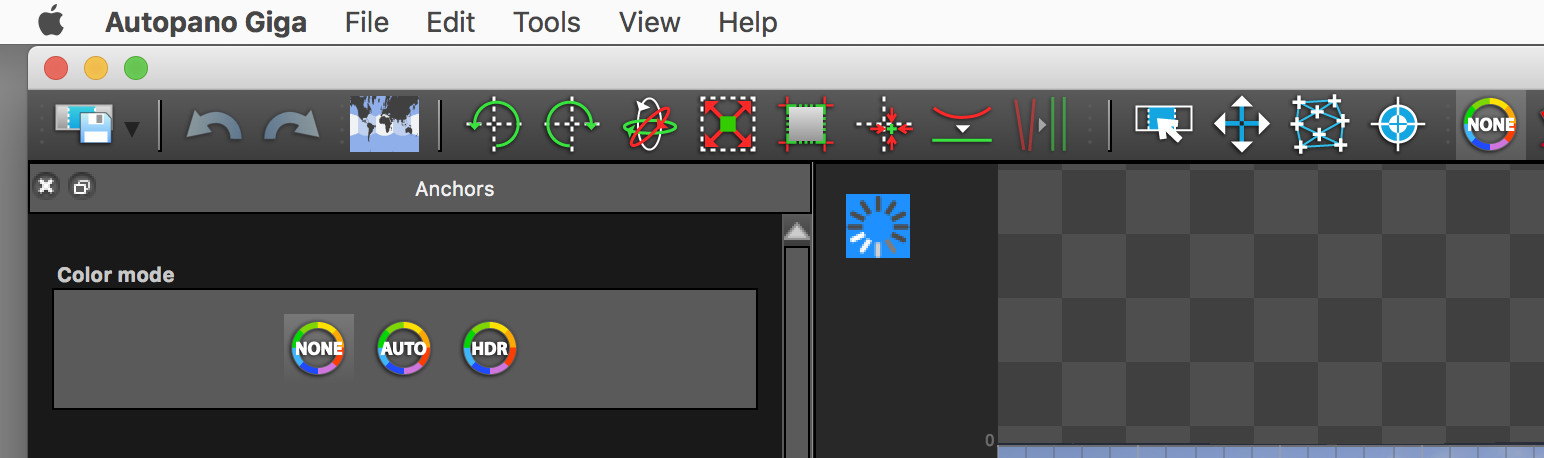
There are two settings that you can play with that will heavily influence how your final panorama will look like. You can set the Color Mode to None, Auto and HDR.
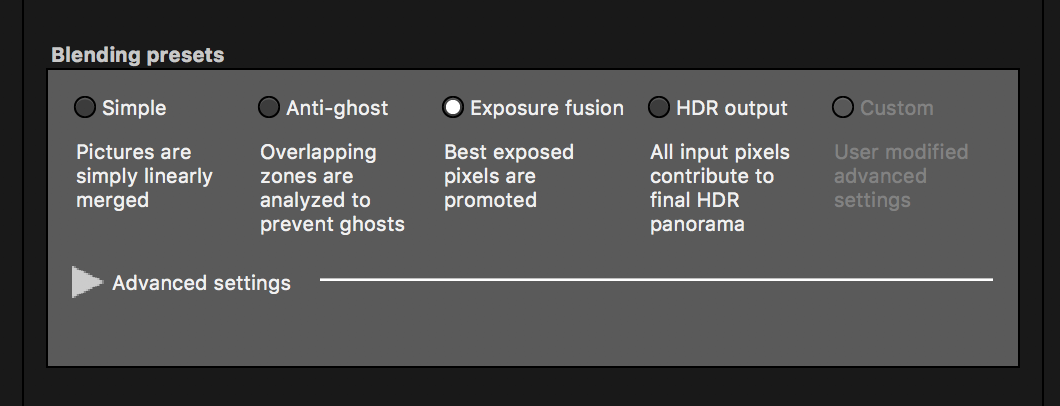
You can also set the Blending Presets to Simple, Anti Ghosting, Exposure Fusion and HDR Output.
I systematically varied these two settings to get an impression on what results the may produce. Continue reading “Exposure bracketing and rendering in AutoPano Pro”