
This tutorial will show you how to prepare your drawing for the laser cutter. I assume that you are using Illustrator CS3 to create your drawing. In addition to Illustrator, you also need to have Corel Draw, which you can download from the TU/e website. You may also to consider to work directly in Corel Draw, since it can also import EPS files, however, you may miss the creative power of Illustrator.
We have a Trotec Speedy 300, which has an accuracty of +/- 0.0025mm, which makes it an excellent tool to cut wood, plastic and paper. Metal cannot be cut and not all plastics are suitable. Please check with machinist if your material can be cut. As a rule of thumb, MDF, paper, cardboard and Perspex can but cut up to a certain thickness. In addition, the Speedy 300 can engrave many materias.
Prepare your Illustrator file
All your drawings must be on one layer and lines shall not overlap, otherwise the laser cutter will execute the same cut twice. If you intend to engrave a line, then this line should be at least 0.1mm, otherwise the line will be invisible. If you want to engrave a photograph, then you need convert it to grayscale picture and plase in the document. The laser cutter software will convert this photograph into a B&W rastered image.
Save your documents into a new file.
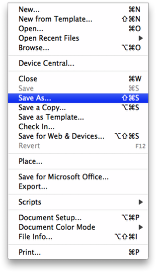
From the file menu, select “Save As…”
Give your file a new name and choose the Adobe Illustrator Format.
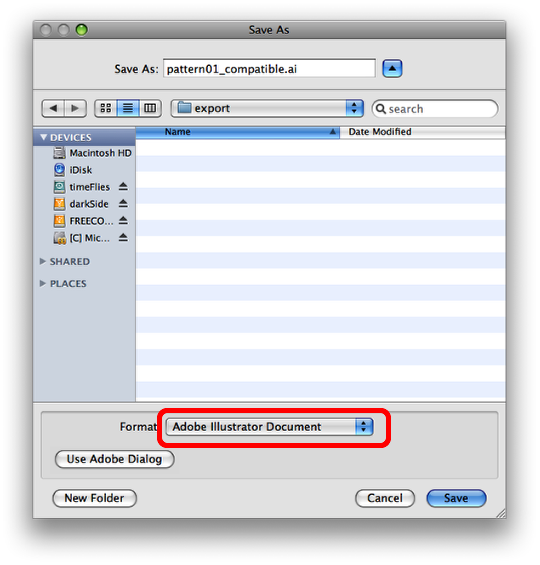
Choose the Adobe Illustrator format and click “Save”
Select the file options
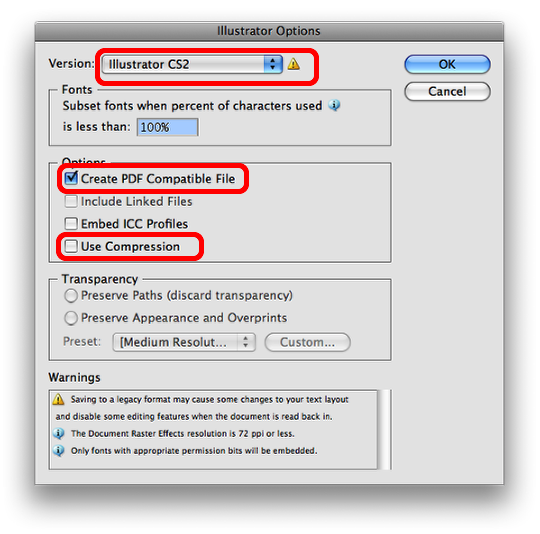
Make sure that you select Illustrator version CS, that you check “Create PDF Compatiblet File” and that you uncheck “Use Compression”. Afterwards, press “OK”.
Create a new Corel Draw document
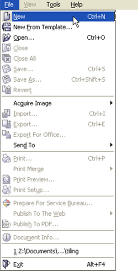
Start Corel Draw and choose “New” from the File Menu. If you do not yet have Corel Draw installed on your computer, you may download it from the TU\e website.
Set the document dimensions
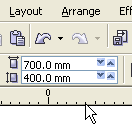
The document must be 700 mm wide and 400 mm heigh.
Import Illustrator file
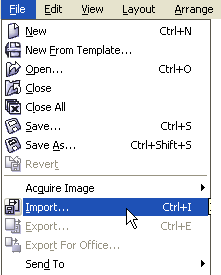
Choose “Import…” from the File menu.
Select Illustrator file
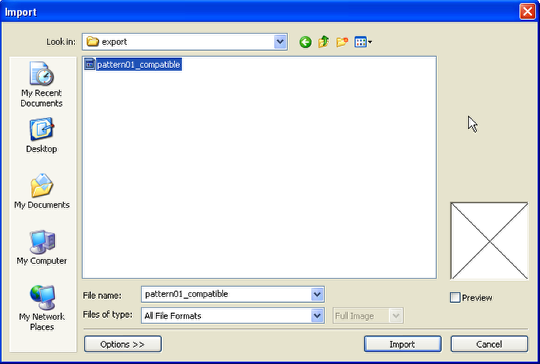
Choose the illustrator file and the click “Import”. Place the file on the screen, but make sure that it is not completely on the edge.
Select the properties of the lines
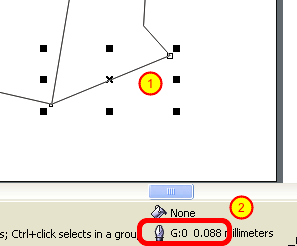
First, select the line, then either execute a right click, or make a double left click on the pen icon in the bottom of the screen.
Change width and color of the line
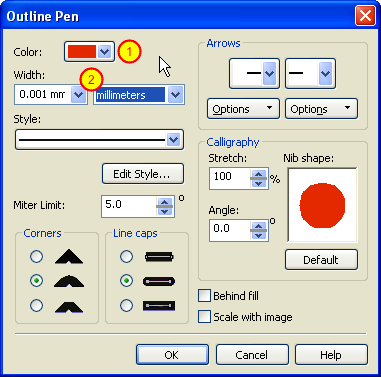
First, select the color of the line and then set the thickness to 0.001 mm. The color of the line determines the order of cutting. The precise color code is listed in the table below. The black color is the first activity, and it can only be used for engraving. Starting with red, the cutting sequence can be defined. If, for example, you want to create a ring, then you should first cut the inside circle (red) before cutting the outter circle (blue). This way, the material will not move around during the cutting. The colors of drawing must be exacly as defined in the table.
| RGB Color Model | CMYK Color Model | |||||||
| No | Color | R Red | G Green | B Blue | C Cyan | M Magenta | Y Yellow | K Black |
| 1 | Black | 0 | 0 | 0 | 0 | 0 | 0 | 100 |
| 2 | Red | 255 | 0 | 0 | 0 | 100 | 100 | 0 |
| 3 | Blue | 0 | 0 | 255 | 100 | 100 | 0 | 0 |
| 4 | Desert Blue | 51 | 102 | 153 | 40 | 20 | 0 | 40 |
| 5 | Cyan | 0 | 255 | 255 | 100 | 0 | 0 | 0 |
| 6 | Green | 0 | 255 | 0 | 100 | 0 | 100 | 0 |
| 7 | Grass green | 0 | 153 | 51 | 60 | 0 | 40 | 40 |
| 8 | Forest green | 0 | 102 | 51 | 40 | 0 | 20 | 60 |
| 9 | Olive | 153 | 153 | 51 | 0 | 0 | 40 | 40 |
| 10 | Brown | 153 | 102 | 51 | 0 | 20 | 40 | 40 |
| 11 | Walnut | 102 | 51 | 0 | 0 | 20 | 40 | 60 |
| 12 | Plum | 102 | 0 | 102 | 0 | 40 | 0 | 60 |
| 13 | Purple | 153 | 0 | 204 | 20 | 80 | 0 | 20 |
| 14 | Magenta | 255 | 0 | 255 | 0 | 100 | 0 | 0 |
| 15 | Orange | 255 | 102 | 0 | 0 | 60 | 100 | 0 |
| 16 | Yellow | 255 | 255 | 0 | 0 | 0 | 100 | 0 |
You may also consider creating your own color pallet with these colors.
Export Corel Draw file
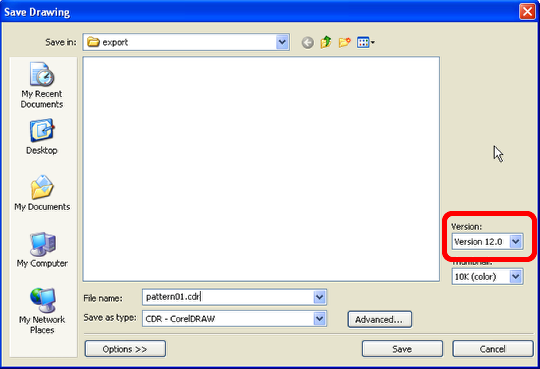
From the file menu, select “Save as…” Give the file a name and select Version 12.0. Then click “Save”. Copy the file onto a USB stick and take it to the control computer of the laser cutter.
Be sure to also remove all the layers from the Illustrator file, except the one with your cut instructions, otherwise the file cannot be imported in CorelDRAW!