
We will be installing Java and the Eclipse Integrated Development Environment (IDE). This will allow us to develop your LEGO Minstorms EV3 software in Java and running it on the EV3 using LeJoS. Please let me know in the comments if you encounter any problems. I will try to keep this tutorial up to date.
You will need:
- LEGO Mindstorms EV3 brick
- USB cable
- 16 GB Micro SD card
- Card reader
This tutorial will only get you started and you might want to dive much deeper into Java development for the EV3. These books might be useful for you:
- Maximum LEGO EV3: Building Robots with Java Brains by Brian Bagnall
- Beginning Robotics Programming in Java with LEGO Mindstorms by Wei Lu
My personal favourite for building amazing mechanism is Sariel’s book:
- The Unofficial LEGO Technic Builder’s Guide by Pawel "Sariel" Kmiec
1. Download the Mindstorms Software
You will need the USB driver for your EV3 and the easiest way to install it is to install the complete EV3 Developer Software. This is LEGO’s own software based on LabView. It is a graphical programming language and we will NOT be using it. We only need the USB driver that comes with it.
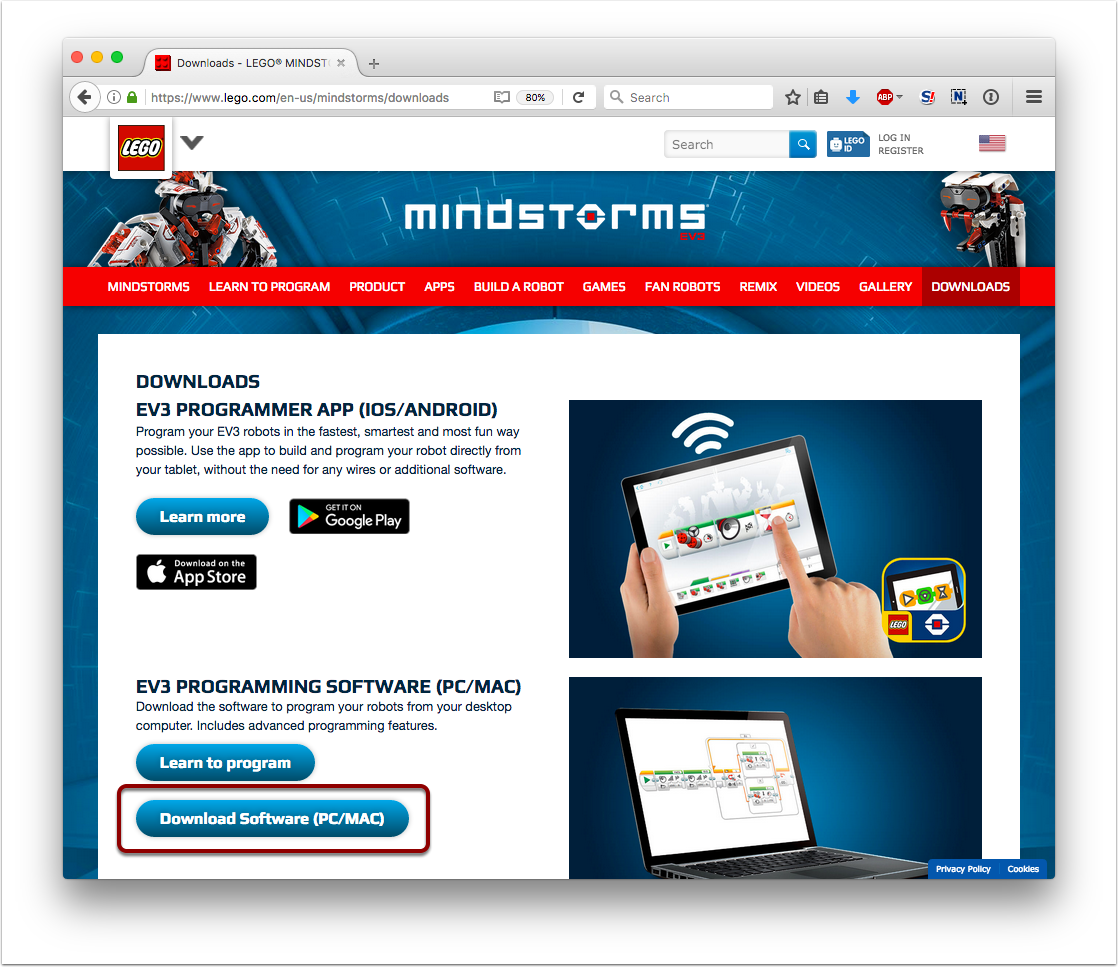
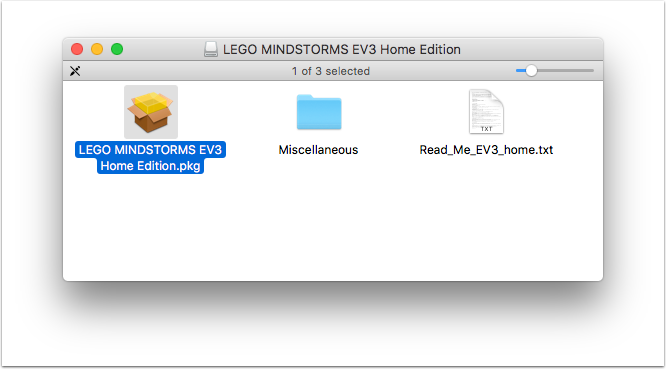
1.1 Run the Mindstorms EV3 installer
Just double click on the installer to launch the process. You will not only have the easy to use programming environment, but also all the driver installed.
2. Install Java if necessary
You need to have a recent version of Java installed on your computer. Let’s check which version you have and install a newer version if necessary.
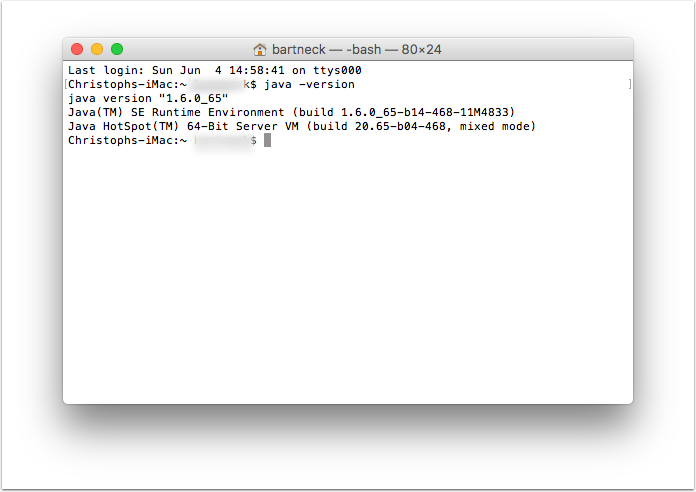
2.1 Check the installed version of Java
Open the terminal application and type "java -version". In the screenshot below you see that I had version 1.6 installed which is insufficient for running Eclipse.
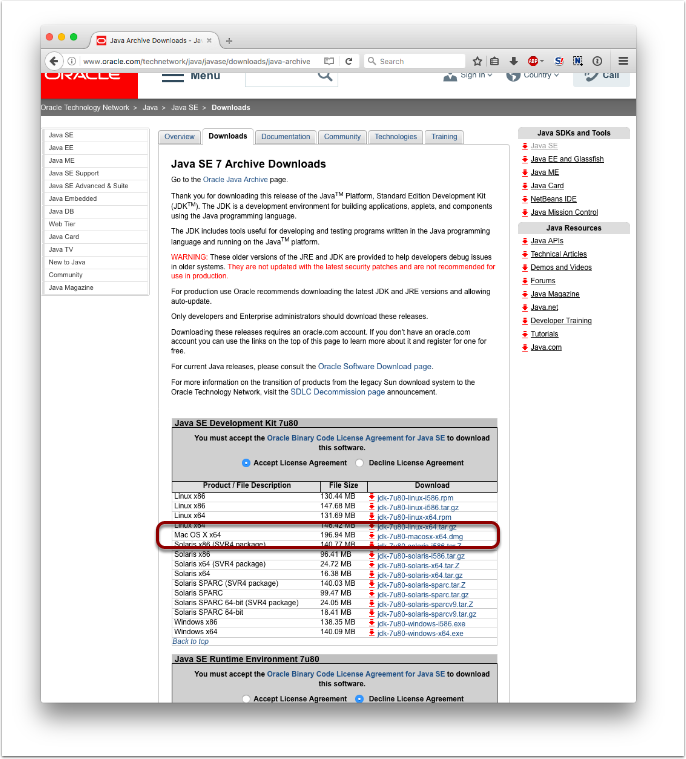
2.2 Download version 7 of the Java Development Kit (JDK)
Visit http://www.oracle.com/technetwork/java/javase/downloads/java-archive-downloads-javase7-521261.html to download the version 7. You will need the JDK version. Oracle did already release version 8 of Java, but not yet for the EV3 brick. To build a proper Java project you need to build it for version 1.7. The catch is that the latest version of Eclipse requires Java version 8, which we will download and install next. You can have multiple version of Java installed on your computer without any problems.
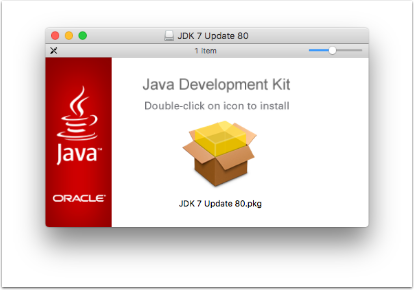
2.3 Install the JDK
After downloading the DMG file double click it to mount the disk. A new window will appear with the JDK installer. Run the installer.
2.4 Check your version of Java again
Open the Terminal application and type "java -version". This time my Mac tells me that version 1.7 is installed which is what we need for LeJOS on the EV3 brick/

2.5 Download and install Java 8 for Eclipse
The latest version of Eclipse Neon requires Java 8, so lets download it from http://www.oracle.com/technetwork/java/javase/downloads/index.html You will need the JDK version. Once the download is complete double click on the installer to get to the mounted DMG disk image.

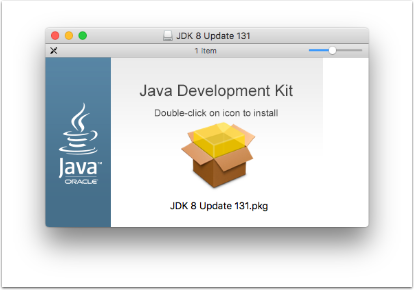
2.6 Install Java 8
Double click on the installer to get Java 8 on your computer.
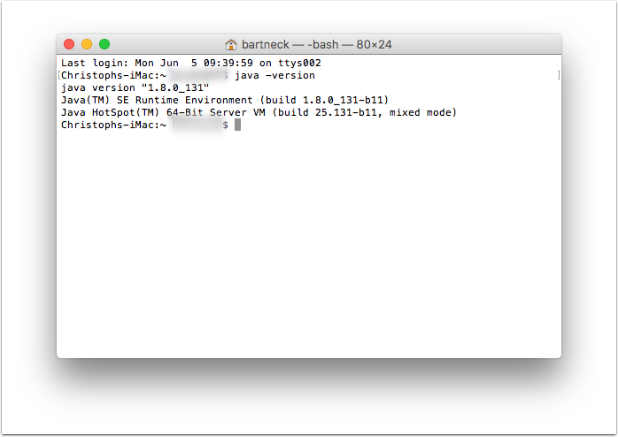
2.7 Confirm installation of Java
Run "java -version" from the terminal again to confirm that you have Java 8 installed correctly.
3. Install Eclipse IDE
The Eclipse Integrated Development Environment is a great software editor for your Java projects. It is free and open source.
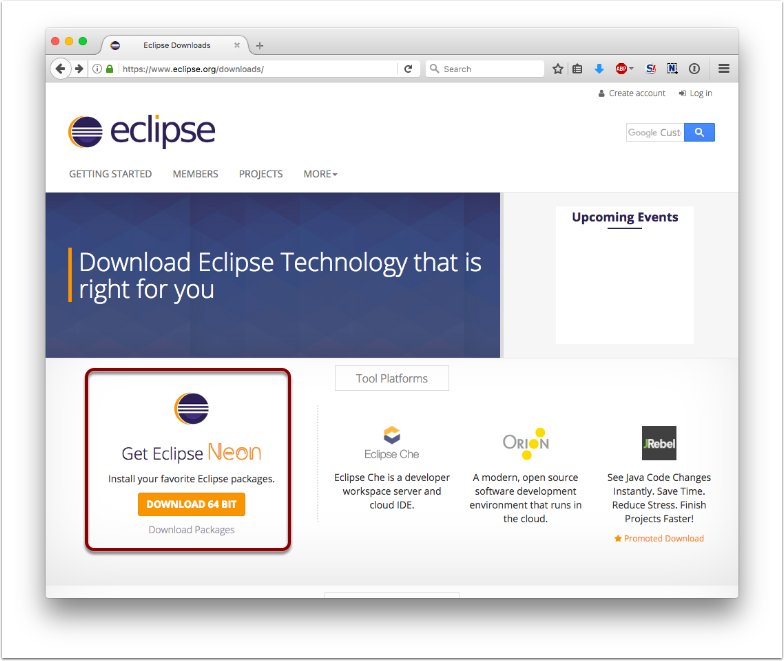
3.1 Download the Eclipse IDE
Go to https://www.eclipse.org/downloads/ and download the Eclipse Neon version.
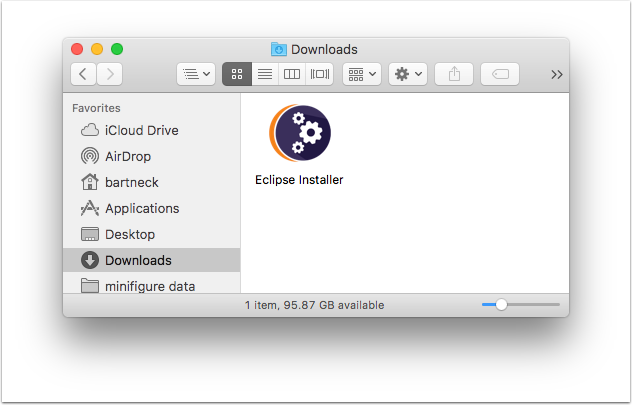
3.2 Start the Eclipse installer
You will find the Eclipse installer in your download folder. Double click it to start the installation process.
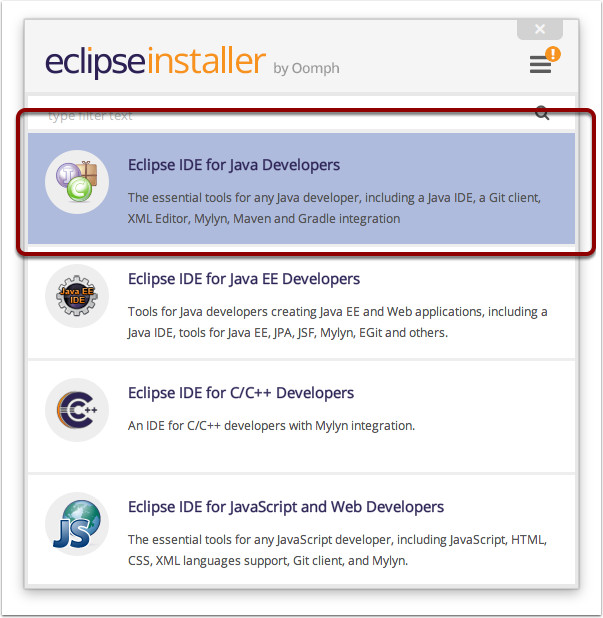
3.3 Chose the Eclipse IDE for Java Developer
We will be developing Java programs, to the Java version is the best version for us. Click on the list item.
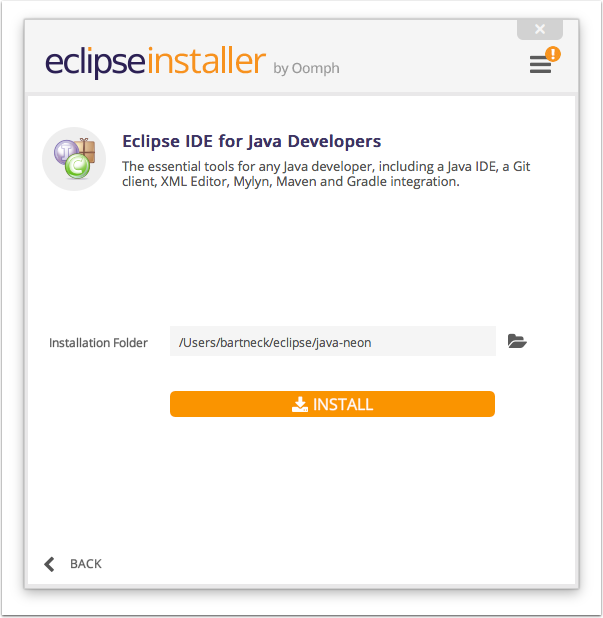
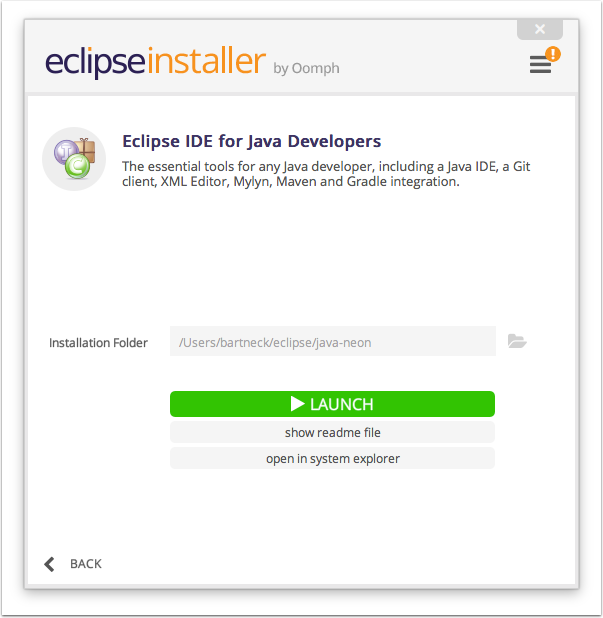
3.4 Select Installation Folder
Now you can select a folder in which Eclipse will be installed. I am fine with the default location. Click on "Install" and accept the software license.
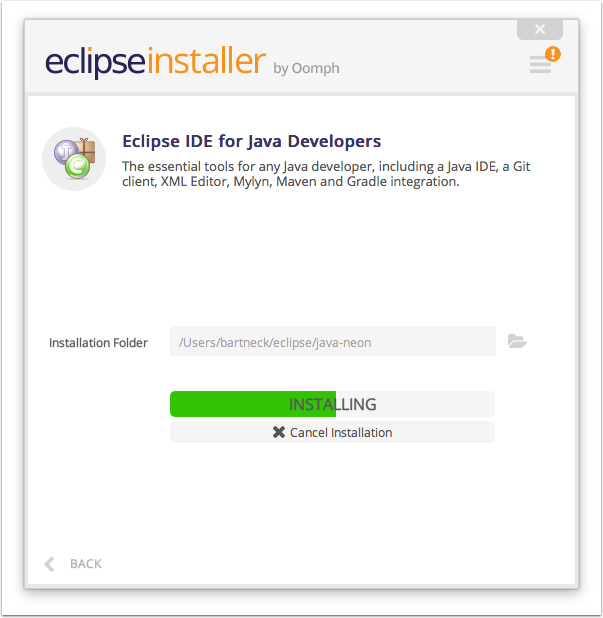
3.5 Get a cup of coffee while the software installs.
I got an error message that the Eclipse servers did not respond fast enough. I retried the installation and it worked out in the end.
3.6 Launch Eclipse
At the end of the installation process you can decide to launch the application. We will still need to install
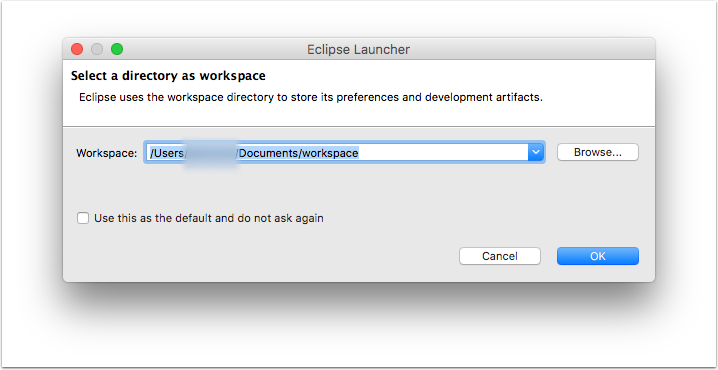
3.7 Choose a workspace
Eclipse will ask you to choose a workspace. The default option is fine with me. Click on "OK" to proceed.
3.8 Eclipse Welcome Screen
Eclipse will great you with a welcome screen. But before we start a new Java project we first want to download the LeJOS software and install the LeJOS plugin for Eclipse. So leave Eclipse open, but do not do anything with it yet.

4. Install LeJOS
The heart of any EV3 Java project is LeJOS. Let’s intall it on your computer
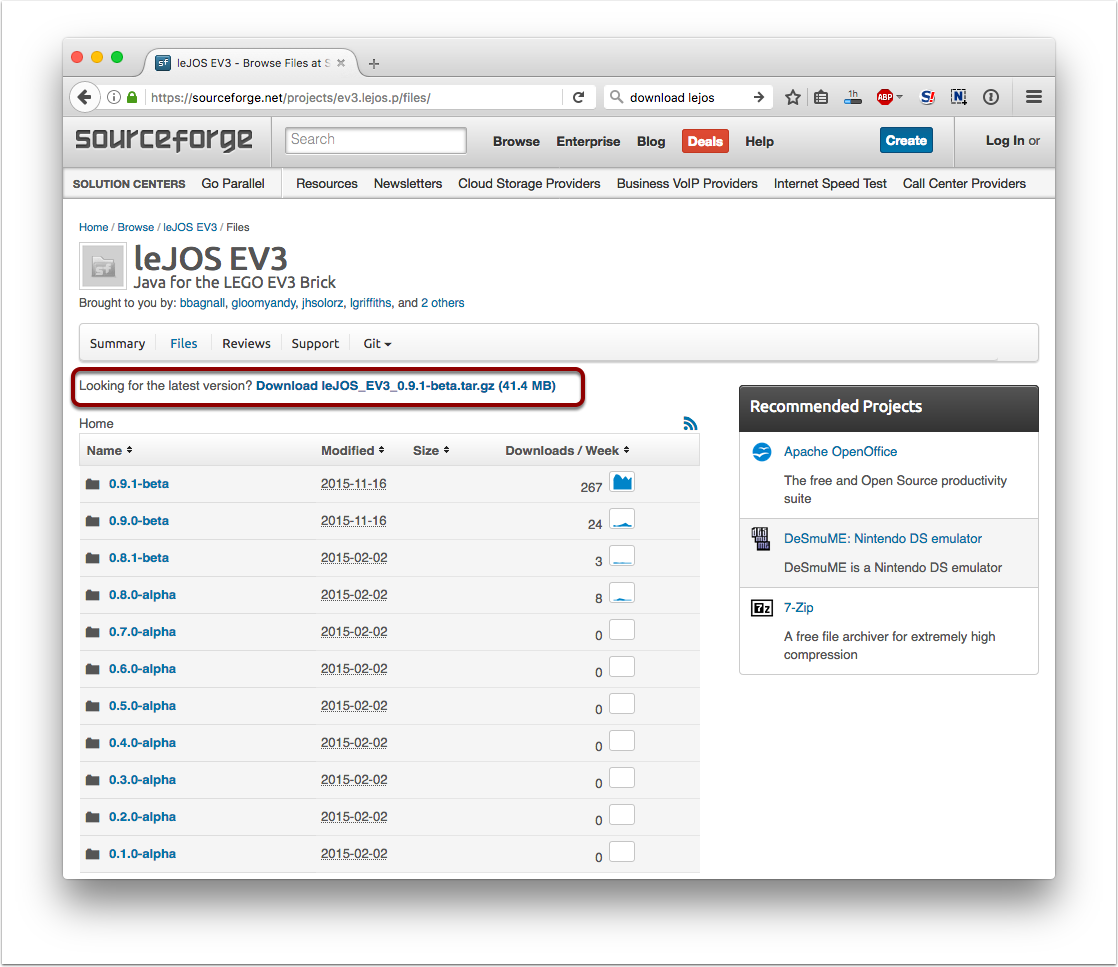
4.1 Download LeJOS
Visit https://sourceforge.net/projects/ev3.lejos.p/files/ to download the latest version of LeJOS. Once the download is complete uncompress the file
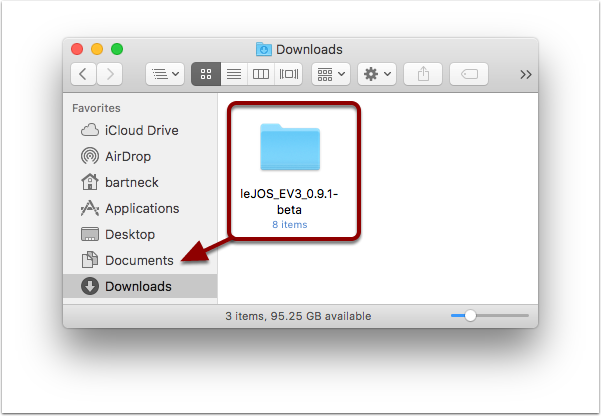
4.2 Move the LeJOS folder to a new location
Do not leave LeJOS in the download folder. Move it to a permanent location, such as your Documents folder. I renamed the folder to "leJOSEV3" since we will need its name and location later.
5. Install and configure the LeJOS Eclipse Plugin
Eclipse has an excellent plugin to maker your java development for the EV3 easier.
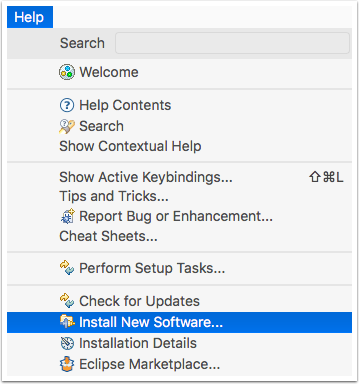
5.1 Return to Eclipse to install the LeJOS Plugin
Return to Eclipse and lets get started with installing the LeJOS plugin. In the "Help" menu select "Install New Software…".
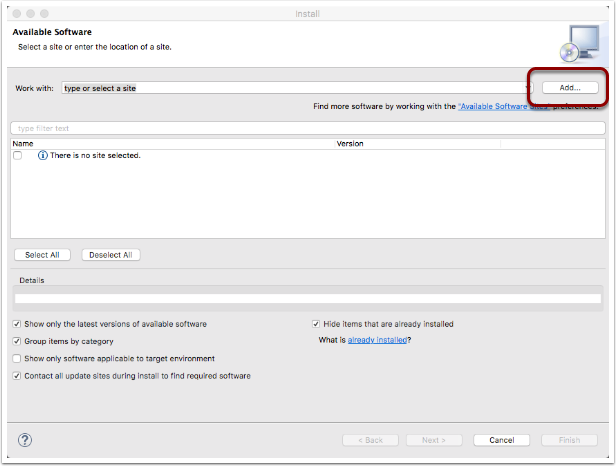
5.2 Connect to the LeJOS EV3 repository (might not work)
Click on the "Add…" button.
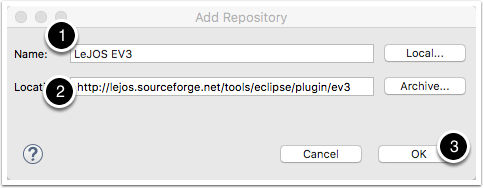
5.3 Enter the URL of the LeJOS software repository
Give the repository a meaningful name, such as "LeJOS EV3" and add http://lejos.sourceforge.net/tools/eclipse/plugin/ev3 into the location field. Afterwards, click on "OK"
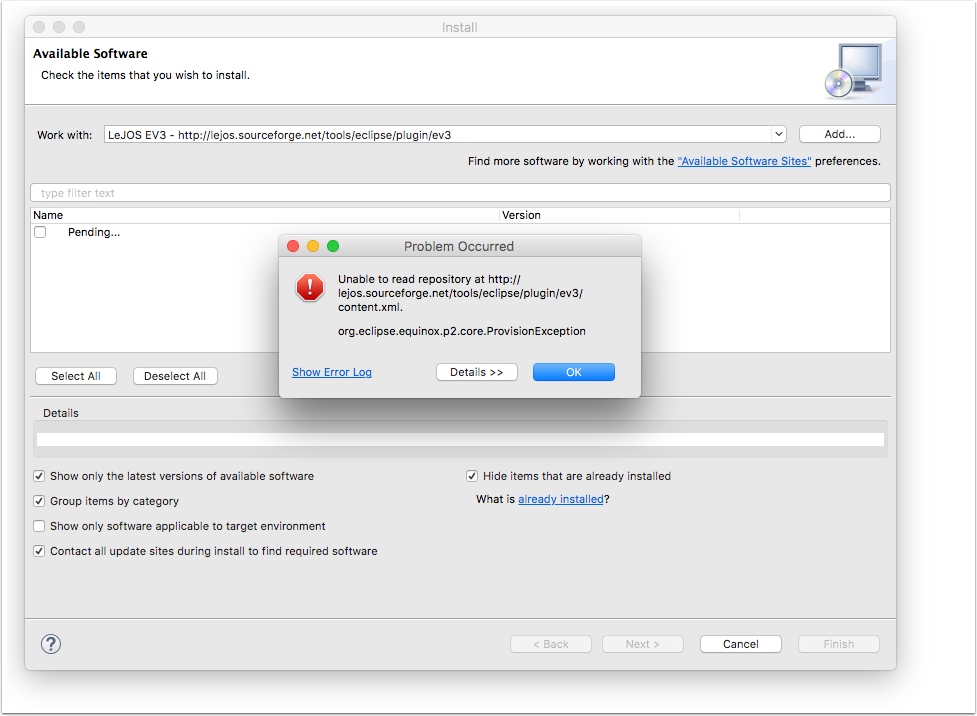
5.4 Error Message
I was unable to install the Plugin through the repository and I was unable to find out why it does not work. So on to the alternative way of installing it. Click on "OK" and then on "Cancel" to leave this window.
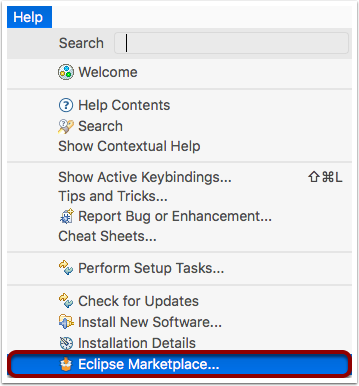
5.5 Enter the Eclipse Marketplace
You will find the Eclipse Marketplace in the Help Menu.
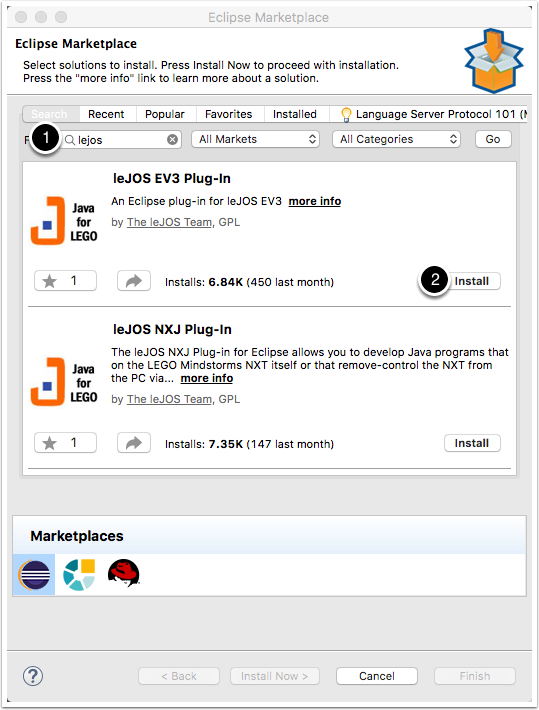
5.6 Find the LeJOS plugin
Enter "lejos" in the search field and then click on install in the EV3 Plugin.
5.7 Accept the software license
Select "I accept the terms of the license agreement" and click on Finish.

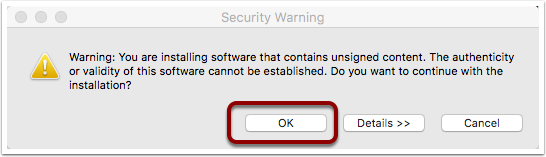
5.8 Accept the warning
A warning window will pop up and you need to click on "OK"
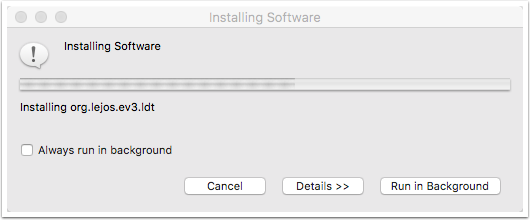
5.9 Wait for the installation to complete
The installation might take some time.
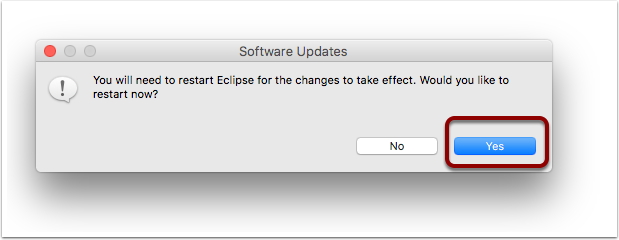
5.10 Restart Eclipse
After the installation Eclipse will ask you to restart. Click on "Yes".
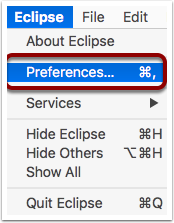
5.11 Go to the Eclipse Preferences
After Eclipse restarts you need to enter the Preferences, which are available under the Eclipse Menu.
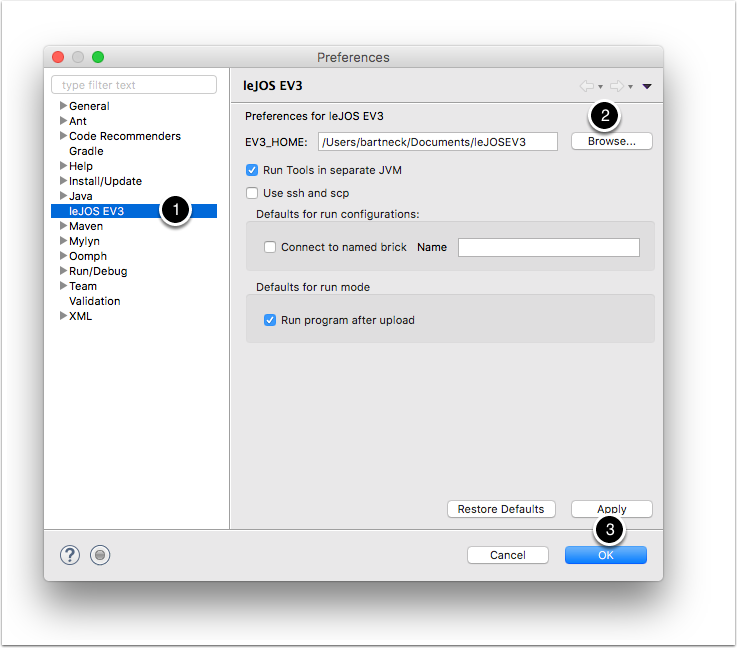
5.12 Set the EV3_Home
First, you need to select the "leJOS EV3" tab on the left before clicking on "Browse" to select the directory in which you copied the uncompressed LeJOS directory as described above. Click on "OK" to complete the setup.
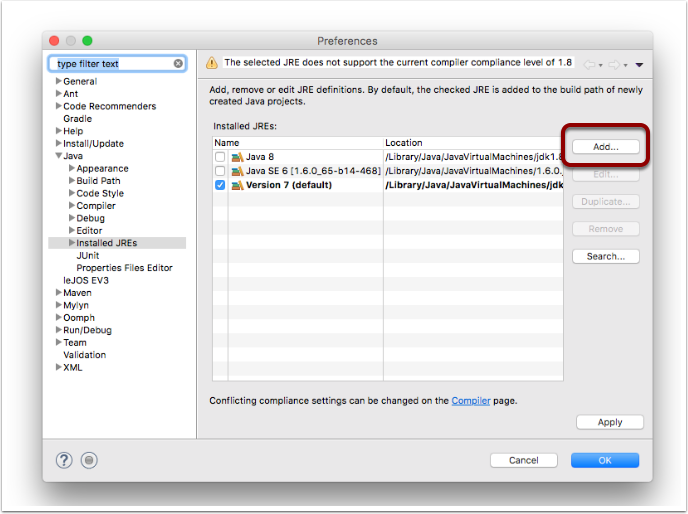
5.13 Setup the different versions of Java
While you are in the Preferences, go to the "Java" tab and then on the "Installed JREs". Use the "Add" button to add any missing JREs to the list. They are located in "/Library/Java/JavaVirtualMachines". You need to find the folder that contains the "lib" and "bin" directories. Setup Version 7 as the default, since you will be building your EV3 programs towards that target.
6. Install LeJOS onto your EV3 brick
The next step is to install LeJOS onto your EV3 brick. You do no need to replace the original firmware, since LeJOS will be copied to a Micro SD card. Once the card is in the slot and the brick boots up it will automatically start LeJOS. If you remove the card and reboot you will be back to the original firmware. You will need a Micro SD card of at least 1GB but no more than 32GB. SDXC cards do not work with the EV3.
6.1 Check and format your SD Card
I put a SD card into my card reader, but it is formated for a Mac. I therefore had to erase it using the Disk Utility that comes with every Mac. If you card is already in the FAT32 format then you do not need to do anything.
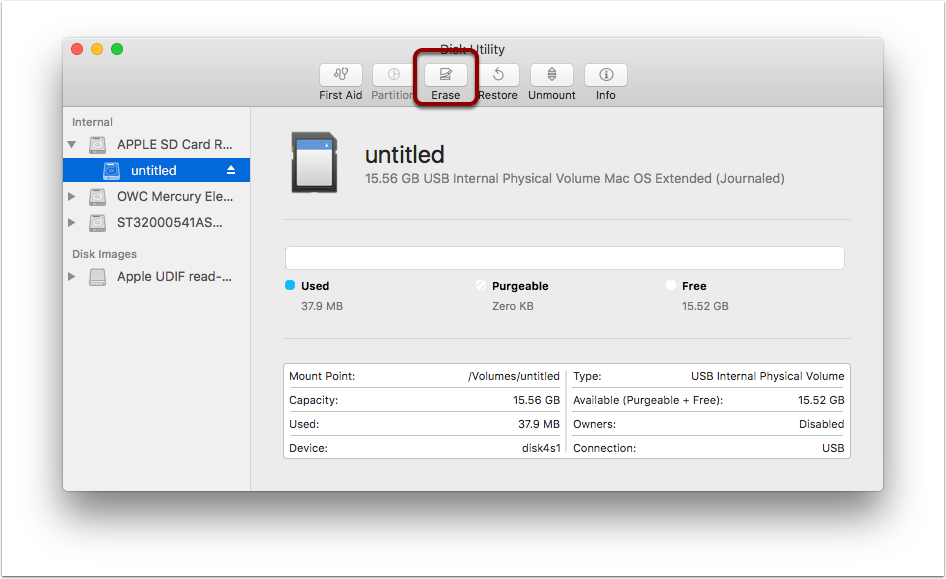
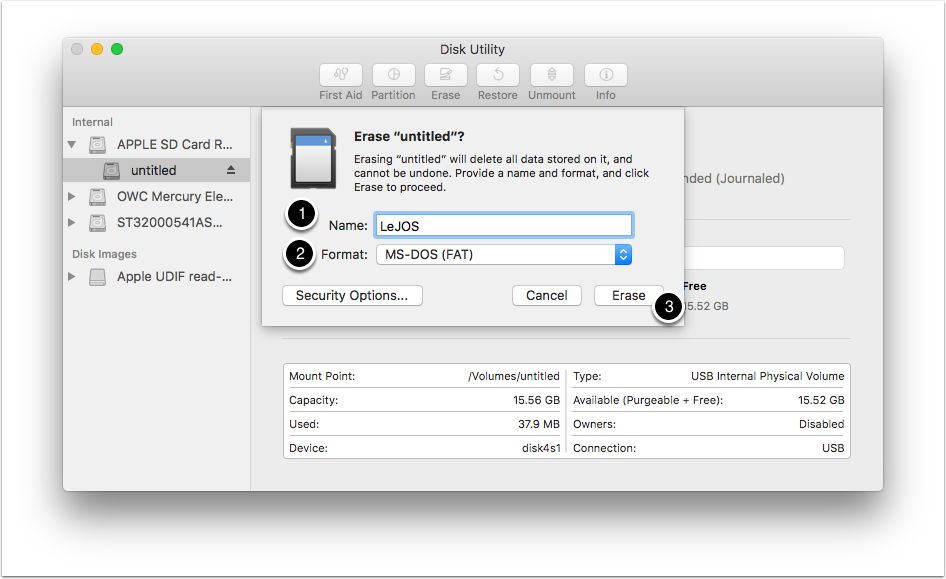
6.2 Erase the card if necessary
Give the card a meaningful name, select "MS-DOS (FAT)" as the format and click on "Erase".
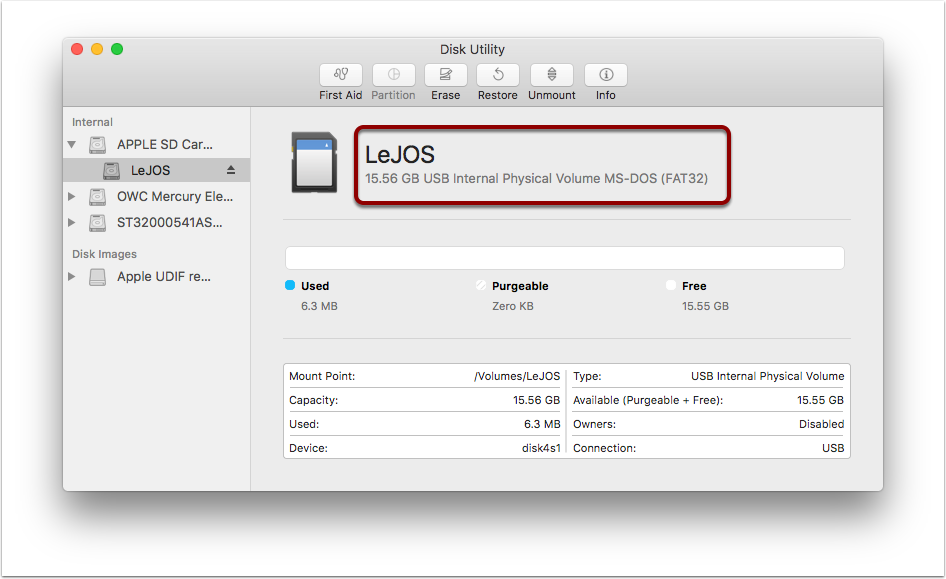
6.3 Check the format
If everything went okay then you will see a newly formated SD card in the FAT32 file format.
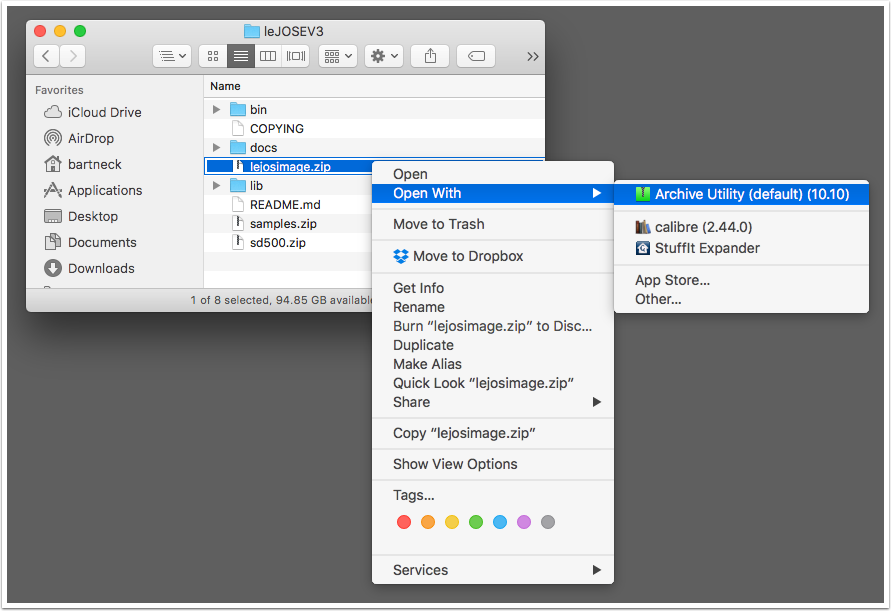
6.4 Uncompress the LeJOS image
Next we need to uncompress the lejosimage.zip file. You can either just double click on it or use the right mouse click to open the file with the Archiver Utility that comes with every Mac.
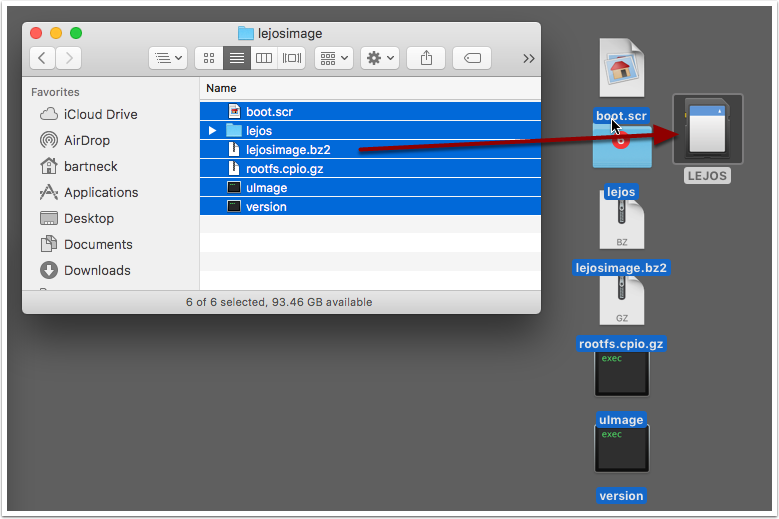
6.5 Copy LeJOS to the SD card
Copy the whole content of the lejosimage folder to the SD card.
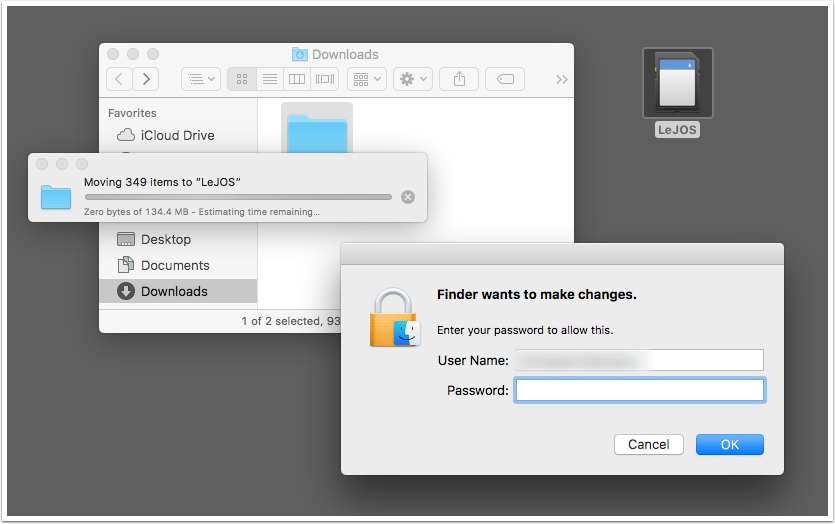
6.6 Enter user name and password
The Finder is going to ask you for your login and password to copy the files.
6.7 Download the Java Runtime Environment (JRE) for LEGO Mindstorms
Download version 8 of the LEGO Mindstorms JRE from http://java.com/legomindstorms. It is important that you use JRE file and not the JDK file.

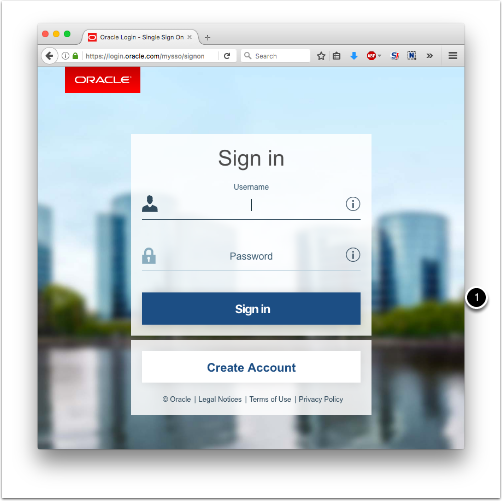
6.8 Create a free account (if necessary)
Oracle ask you to login with a free Oracle account to download the file. I had to create an account and afterwards the download started immediately.
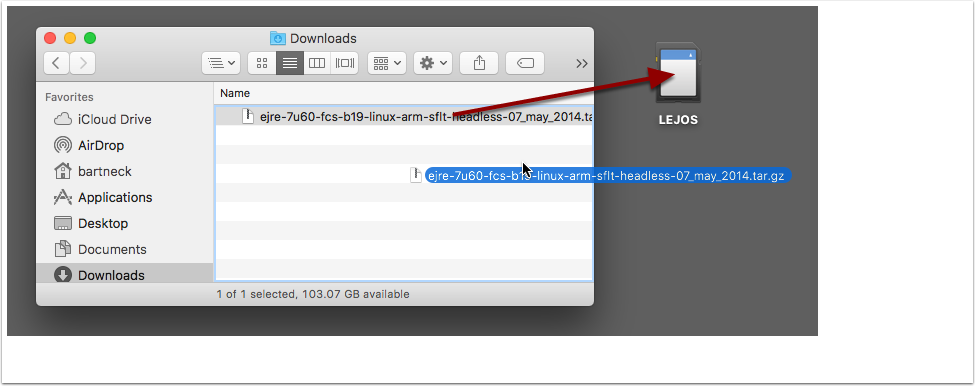
6.9 Move the JRE to the SD card
Copy the downloaded JRE file as is (compressed) to the the SD card. Do not uncompress the file. Just copy it directly.
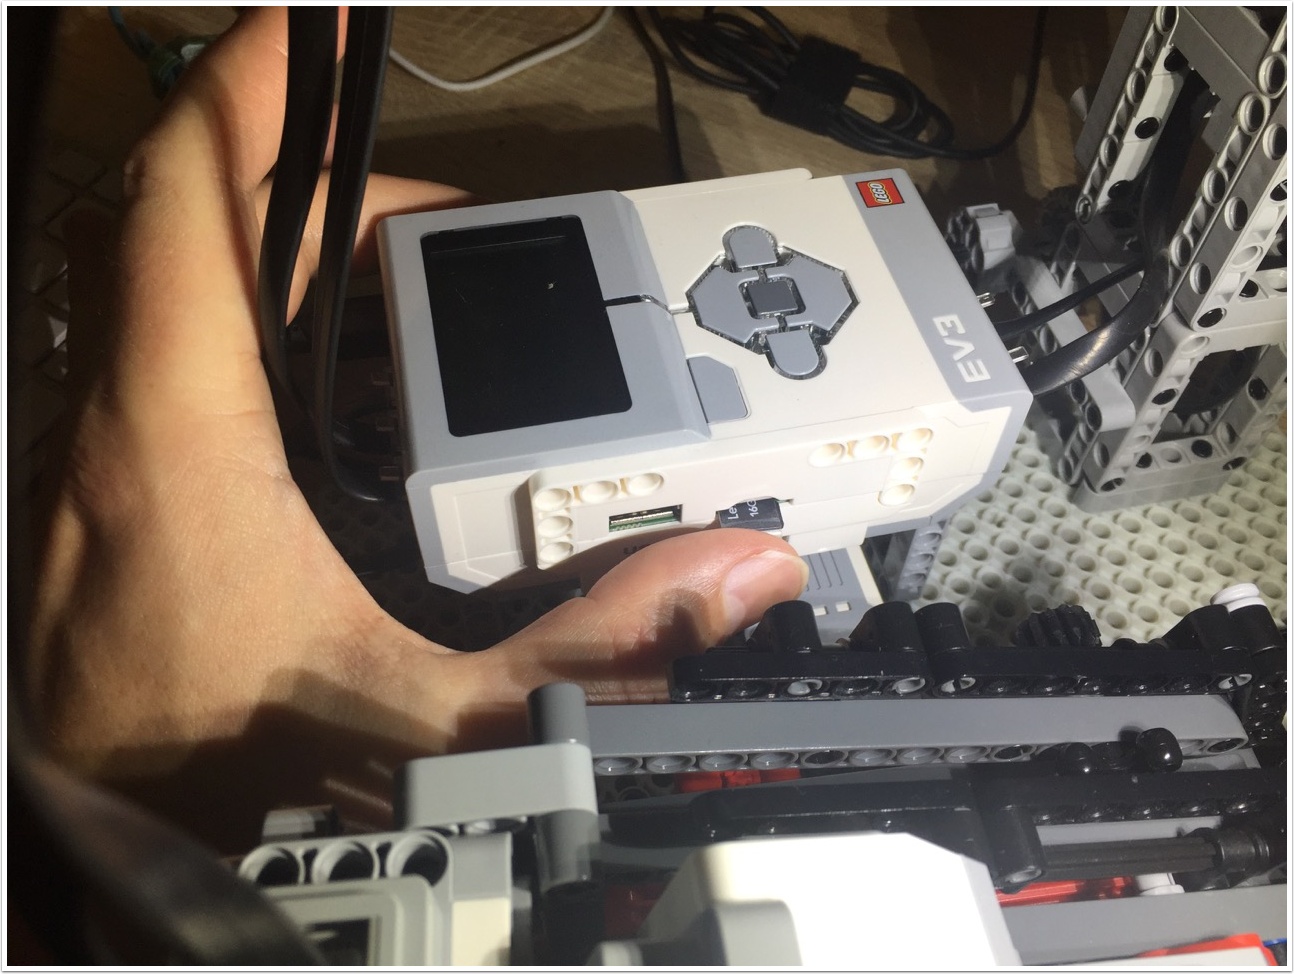
6.10 Insert the SD card into the EV3
Make sure that you properly unmount the SD card from your computer before taking it out from the reader. Then insert the card into the EV3. I attached a short strip of take so that I can easily take the card out again.
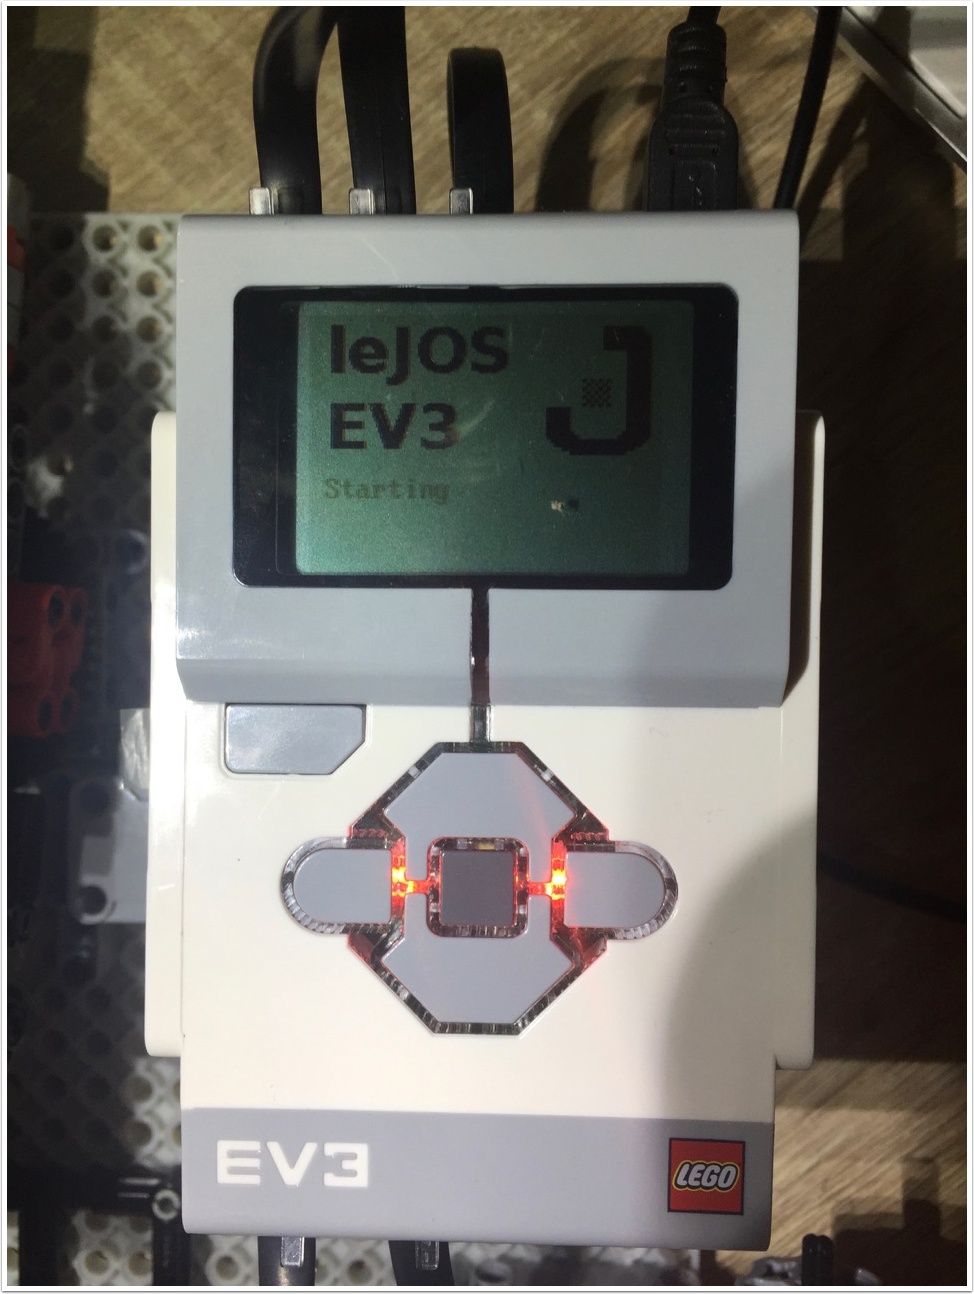
6.11 Start the EV3
Press the center button to start the EV3 and LeJOS will start its installation process.
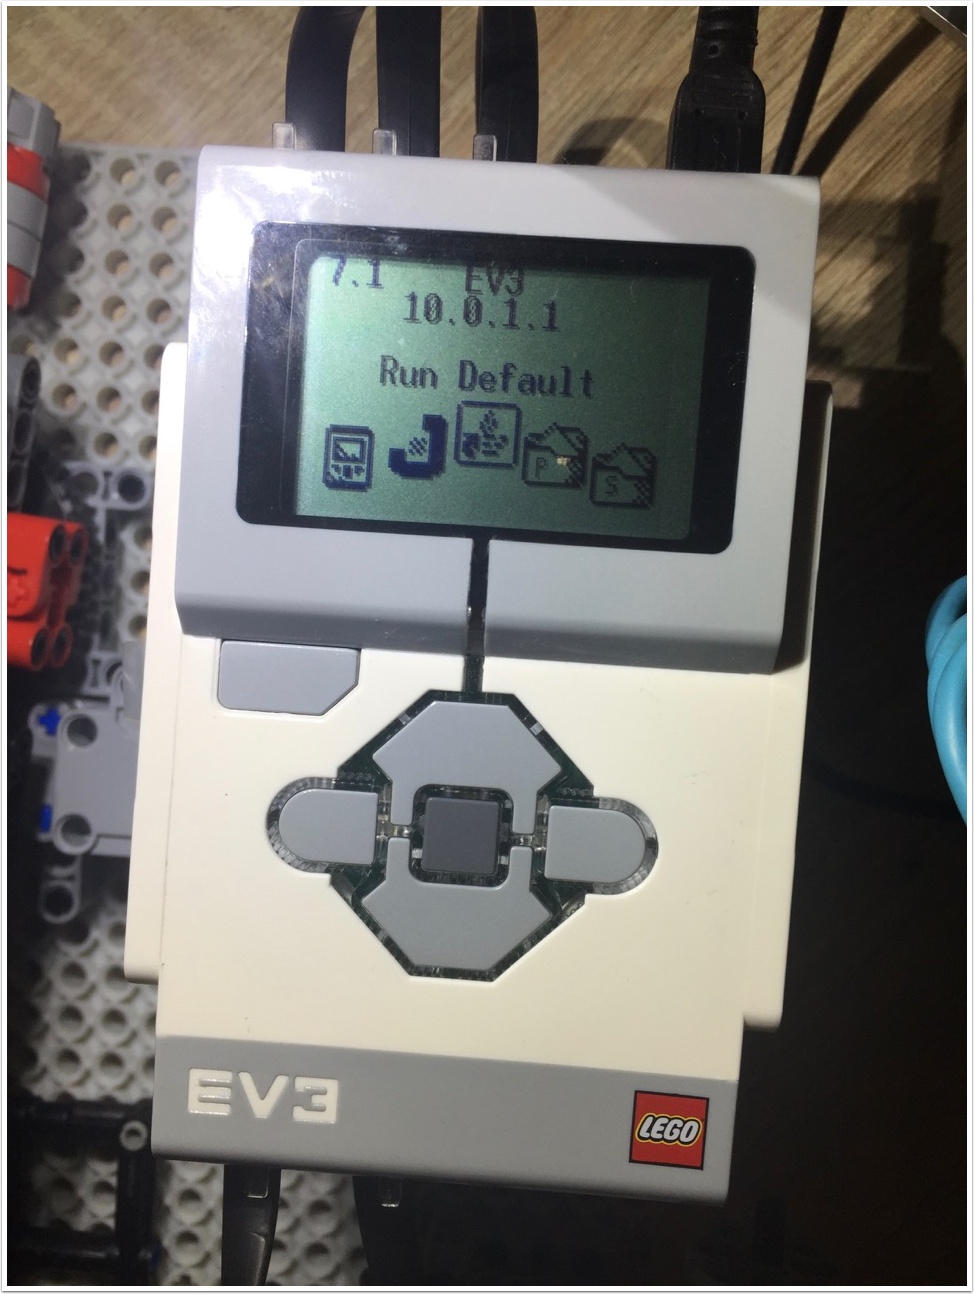
6.12 Confirm correct installation of LeJOS
Once the installation is complete you will be created with the official LeJOS menu. So far so good.
7. Write your first "Hello World" Java program and execute it on the EV3
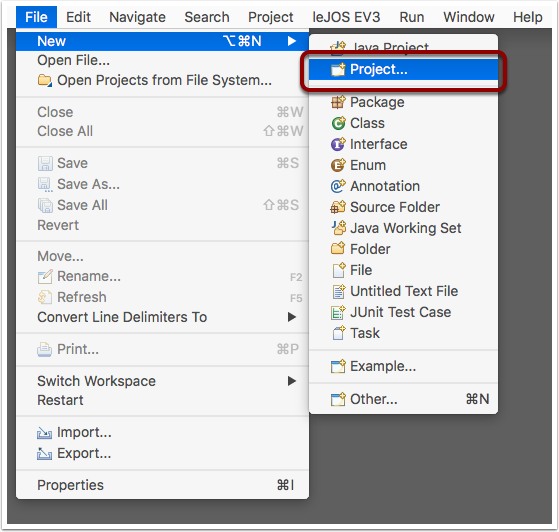
7.1 Create a new project in Eclipse
In Eclipse, create a new project from the File => New menu.
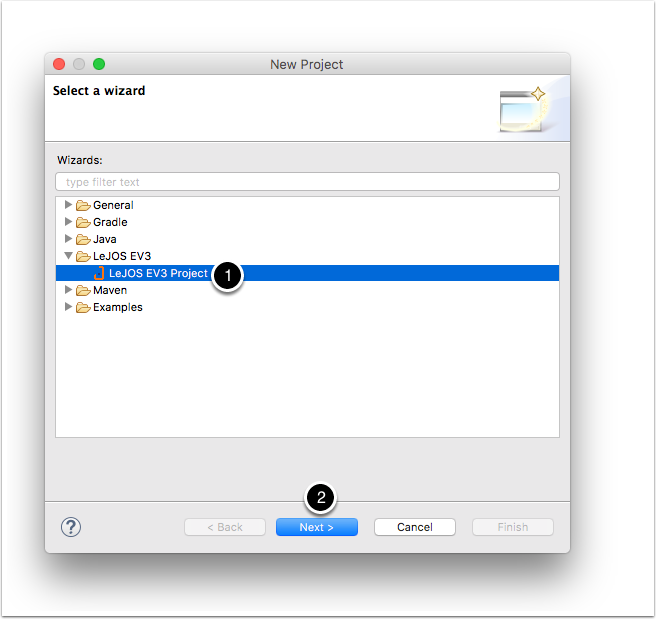
7.2 Select the LeJOS EV3 Project Wizard
Select the LeJOS EV3 Project Wizard and click on "Next".
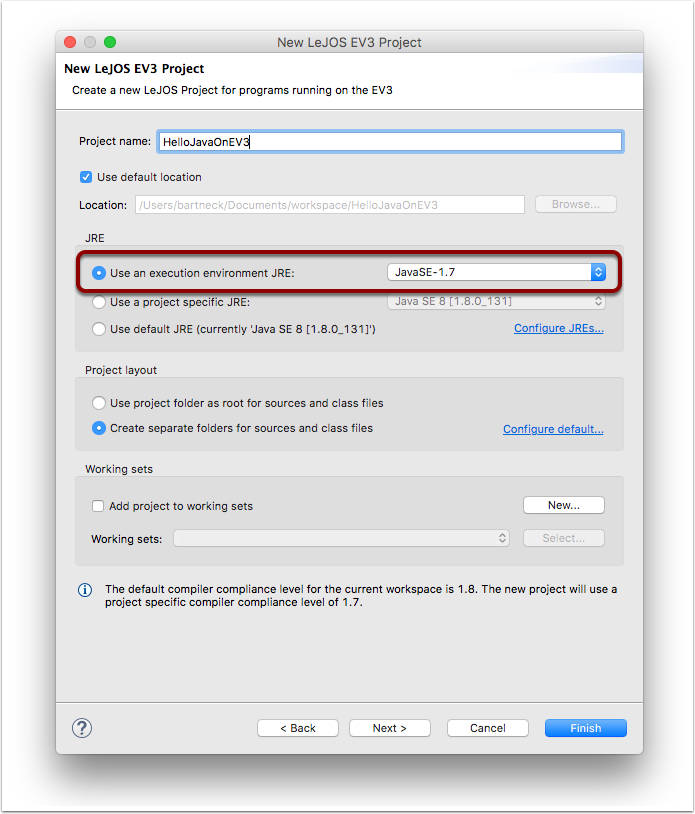
7.3 Name your project
Give your project a name but avoid spaces. It is important that you select the Java SE-1.7 JRE for your project since this it the one that runs on your EV3. Afterwards click on "Finish"
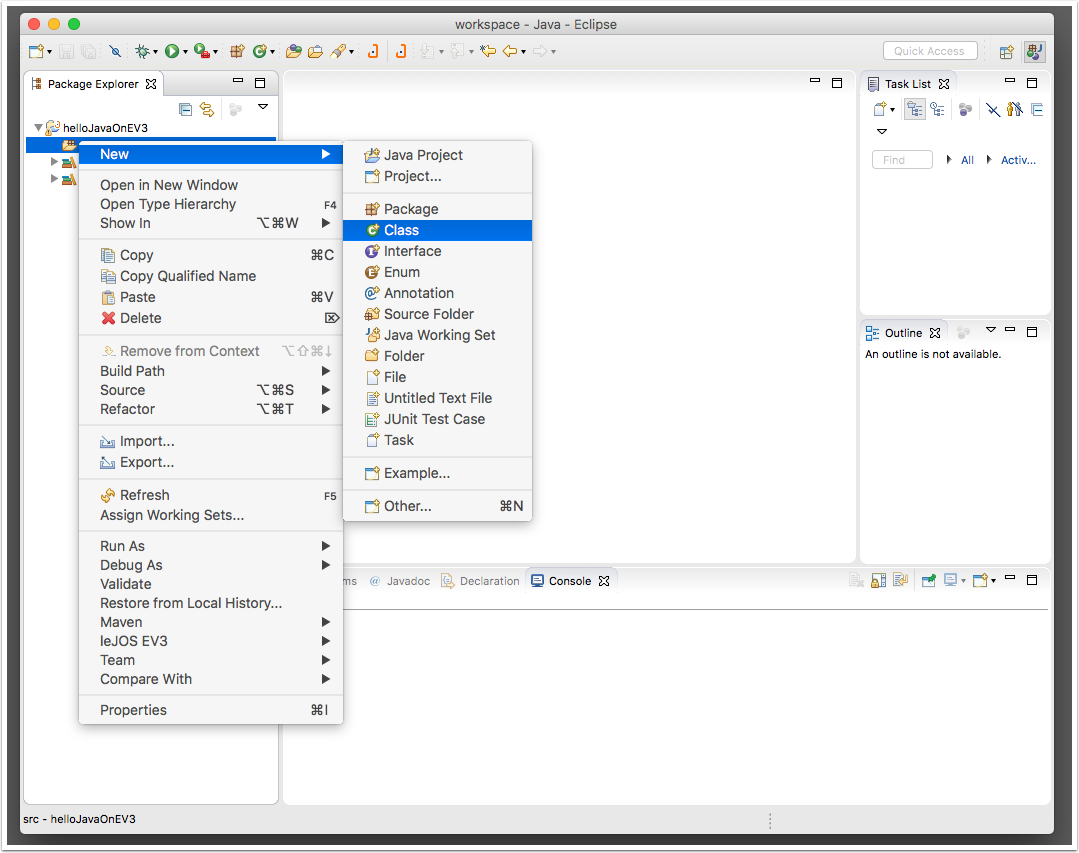
7.4 Create a new class
Right click on the HelloJavaOnEV3 project on the left and create a new class.
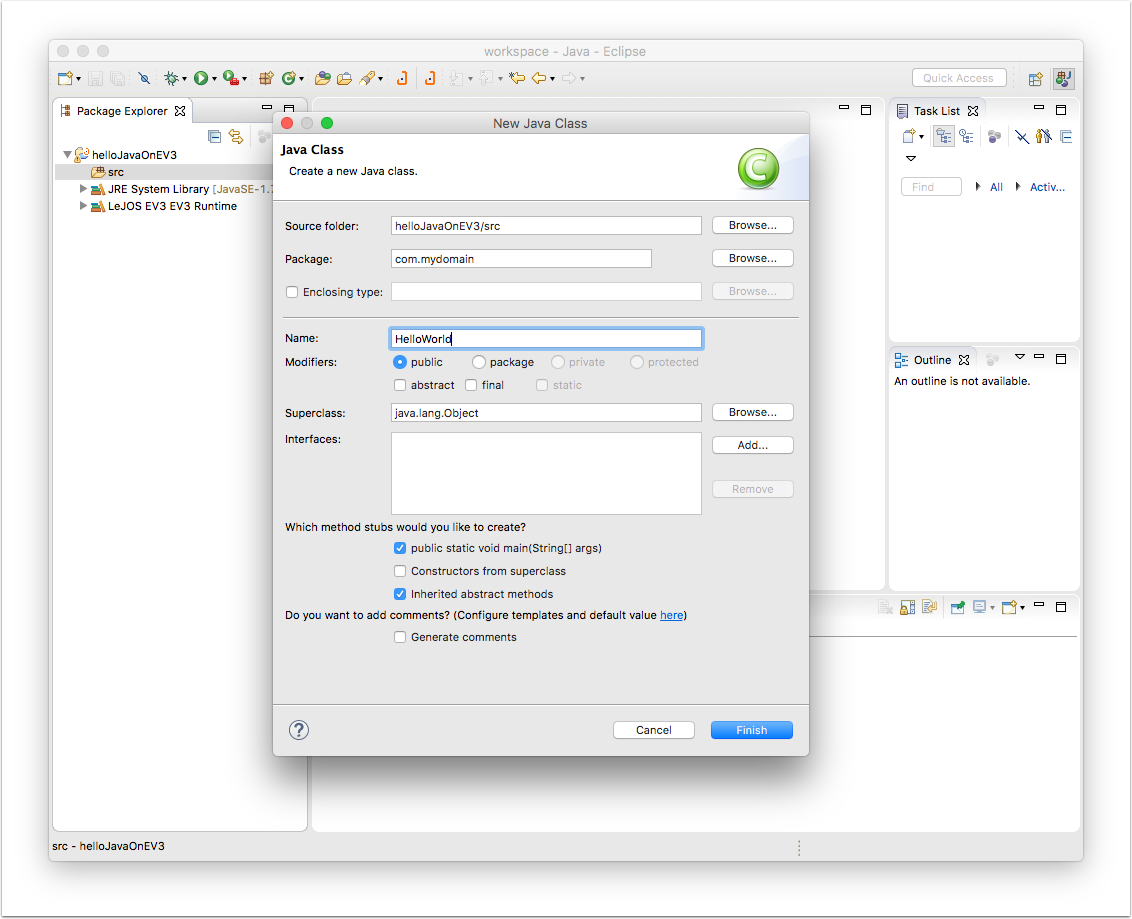
7.5 Setup Java class
Give your new class a name, such as HelloWorld. Click on "Finish"
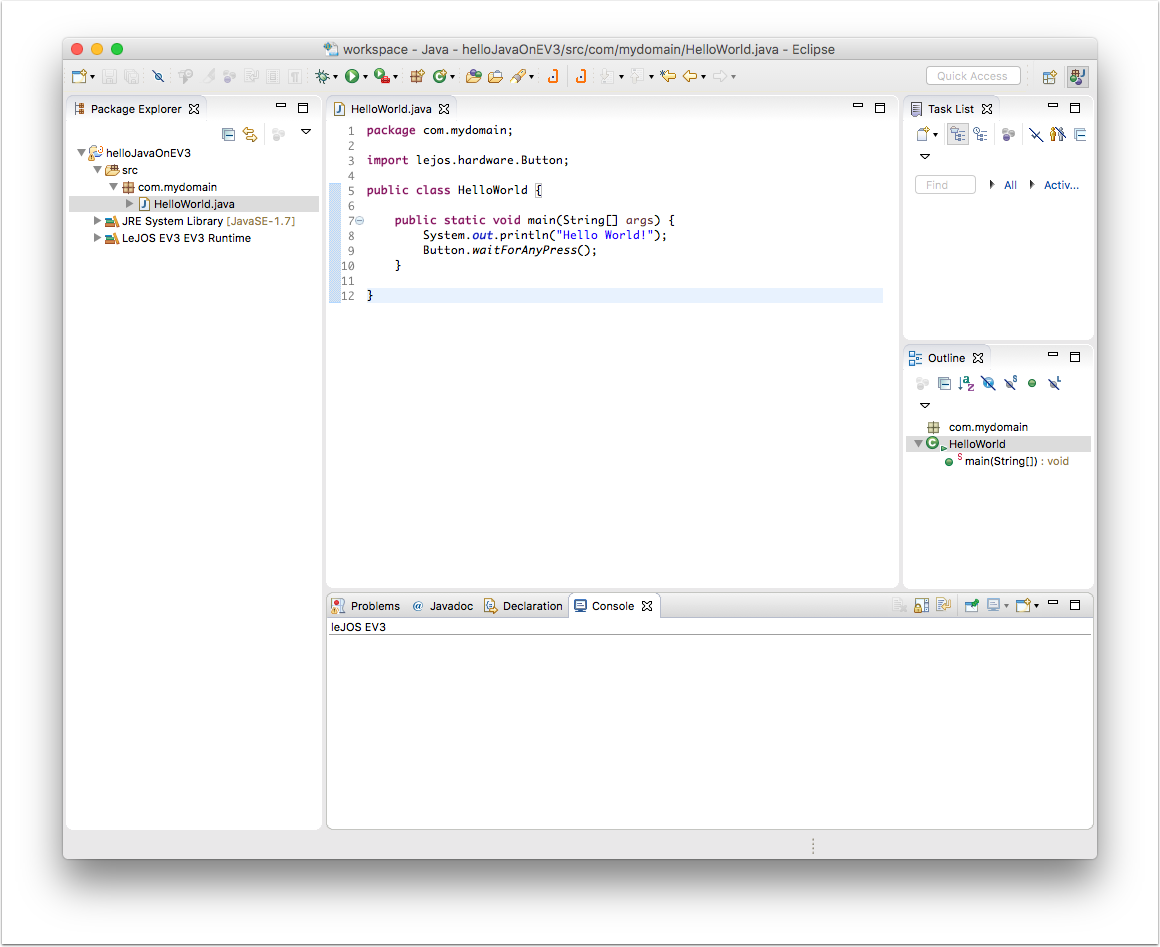
7.6 Write a short Hello World program
Write a short test program such as the traditional HelloWorld example:
package com.mydomain;
import lejos.hardware.Button;
public class HelloWorld {
	public static void main(String[] args) {
        System.out.println("Hello World!");
        Button.waitForAnyPress();
	}
}
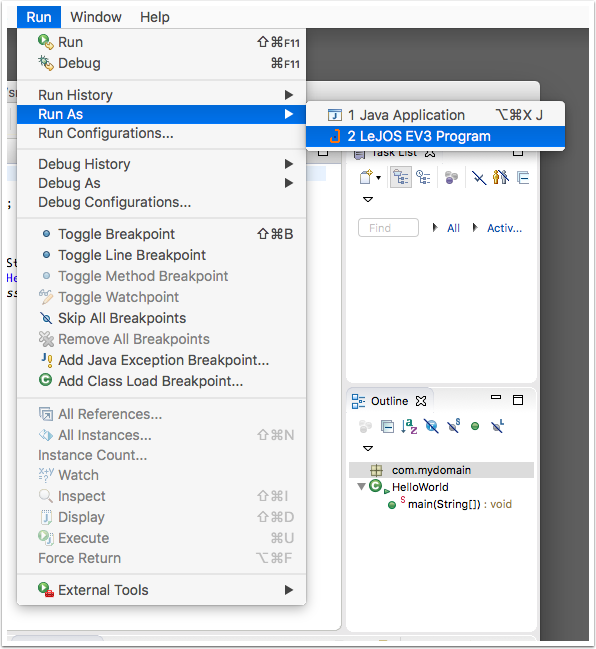
7.7 Run the program on your EV3
Connect your EV3 to your computer using a USB cable. Select Run As LeJOS EV3 Program from the Run menu to transfer and launch the program on your EV3
7.8 Test your program
You should read "Hello World" on your EV3 display. Well done! It works! You can press any button to stop the program.
