Bringing back your old LEGO Mindstorms RCX to life is easier than you might expect. The bottleneck is being able to communicate with the RCX using the Infrared Communication Tower. Version 1 used a tower that was attached to the computer using the old serial port (RS232) while version 2 used a USB tower. The later is much easier to use these days since most computers still have plugs that are compatible with USB1.1. For this tutorial you will need:
- A LEGO Mindstorms RCX
- A USB Infrared Tower
- Virtual Box software
- Windows XP
- Robotic Invention System (RIS) software
We will setup a virtual machine on your host computer (Mac or PC) and install Windows XP on it. We will then install the original Robotic Invention System (RIS) so that the USB driver is correctly installed. You can then use RIS to program you RCX or you can setup many other programming environments/languages. Another problem you might encounter is that the cables used to connect the sensor and actuators to the RCX have become brittle and the isolation comes off easily. You can still buy some new cables from Bricklink.
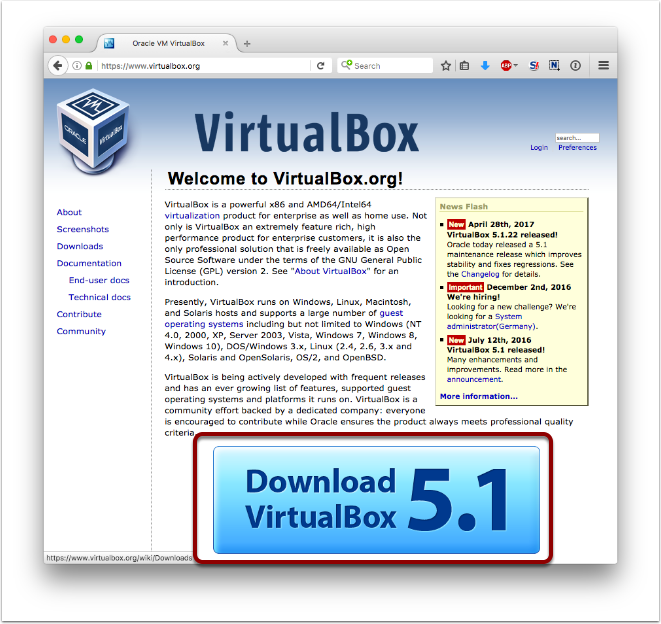
1. Install Virtual Box
Virtual Box is a free software to run virtual machines on any host computer. I am running a Mac and had to run Windows XP. With Virtual Box this is no problem. You can also use Virtual Box to run Mac OS X on a Windows computer. Virtual machines are pretty versatile.
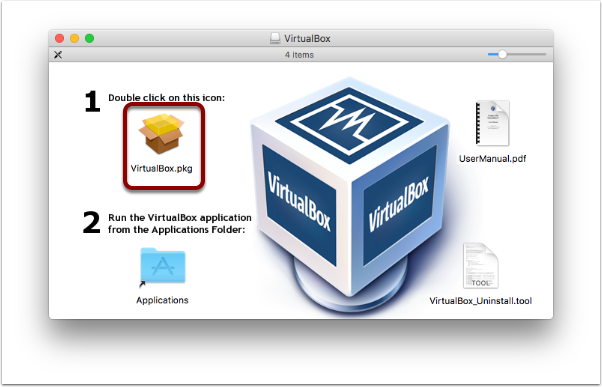
2. Run the Virtual Box installer
Double click on the downloaded installer to run the process.
3. Install WindowsXP
Start the Virtual Box Software
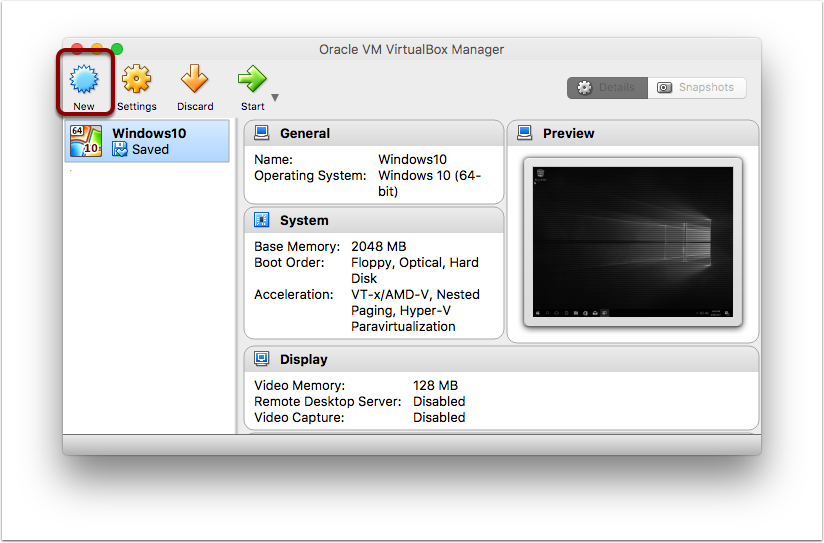
4. Create a new virtual machine
Click on "New" to start a new virtual machine
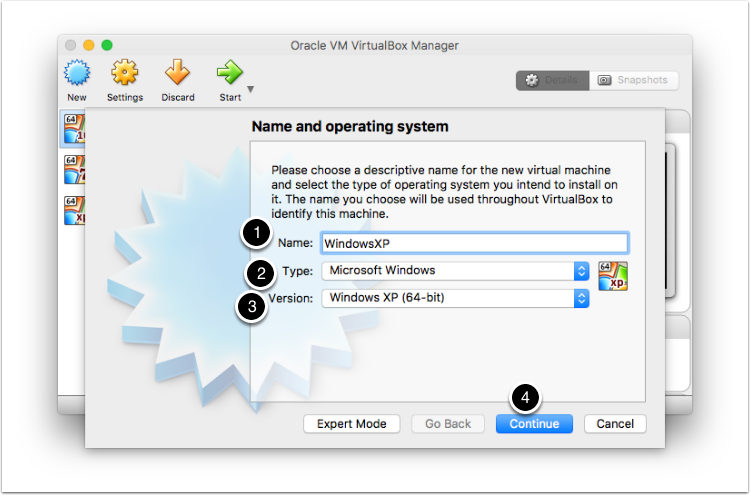
5. Select Windows XP operating system
Give your virtual machine a name and select WindowsXP 64-bit as your Version. Then press continue. The wizard will walk you though a couple more steps and I selected the default options for all of them. I cannot help you with providing a Windows XP ISO file since you will also need a product key. Those are still hard to come by.
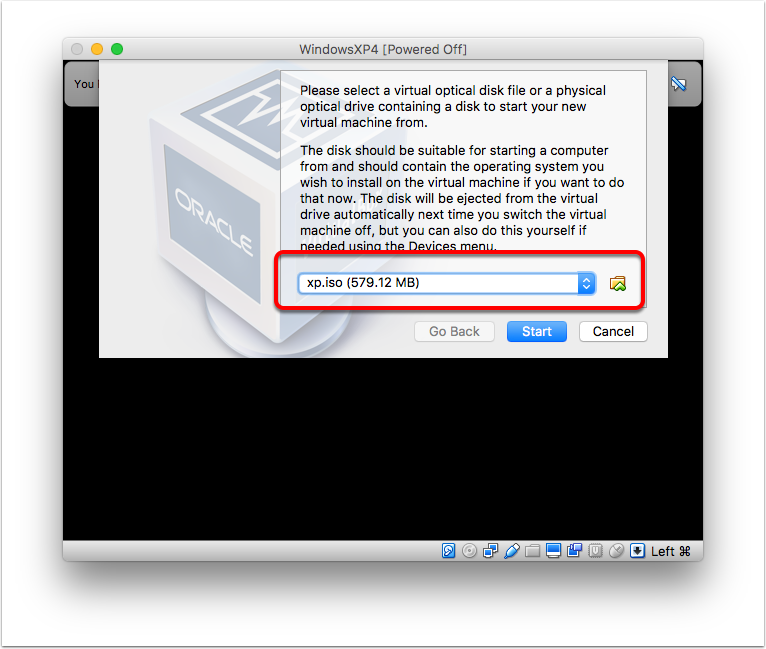
6. Select disk image
You can either insert an original Windows XP installer CD/DVD or you can select an ISO image. I already has a Windows XP ISO image on my hard disk, which is a much faster way to install any operating system. Click on "Start" to start the process.
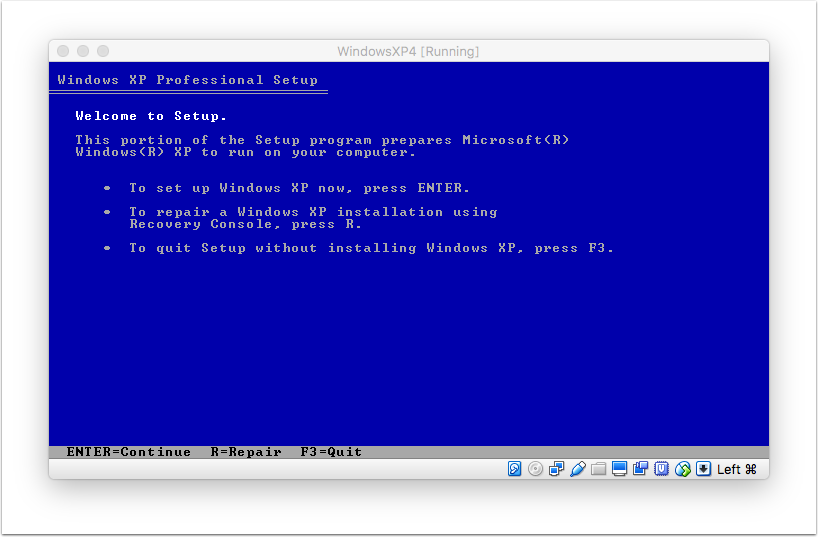
7. Run through the Windows XP installation process.
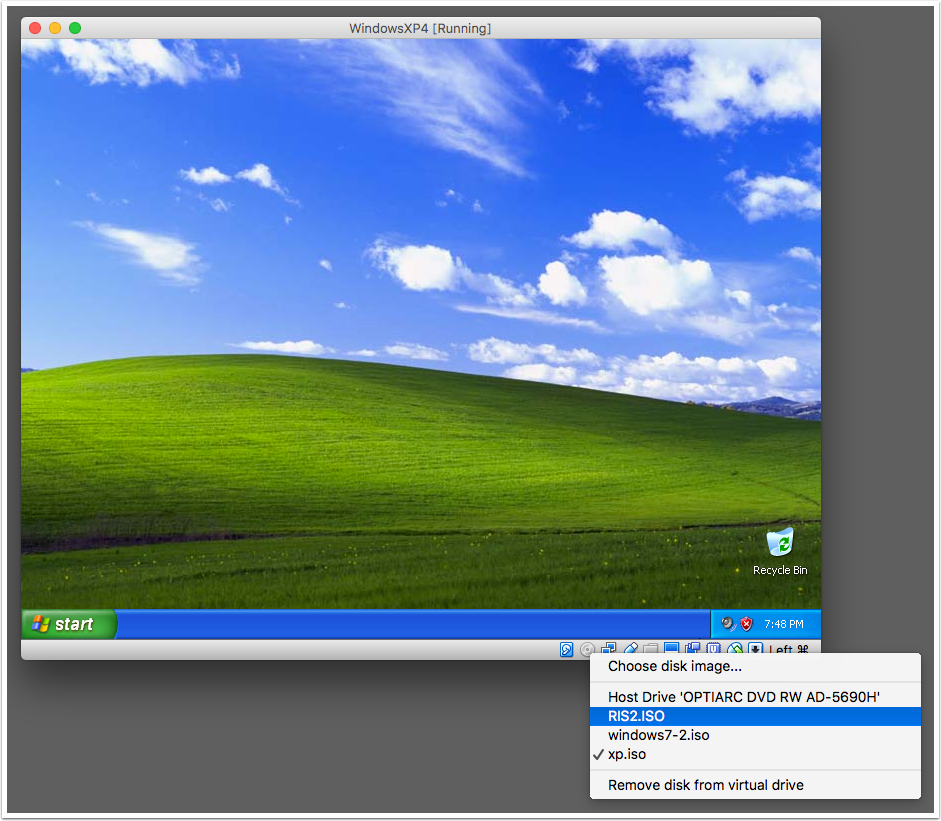
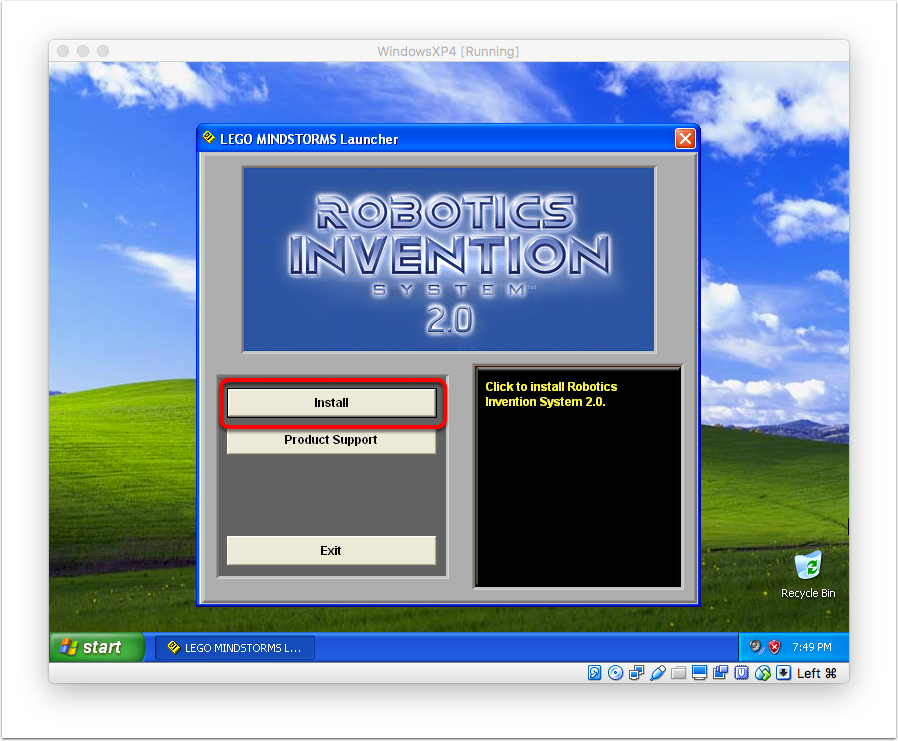
8. Install Robotic Invention System (RIS)
Download the RIS version 2 and mount the disk into the virtual machine by clicking on the DVD icon at the bottom of the screen. Select the RIS2.iso file. This will mount the disk and the install wizard will automatically start.
9. Run through the RIS installer
Do not yet plug in your USB Infrared tower. That will be part of the RIS setup wizard. The installer will also ask you to keep your more up to date ActiveX version (select yes) and it will also install QuickTime. You do not need to enter any registration number for QuickTime, just click on "Next" once you are at that step. In the last step the installer will ask you to restart your computer. Go right ahead, it will only reboot your virtual machine.
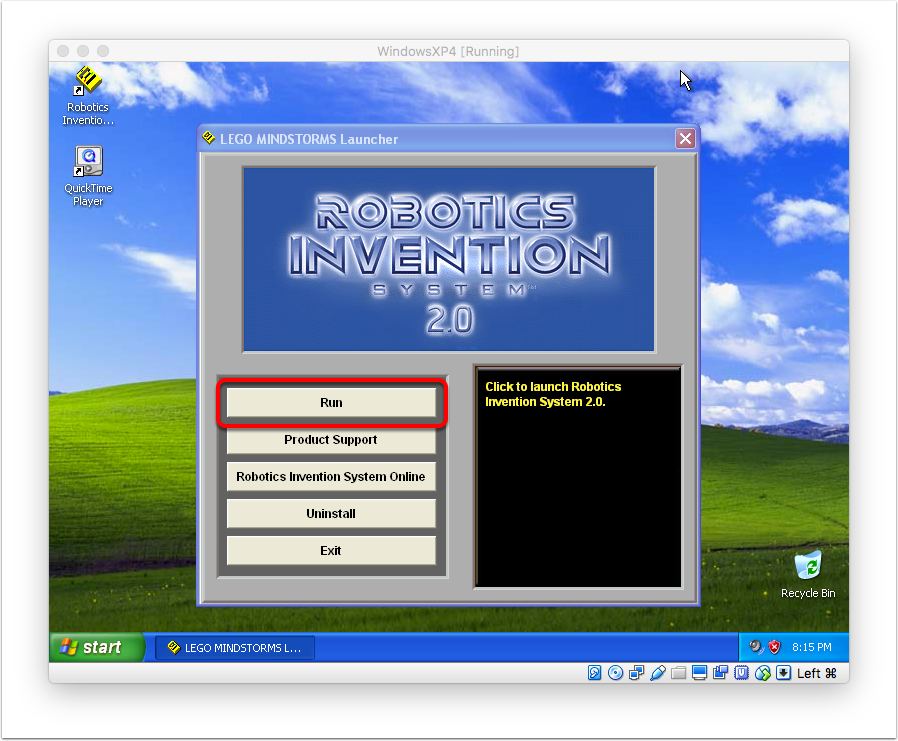
10. Start the RIS
The first time you run the RIS it will walk you through the setup of our Infrared Tower and RCX.
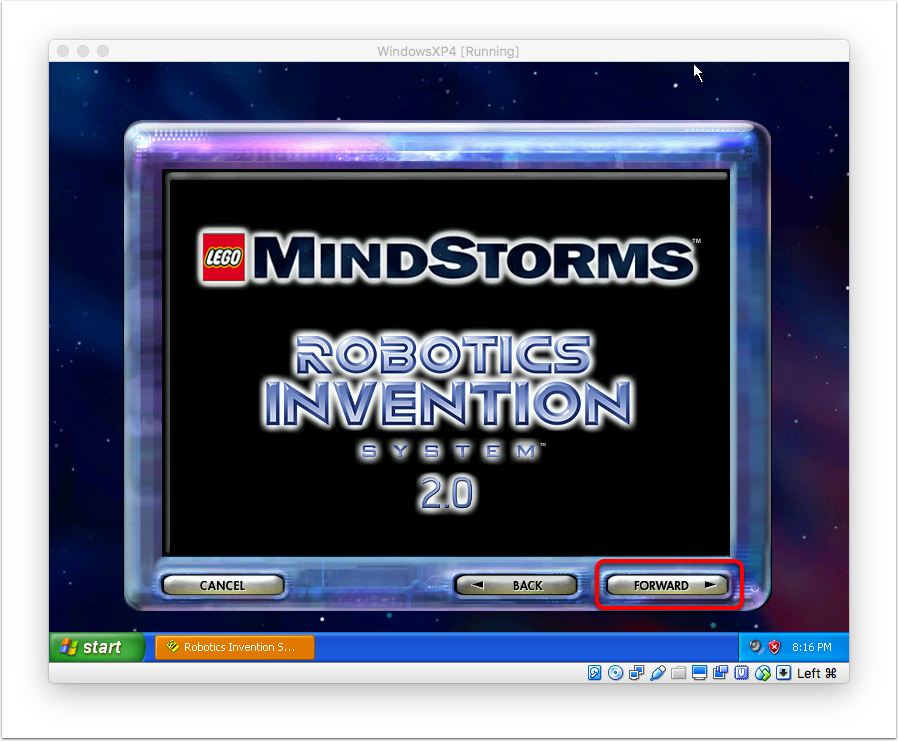
11. Follow the wizard
The wizard will start with the setup of your infrared tower. Click on "Forward"
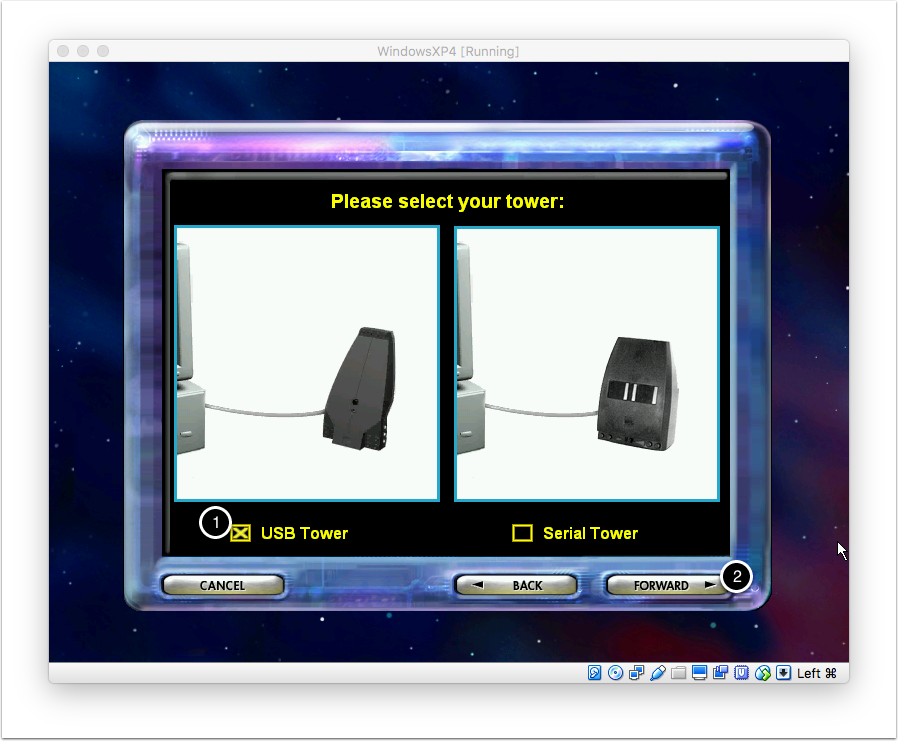
12. Select the USB Tower
In this step you can select between the old serial (RS232) and the USB tower. Hopefully you have the USB tower. Select it and click on "Forward"
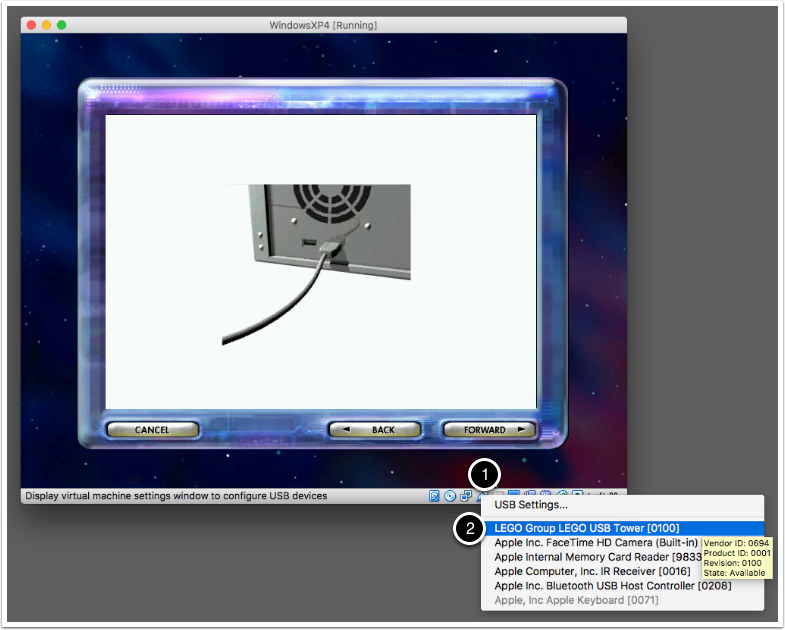
13. Mount the USB tower to your virtual machine
The wizard will ask you to plug your tower directly into the computer. When you do this, it will not yet show up in your virtual machine. You need to select the USB icon in the bottom bar and select the LEGO USB Tower to mount it into your virtual machine.
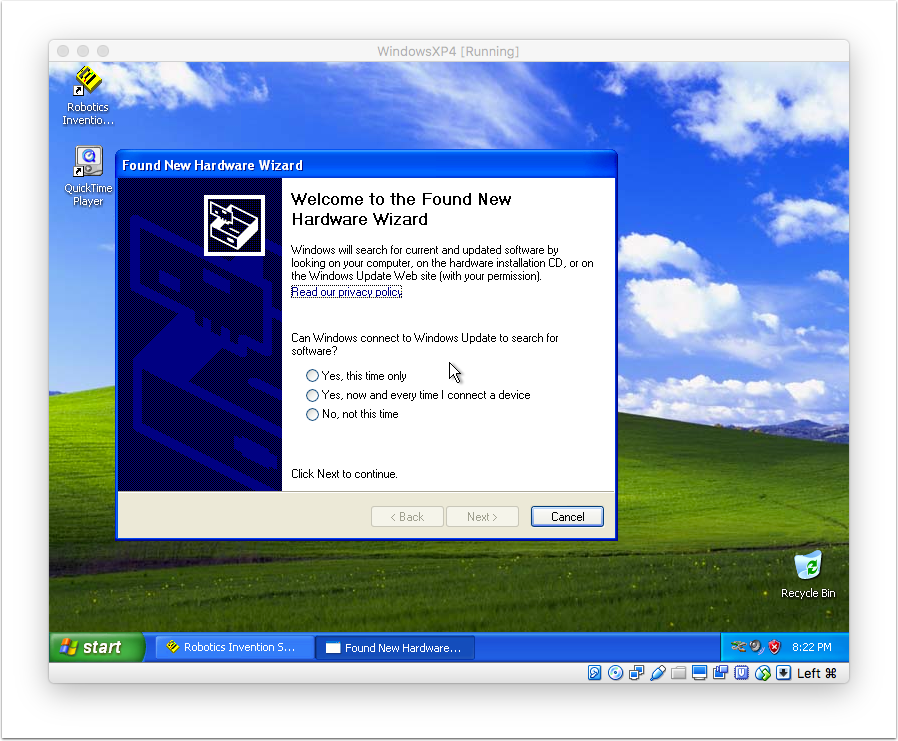
14. Go through the new hardware wizard
The previous step will trigger the new hardware wizard. You can use all the default options.
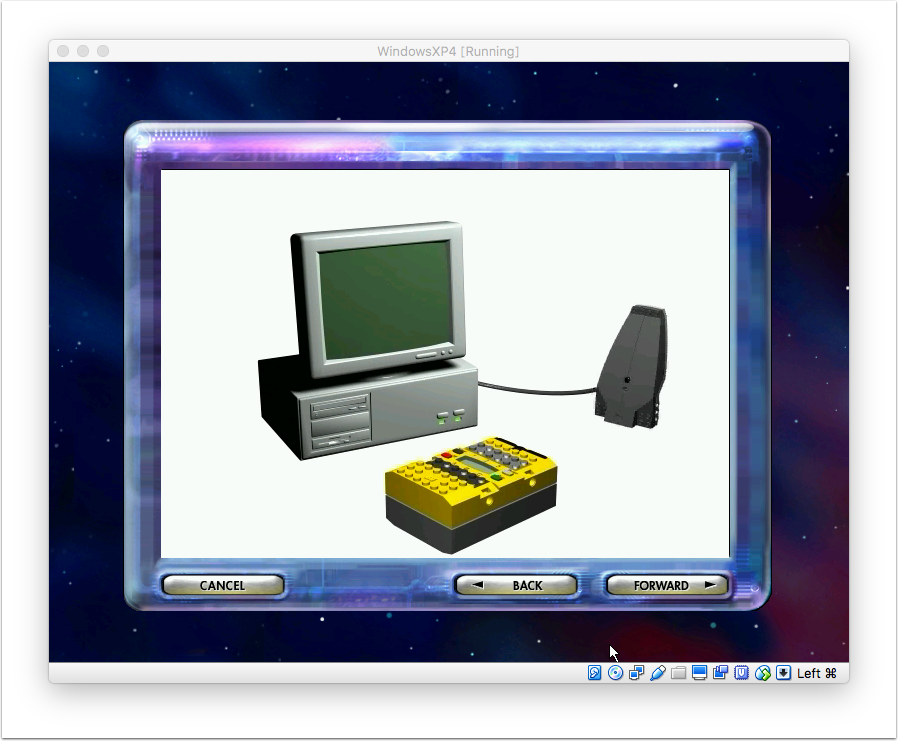
15. Insert the batteries into the RCX and place it in front of the tower.
The setup wizard will ask you to put batteries into the RCX, put it in front of the tower and switch the RCX on.
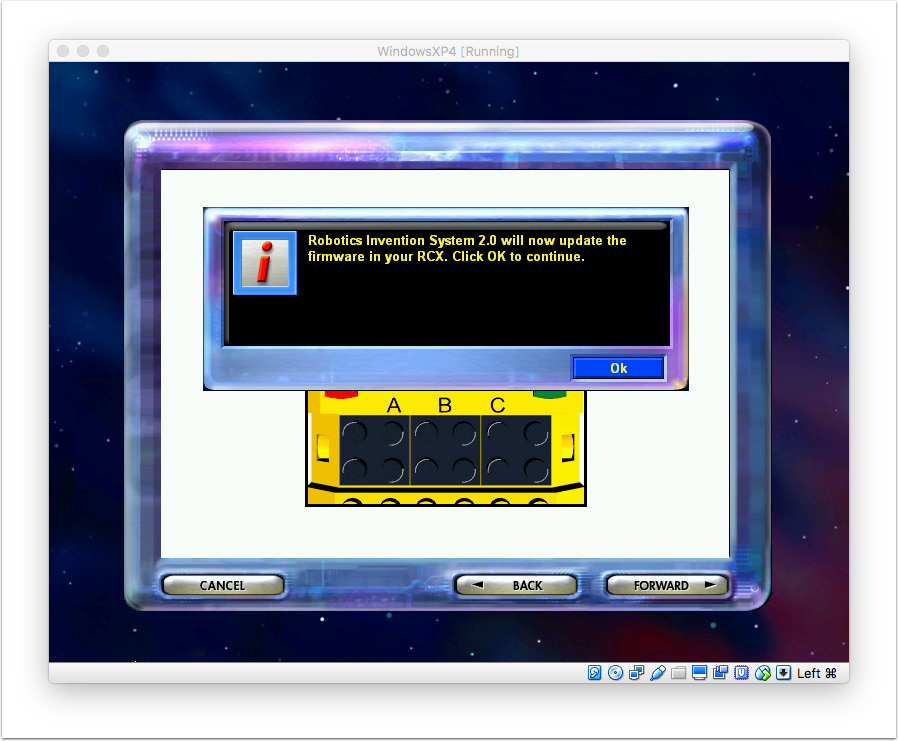
16. Install 2.0 firmware
It will then download the 2.0 firmware onto your RCX.
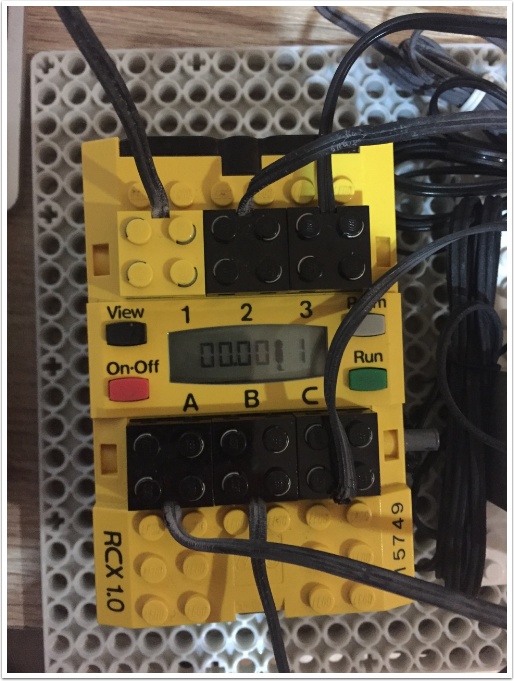
17. Check the firmware status
Your RCX should look like this after the firmware was installeced correctly.
18. Complete the setup wizard and start programming
You are all ready to go. Just build a robot you desire and program it in the RIS.