
This tutorial will show you how to calibrate your computer screen on Windows XP. It uses the Color Munki color measurement device to measures the light that your screen emits. The resulting color profile is then associated to this device on the level of the operating system. A tutorial for Mac OS X is also available.
Install the Color Munki software
Download the Color Munki software and install it. It is available for Mac and Windows.
Setup your screen
Before you can start the calibration process, you need to reset your monitor to its factory settings. Then, you should, if possible, set the monitor’s color temperature (white point) to 6500K, D65, or sRGB, which is equivalent to 6500K. You should also avoid any direct sunlight, since the ambient light also influences how
Start the Color Munki software
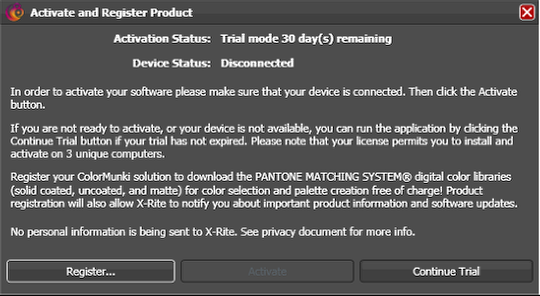
Start the Color Munki software. You will receive an activation screen like this. Do not click any buttons yet.
Connect the Color Munki device.
Connect the Color Munki device to an USB port of your computer. The “Found New Hardware Wizard” will start automatically.
Found New Hardware Wizard (1)
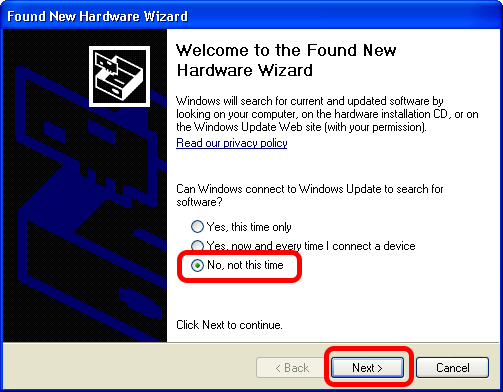
Since the Color Munki software is already installed on your computer, you do not need to connect to Windows Update. Select “No, not this time” and click “Next”.
Found New Hardware Wizard (2)
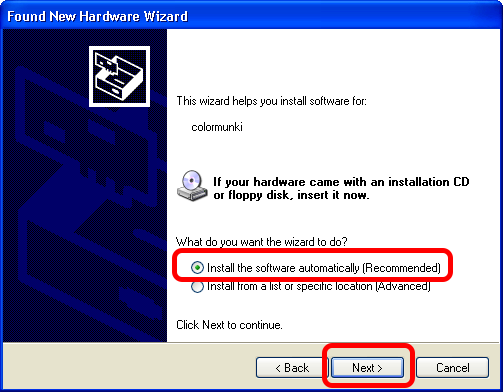
Select “Install the software automatically (Recommended)” and click on “Next”.
Found New Hardware Wizard (3)
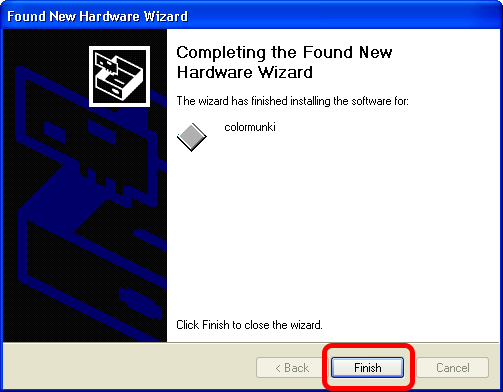
The wizard will now install the software. Click “Finish” when it is done.
Tray information

In your tray, a balloon message will announce that the new hardware is ready to use.
Activate Color Munki

You can now click on “Activate” in the Color Munki Software. You do NOT need to register or continue as a trial. We have a site license for the software already.
Success of activation
The activation will be successful. Click on “OK”
Close the activation screen
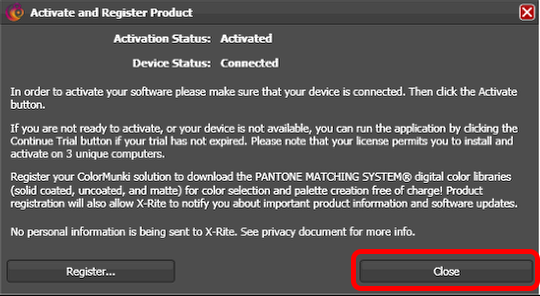
You can now close the activation screen by clicking on “Close”. Again, you do NOT need to register the product.
Start the monitor calibration from the Welcome Screen
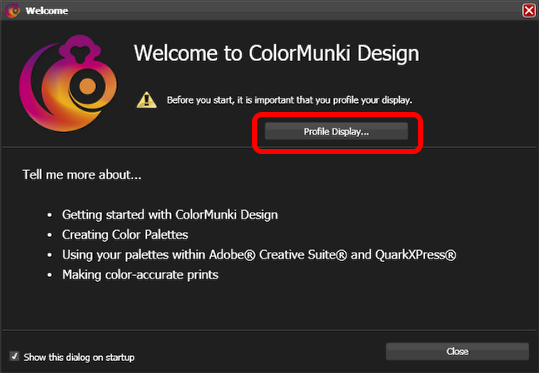
In the welcome screen, you can directly start the first profiling of your screen.
Select your screen type
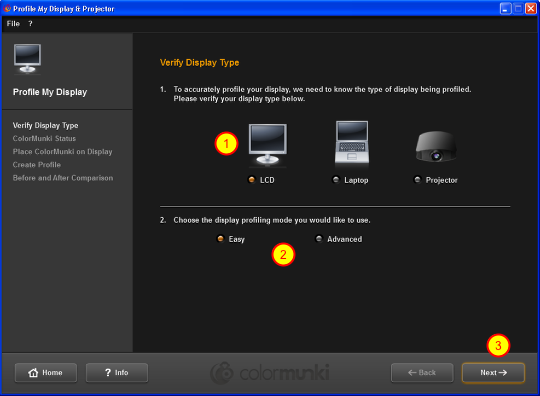
Select your screen type (1) and the easy mode (2). Click “Next” to proceed (3).
Color Munki self calibration
Turn the wheel of the Color Munki to the self calibration position and press the calibration button on the Color Munki Device.
Video on how to select the self calibration mode of the Color Munki (video)
This video shows you how to turn the Color Munki into the right position for its self calibration.
Settings of the Color Munki
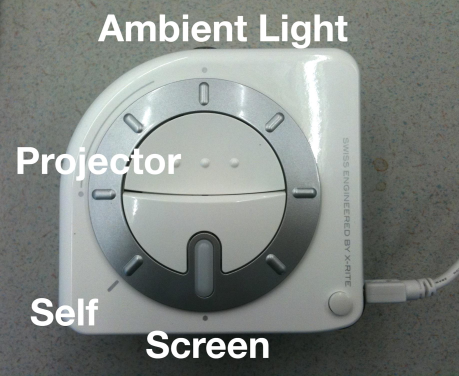
The Color Munki dial can be set to measure ambient light, projectors, itself and screens&printers.
Set the Color Munki to the screen calibration mode (1)

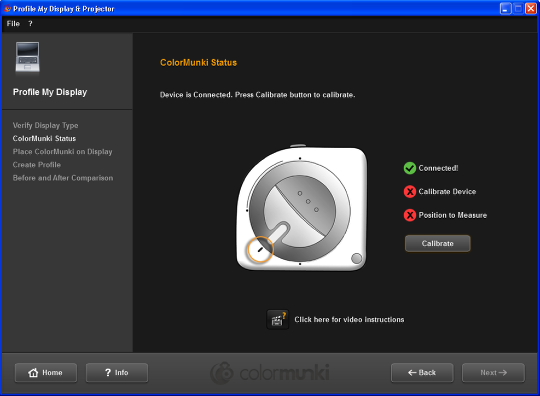
The software will now ask you to set the Color Munki to the screen calibration mode.
Set the Color Munki to the screen calibration mode (2)

Once you have done that, press “Next”.
Set the Color Munki to the screen calibration mode (3)
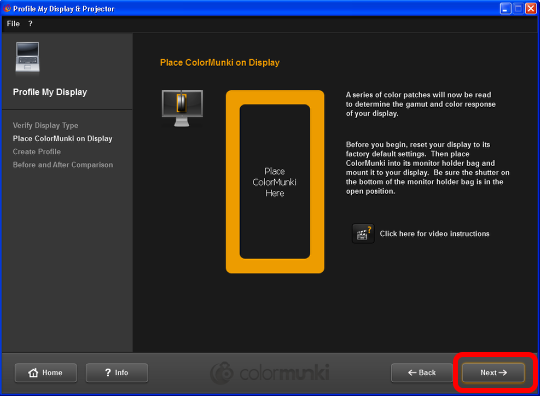
Place the Color Munki within the orange rectangle and press “Next”. The video in the following step shows you how to do it.
Place the Color Munki on your screen (video)
Video on how to place the Color Munki on your screen.
Original Profile
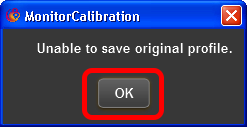
If you have never calibrated your screen, you will not have a color profile associated to the screen. Hence Color Munki cannot save any original profile. Just click “OK”
Calibration process (video)
This video shows you how the Color Munki measures your screen.
Save color profile
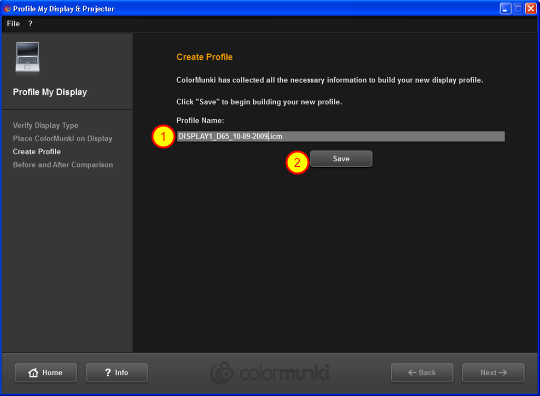
Name the color profile and save it. I usually add the date to the name, so that I can identify the profile when I calibrate the screen again at a later point in time.
Select a reminder
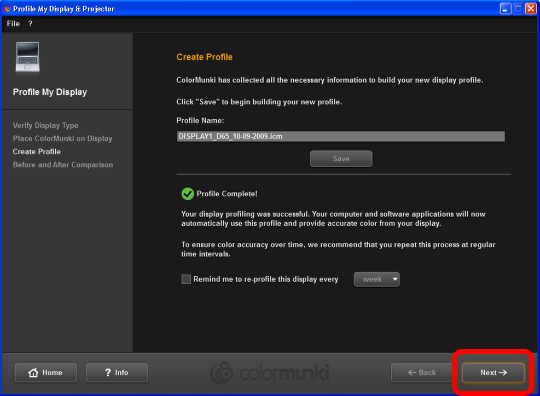
You can have the Color Munki software to remind you in certain intervals to repeat the calibration. Professionals calibrate their screen at least once a month. Press “Next” to continue.
Before and after (1)
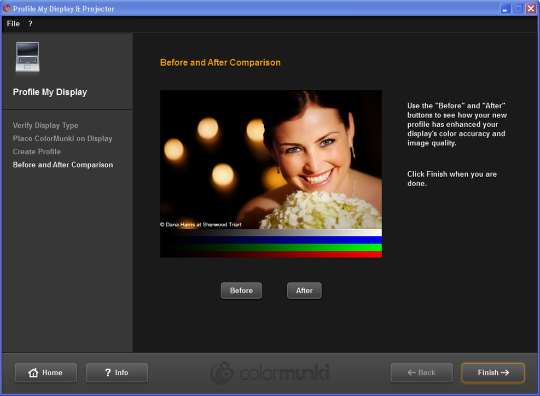
The software will now allow you to see a picture before and after the calibration. Press “Finish” when you are done.
Before and after (2)
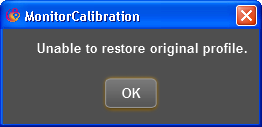
If you select “Before” and you have never calibrated your screen before, you will receive this little message. Just Click “OK” to see the picture without any profile.
Close the Welcome screen
You can now close the welcome screen and you are done. You have successfully calibrated your computer screen.
Verify color profile (1)
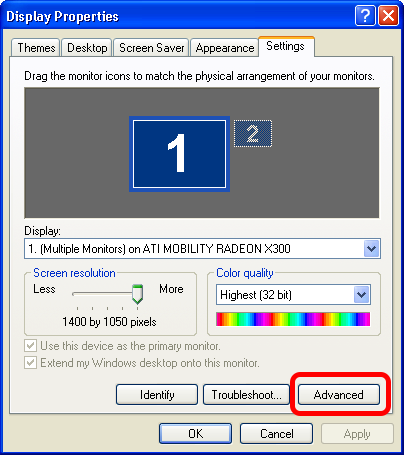
Select the Display Control Panel in your Windows system (right click on the desktop => properties) and go to the “Settings” tab. There, select the “Advanced” settings.
Verify color profile (2)
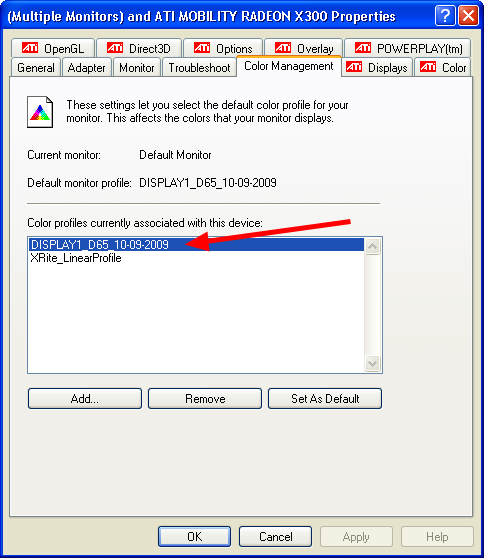
This screen might be different, depending on what type of graphic card your computer has. For my computer, I need to select the “Color Management” tab to see the profile that I just created in the list.
One thought on “Color calibrating your screen using Color Munki (Windows)”