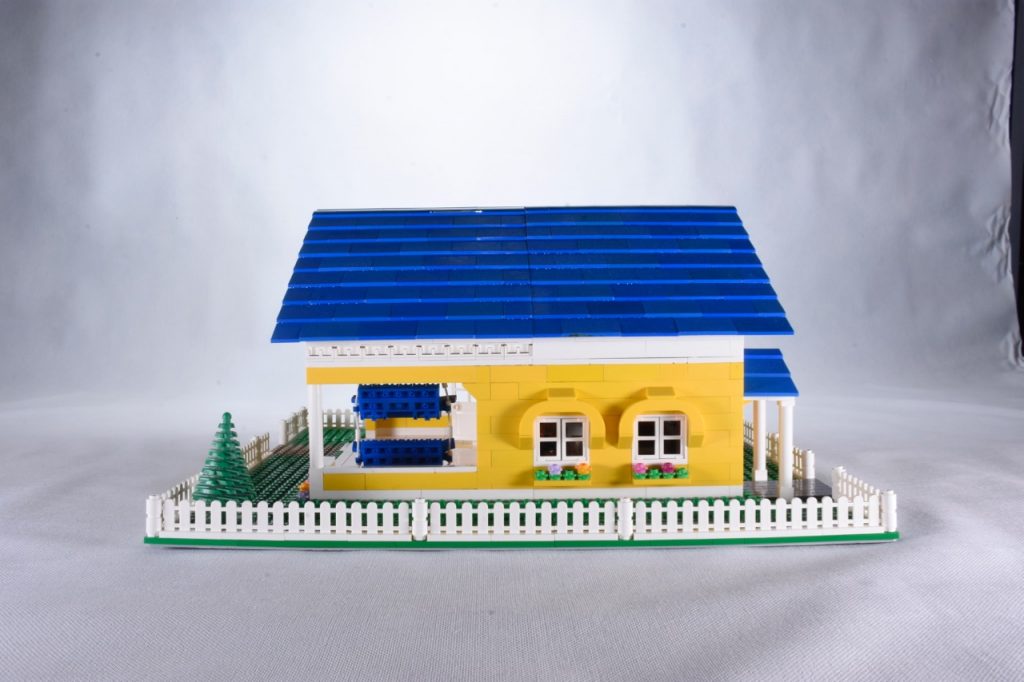
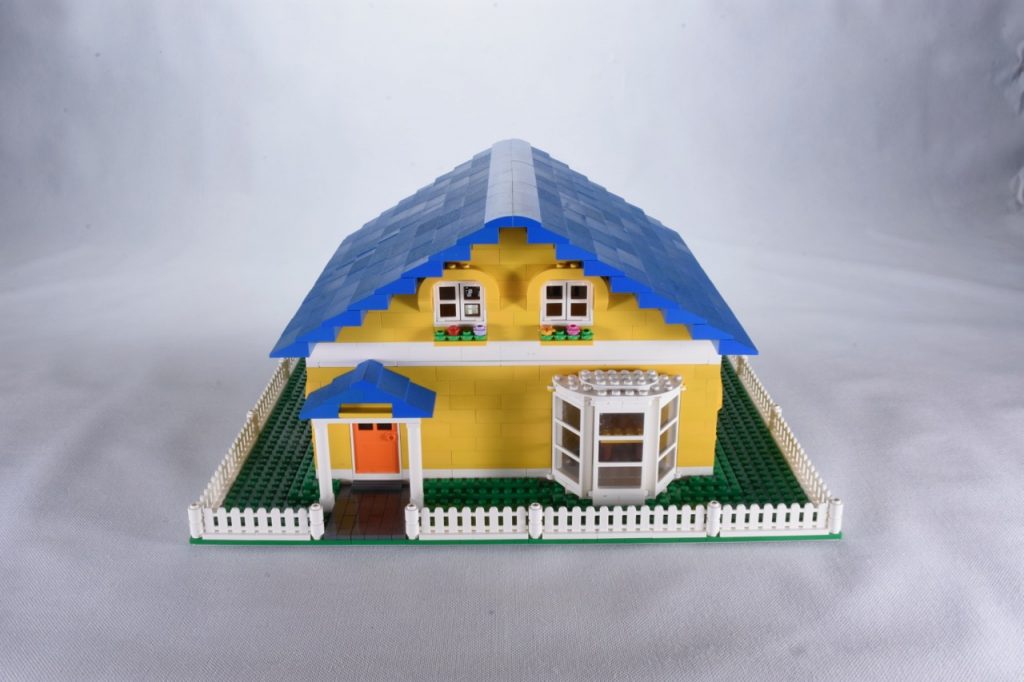
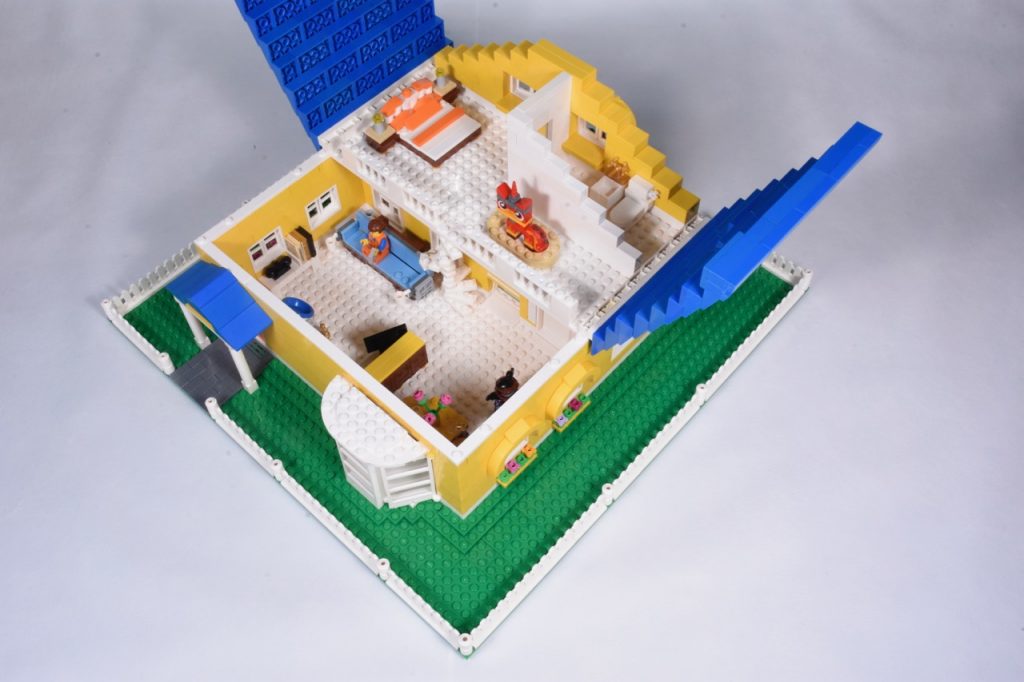
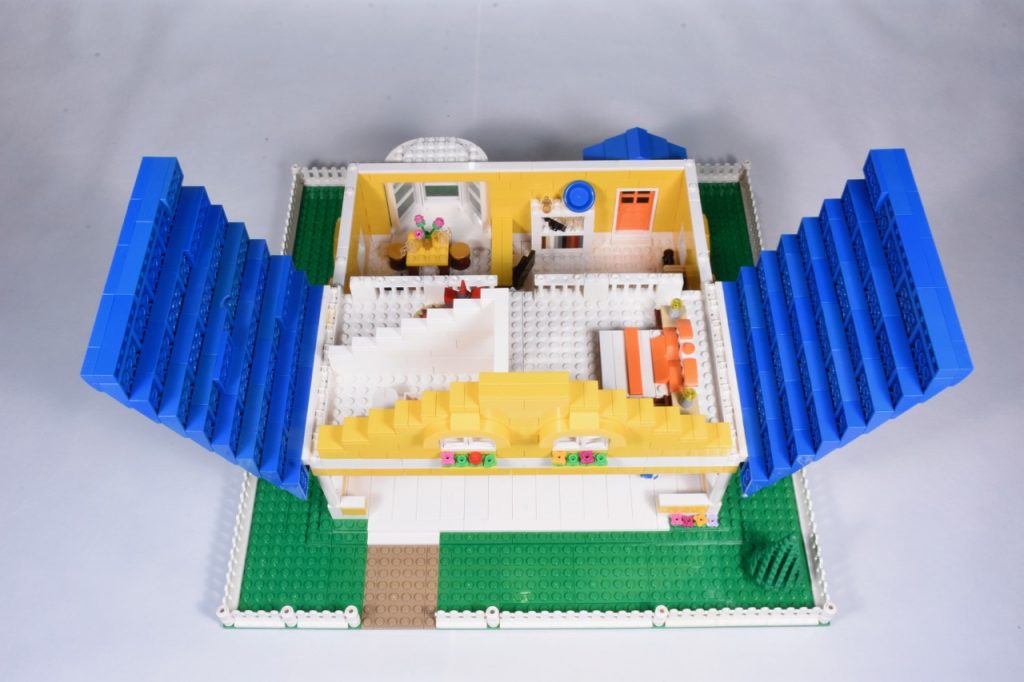
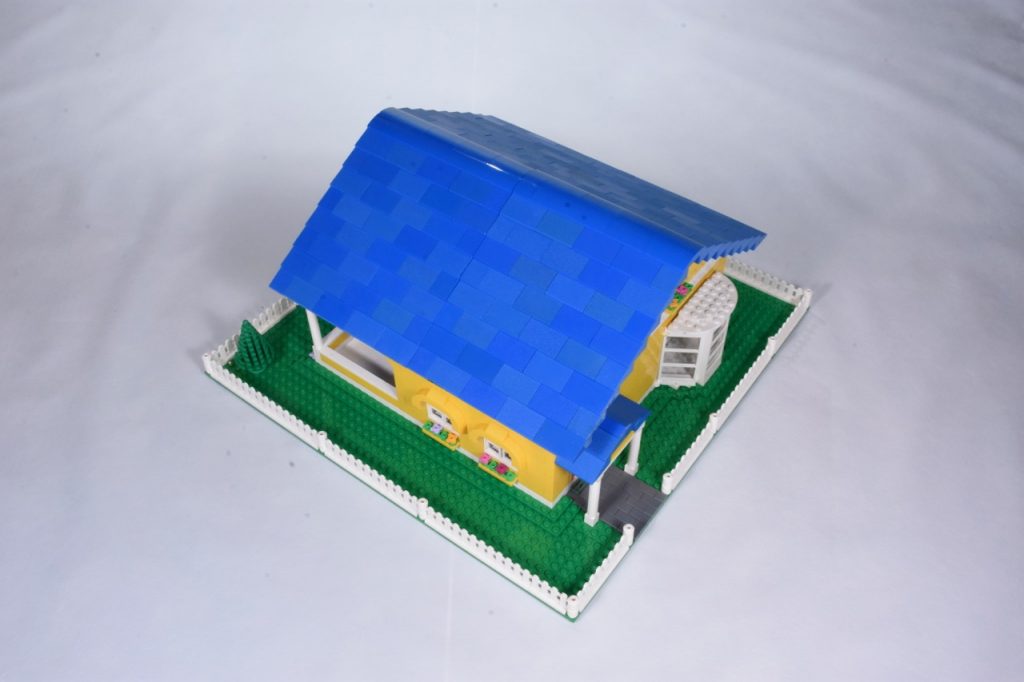
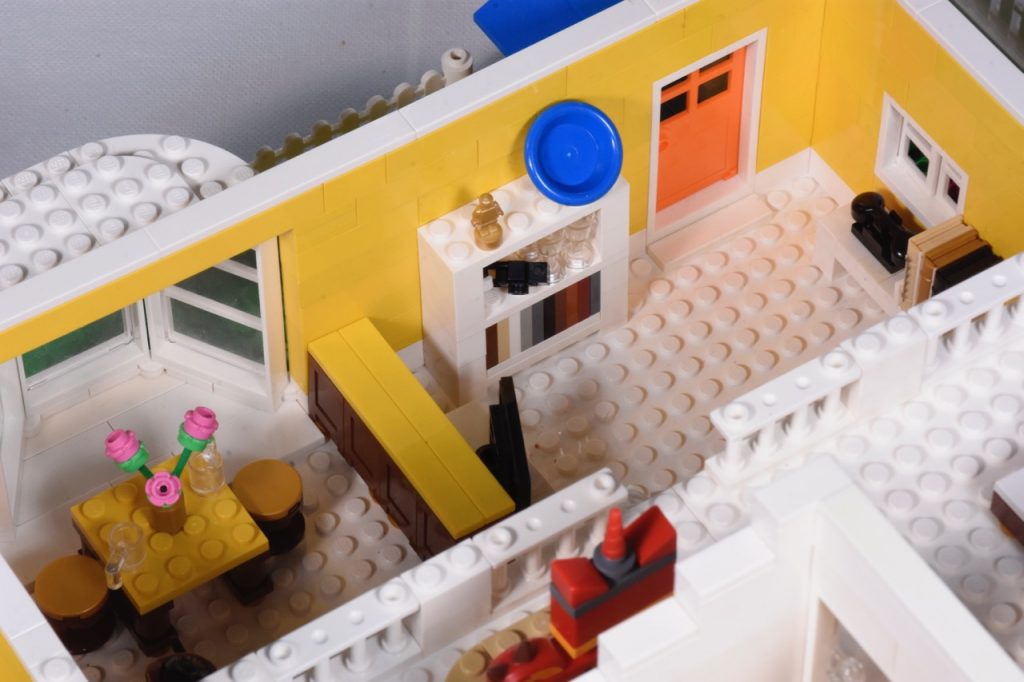
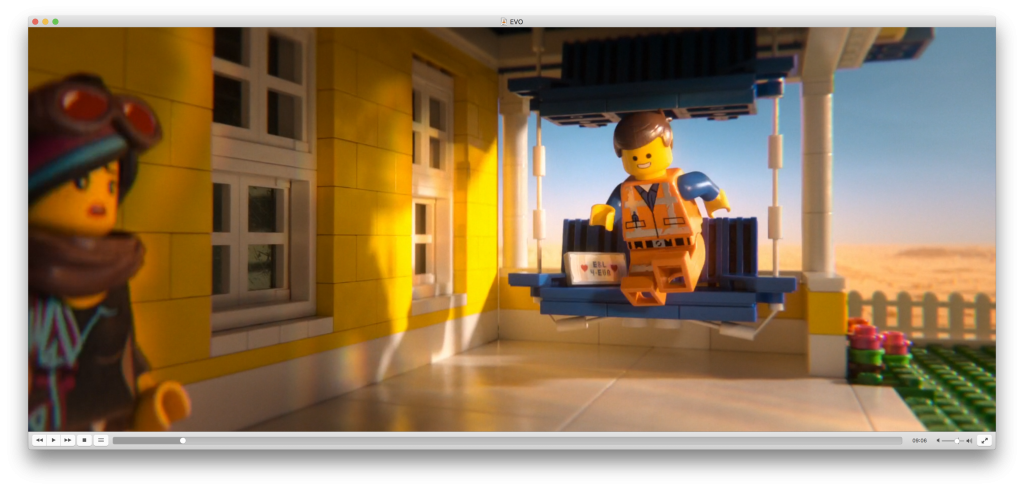
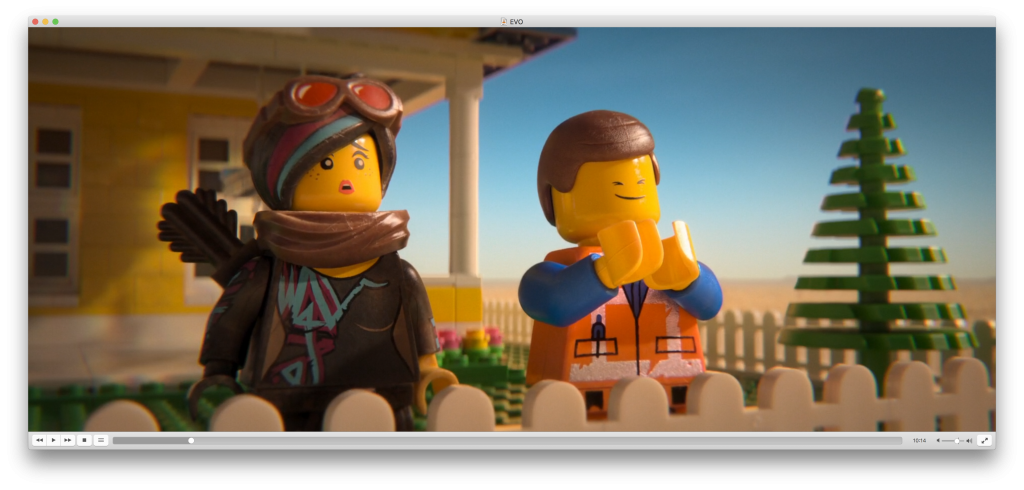
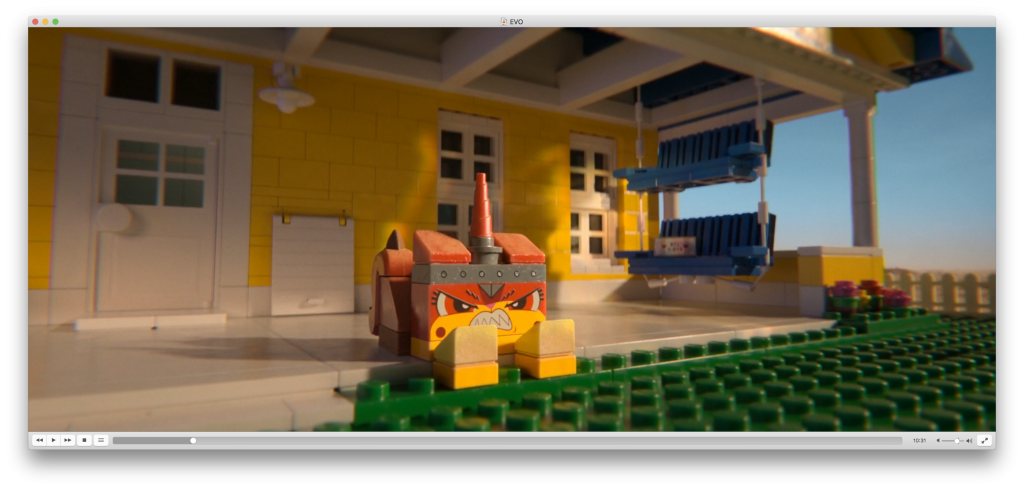
In the LEGO Movie 2, Emmet is inviting Lucy to his dream house. Similar to a Tardis, it is bigger on the inside than from the outside. But when we get to see the backside of the house, it becomes clear that there is a full size version that is different from the set 70831. I too several screenshots and tried to assemble this full size version of Emmets house based on the shots from its rear side.
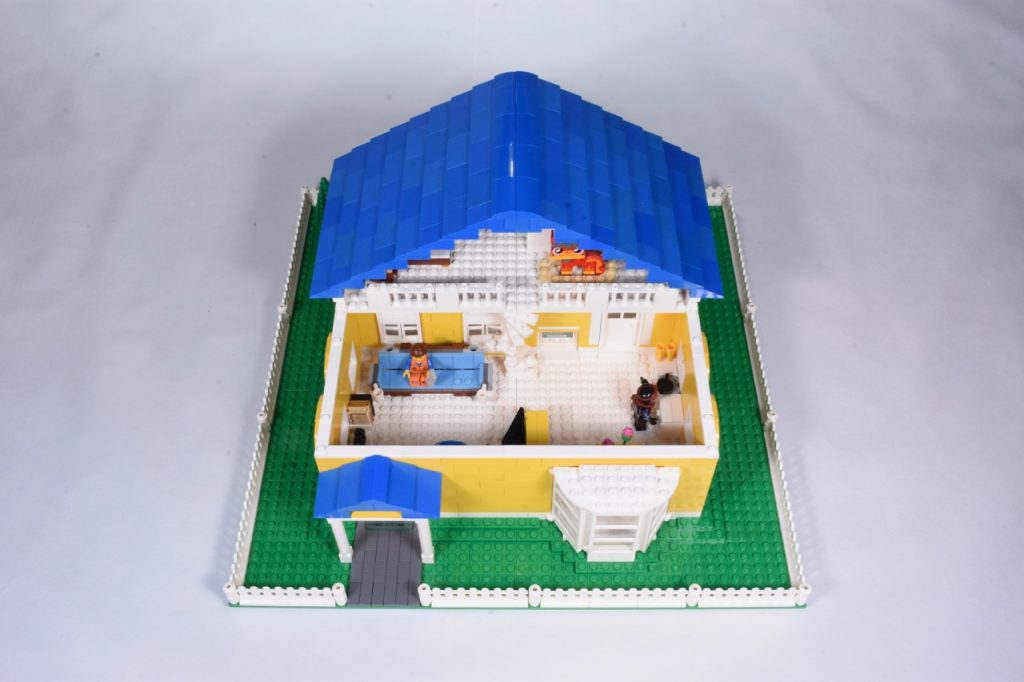
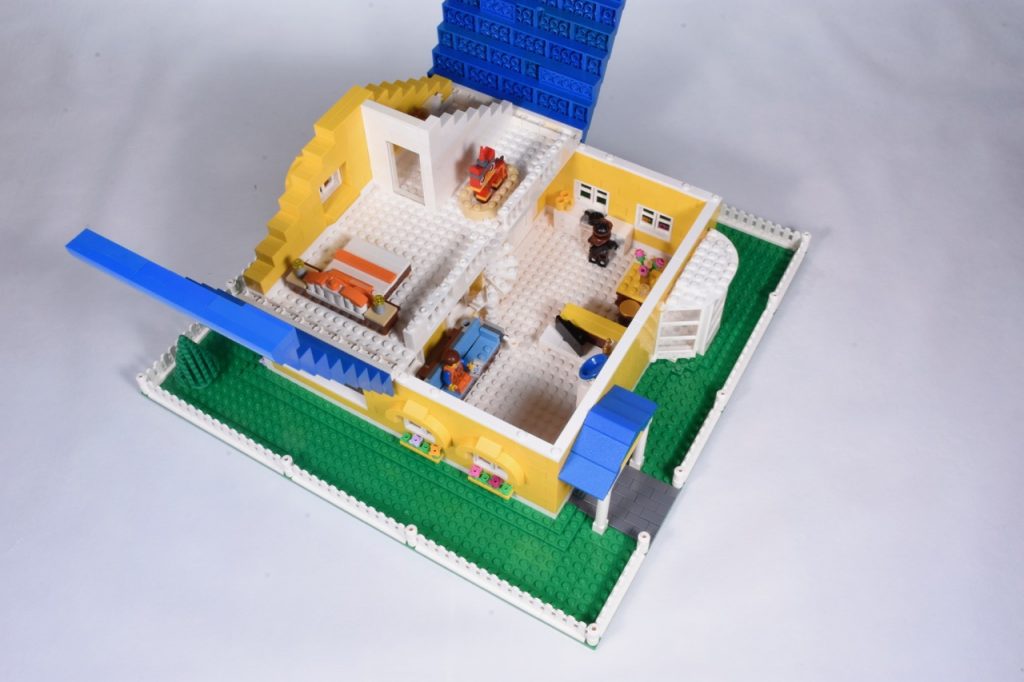
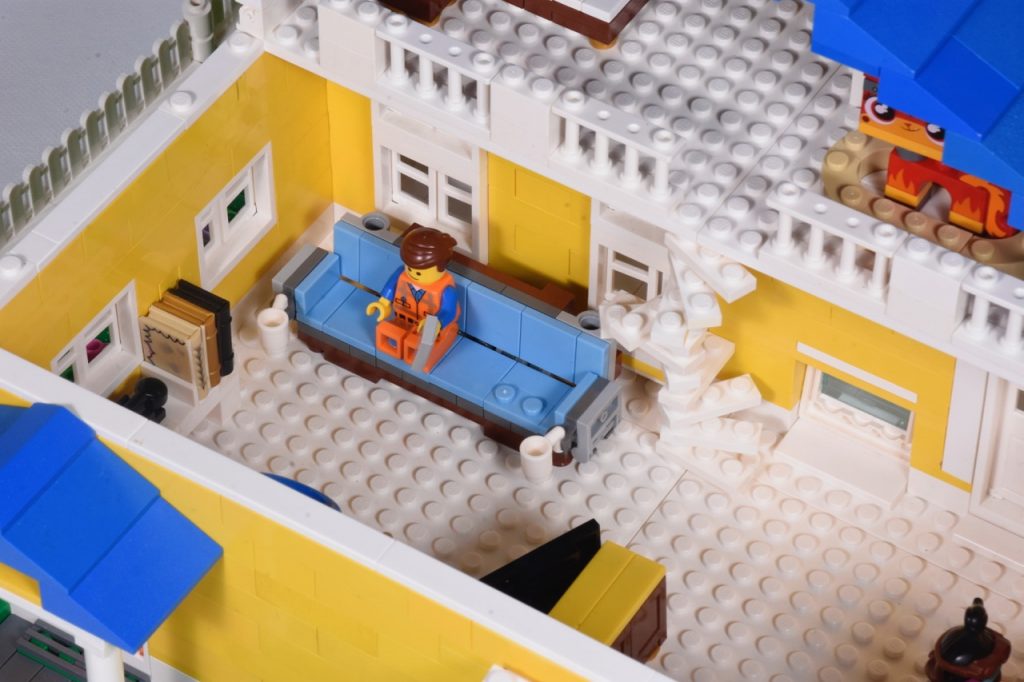
The house can be opened up by removing half of the roof and by opening up the other half. We have the famous couch and the double decker porch swing. Here are some screen grabs from the movie and their MOC counterpart.
The new LEGO Classic Castle shield 18836pb03 is just beautiful. Time to create a new drawing of the artwork. I have to find a way how to incorporate this new shield in my previous poster and t-shirt.
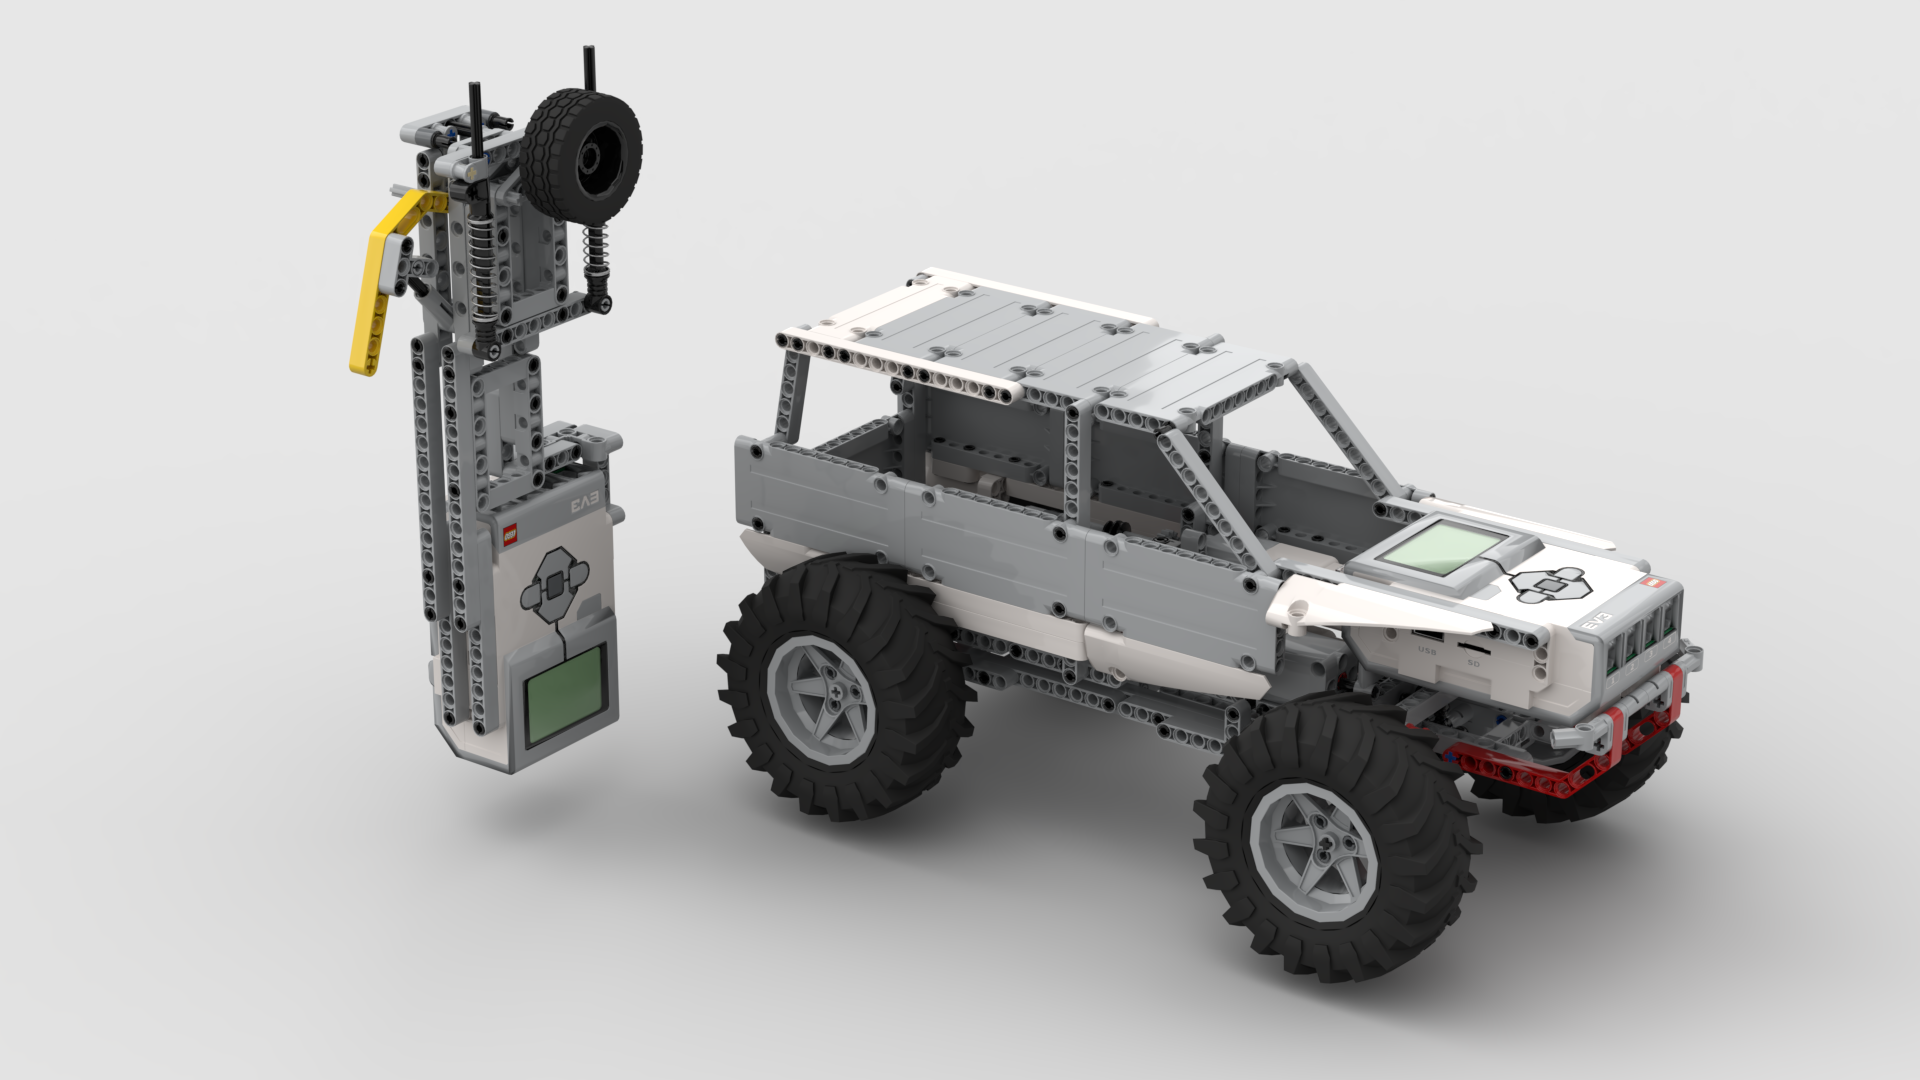
This LEGO remote controlled crawler uses a sequential gearbox from Sariel and a Mindstorms EV3 to control the car. The remote control used force feedback and offers proportional control over speed and direction. It also allows you to change gears and change the forward and backward drive. The two EV3 Mindstorms communicate using Bluetooth. The remote uses two rotation sensors to measure speed and direction.
The building instructions are available for LEGO Digital Designer and Stud.io. Please notice that I had to replace the 35188 Technic Changeover Rotary Catch with another gear in the digital model and I could also not include Mindsensors Glide Wheel Rotation Sensor. These bricks do not yet exist in digital form. I also put up the model are ReBrickable and the inventory there is almost complete. Feel free to also use different wheels. In the LDD model I also had to use other shocks.
Here is a video that explains the model’s function:
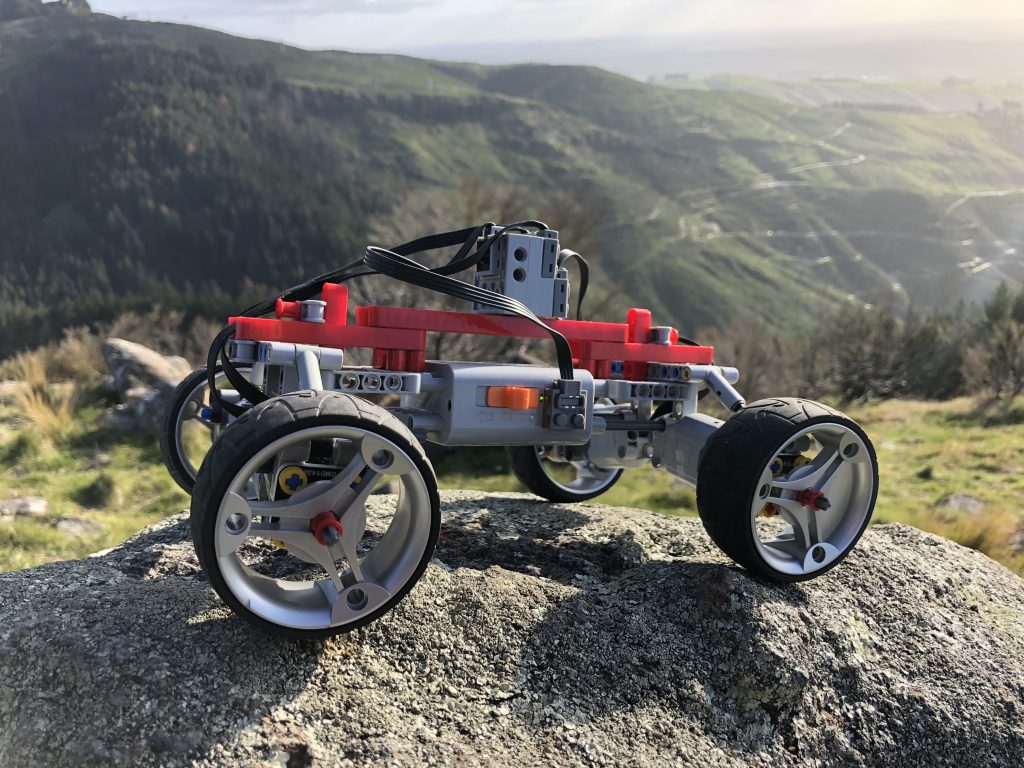
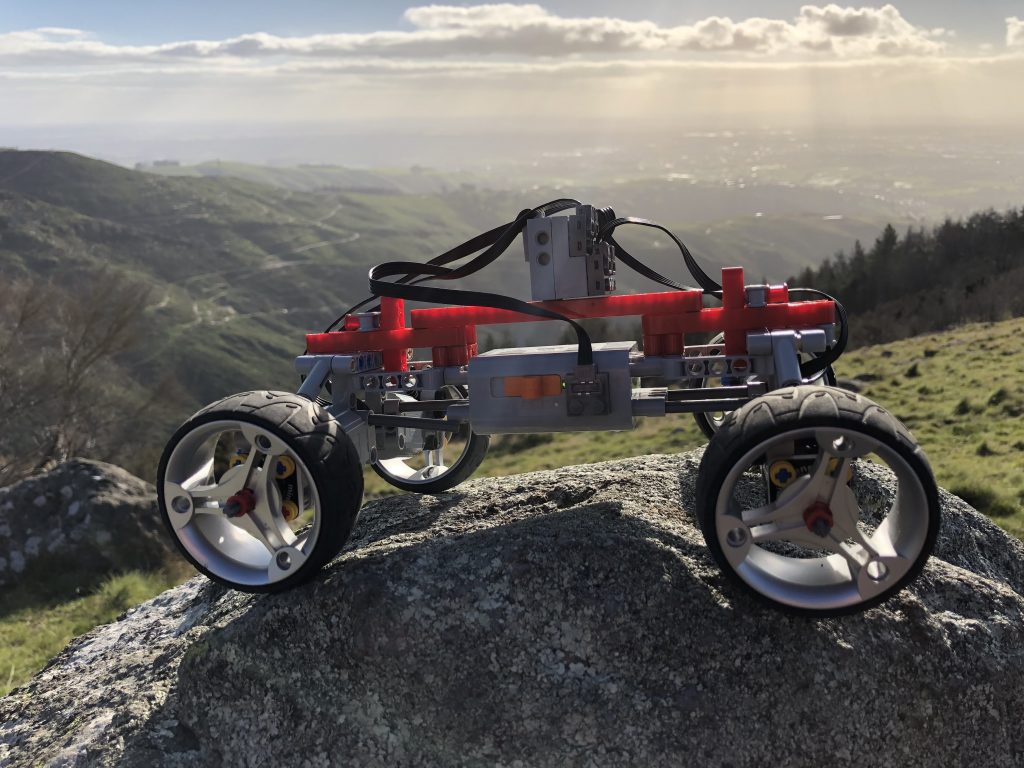
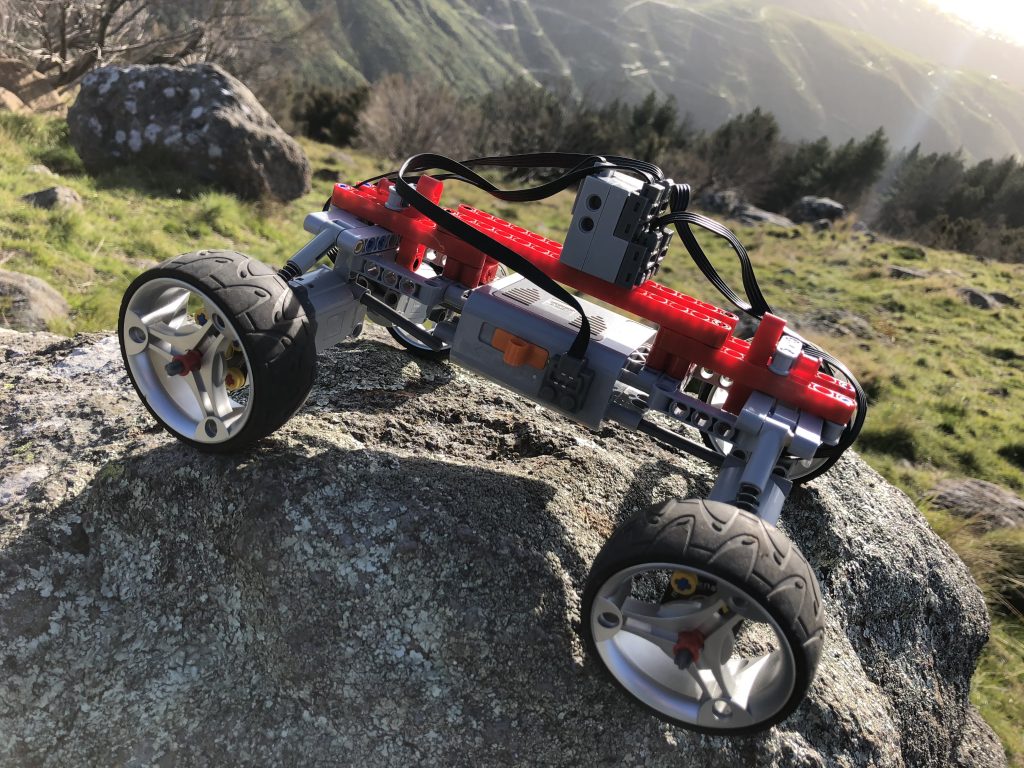
I built a new version of my Race cars series (Race1, Race2) with the logical name Race3. This time I am using the SBrick to control the car which gives its proportional steering control. This is great for driving curves. Race3 features individual suspension, ball bearings and a very low centre of gravity. You can drive it up and down pretty much any rock or mountain. Here is a video of what it can do.
And here are some photos of the model. Building instructions are also available. I also put up this MOC over at Rebrickable.
Building LEGO digitally has many advantages, such as having an unlimited number of bricks at your disposal. While these digital models can be shared it is also desirable to create a photorealistic rendering of the final model. There are currently three major software packages to build digital LEGO:
LEGO Digital Designer
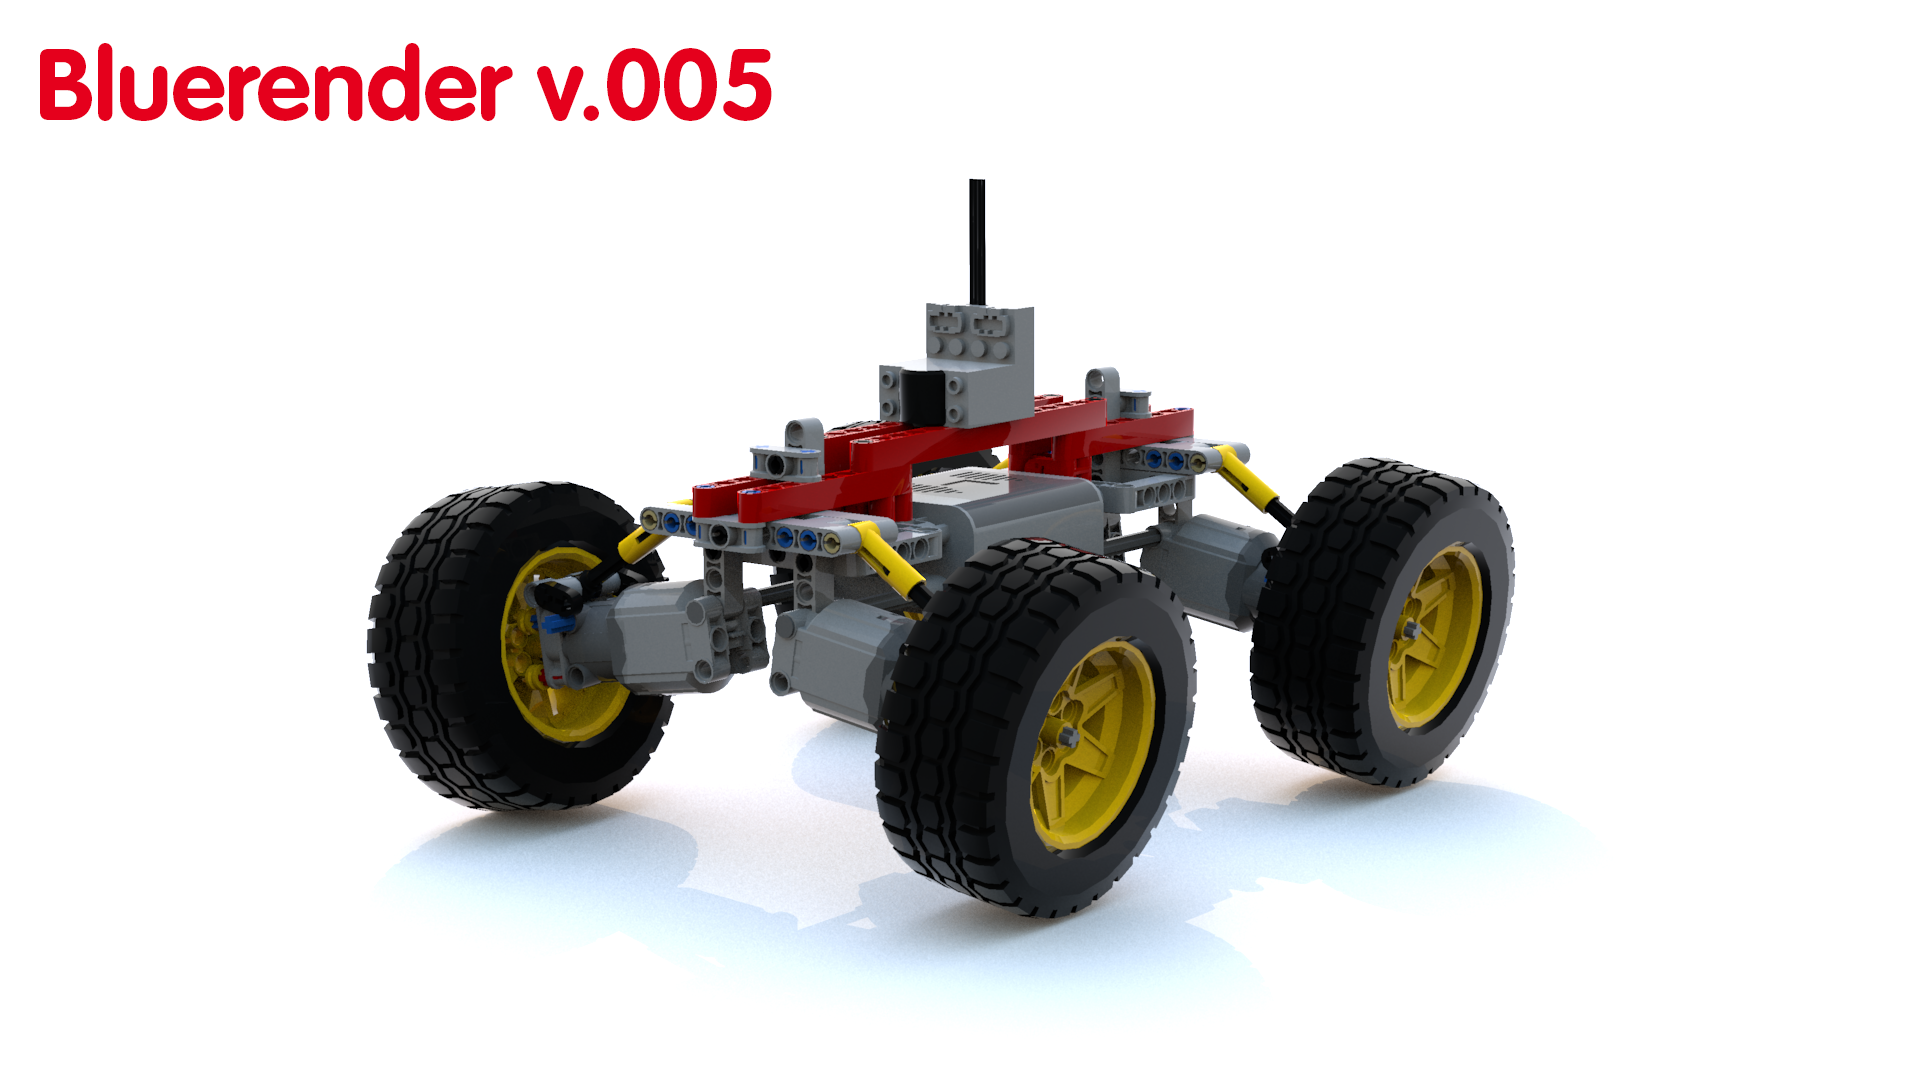
This is the most comfortable editor for all platforms, but LEGO’s support for this software is in doubt. The build in render engine is not the best, but you can use Bluerender that in turn uses PovRay for rendering your model.
LDraw
Draw is the oldest software and it is maintained by the LEGO community. There are several different editor and render tools available.
Stud.io
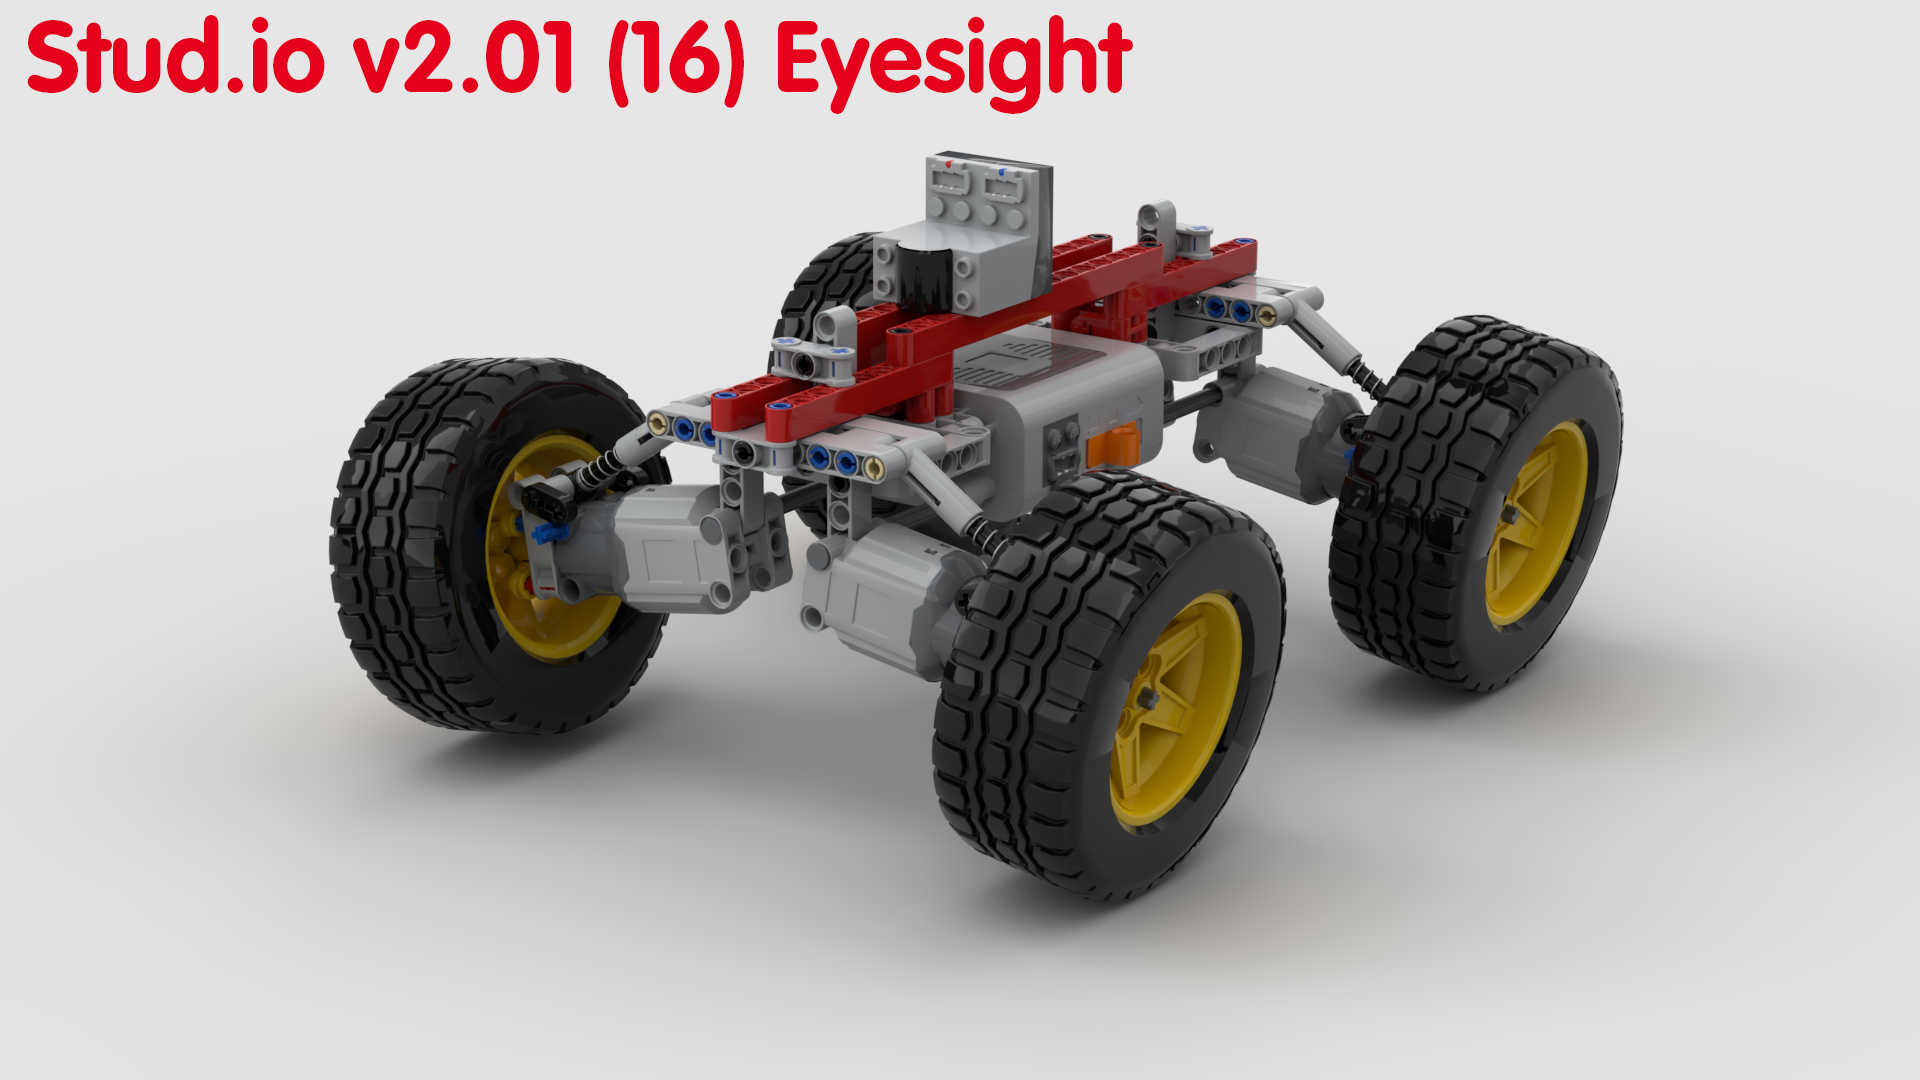
This software was developed by Bricklink and it uses LDraw for its parts and PovRay for the rendering. In its newest Beta version Stud.io is using a new render engine called Eyesight.
Mecabrick
This online software runs in your browser and you need to pay for having your image rendered on theirs server farm. They did not have the L-Motor in their library and hence I could not render my model there.
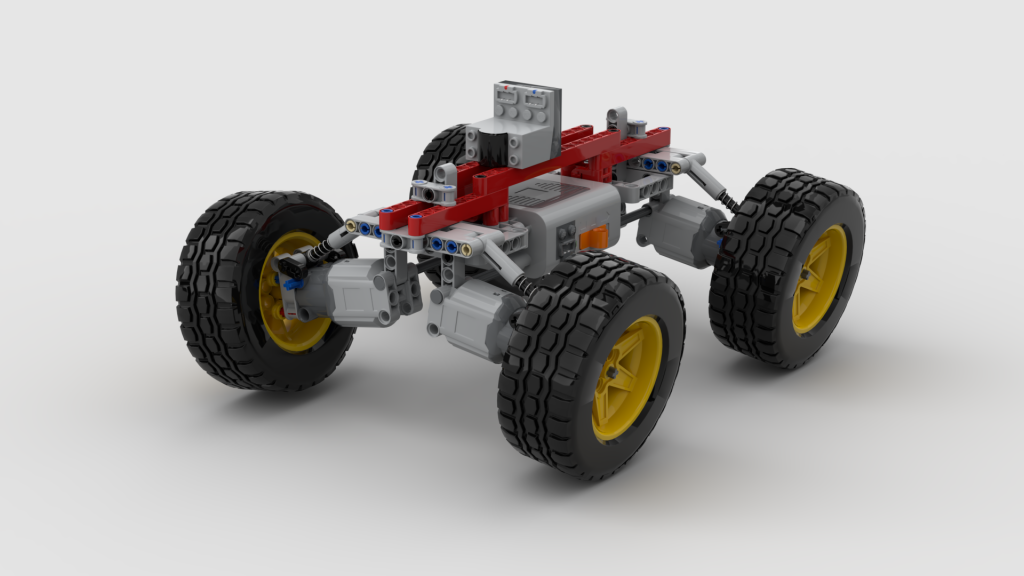
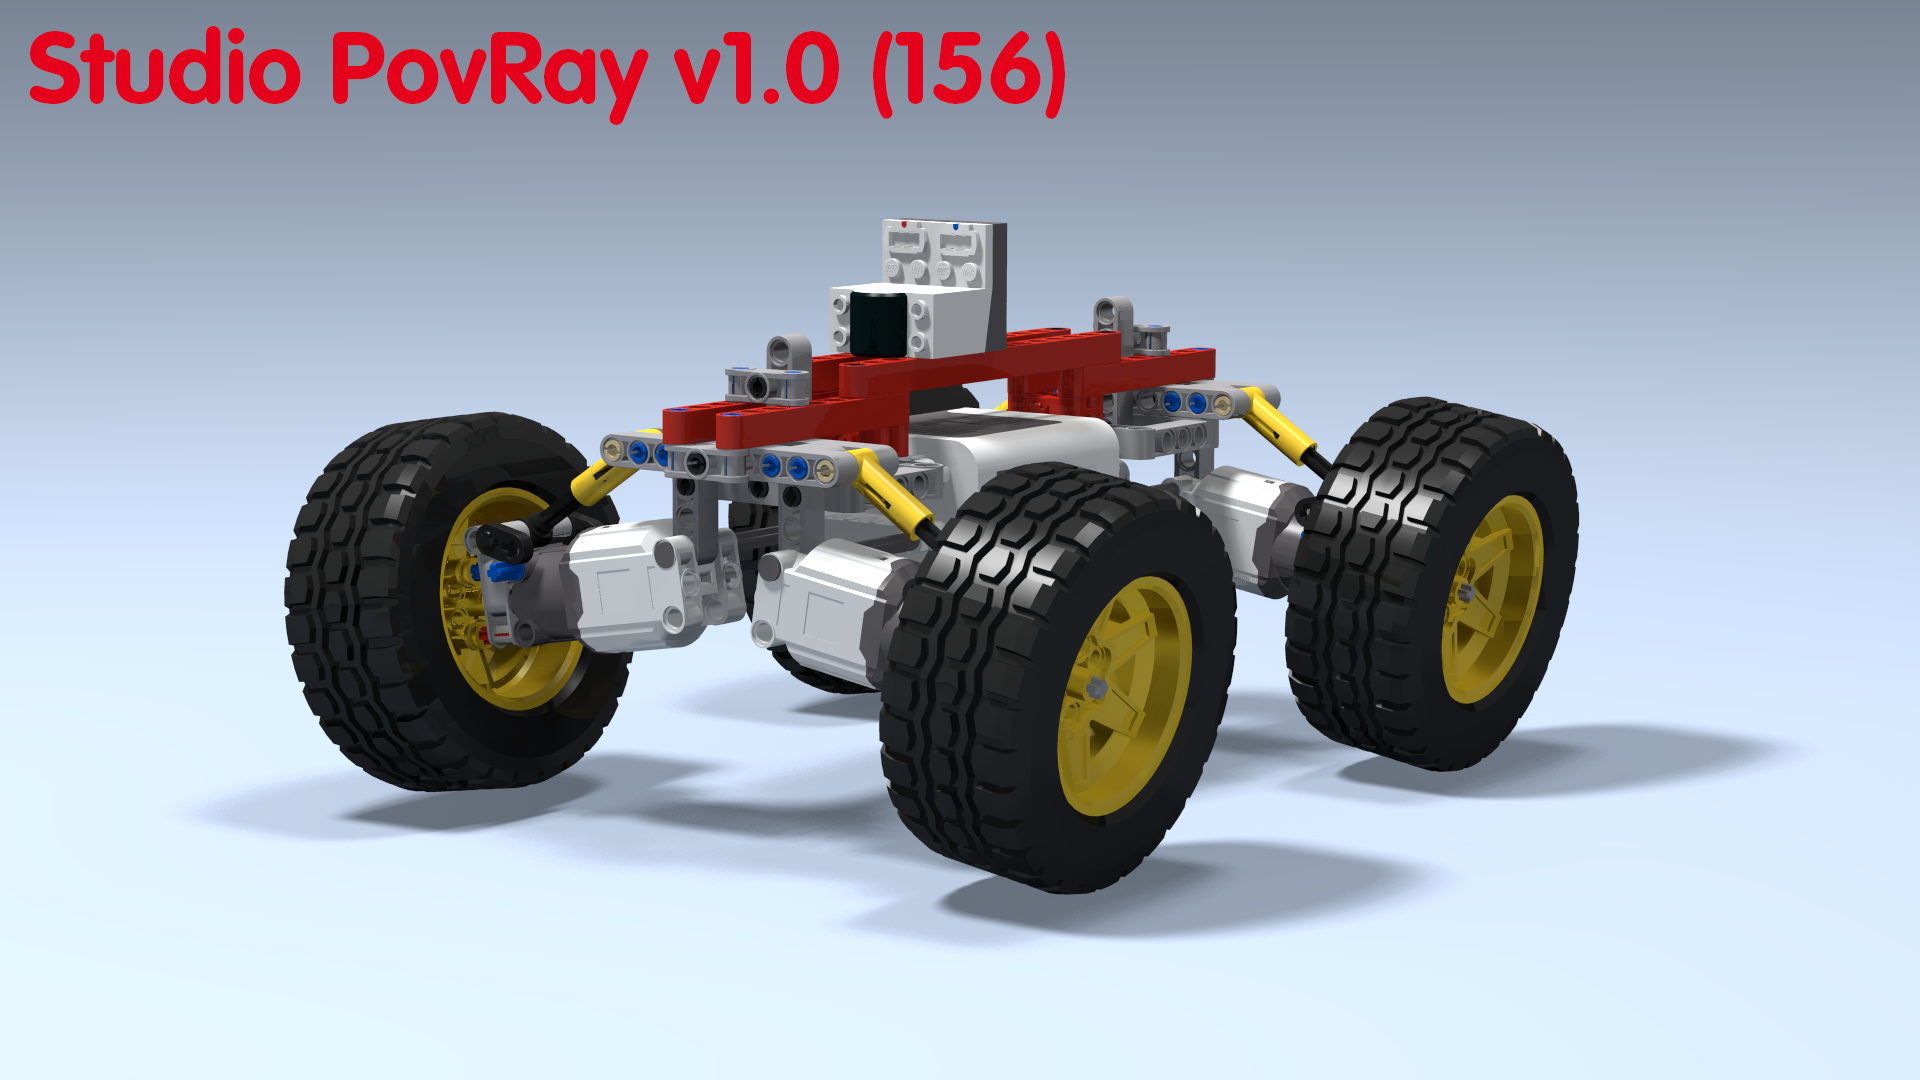
So lets compare the results of the render engines. Below you find the rendered images of all software packages set to their maximum quality level. I also uploaded these images to Flickr. It is very clear that the new rendering engine from Stud.io is far superior to all other rendering engines and this alone might motivate you to adopt this software as your default LEGO digital design tool.
Stud.io PovRay
Stud.io Eyesight
LEGO Digital Designer
Bluerender PovRay
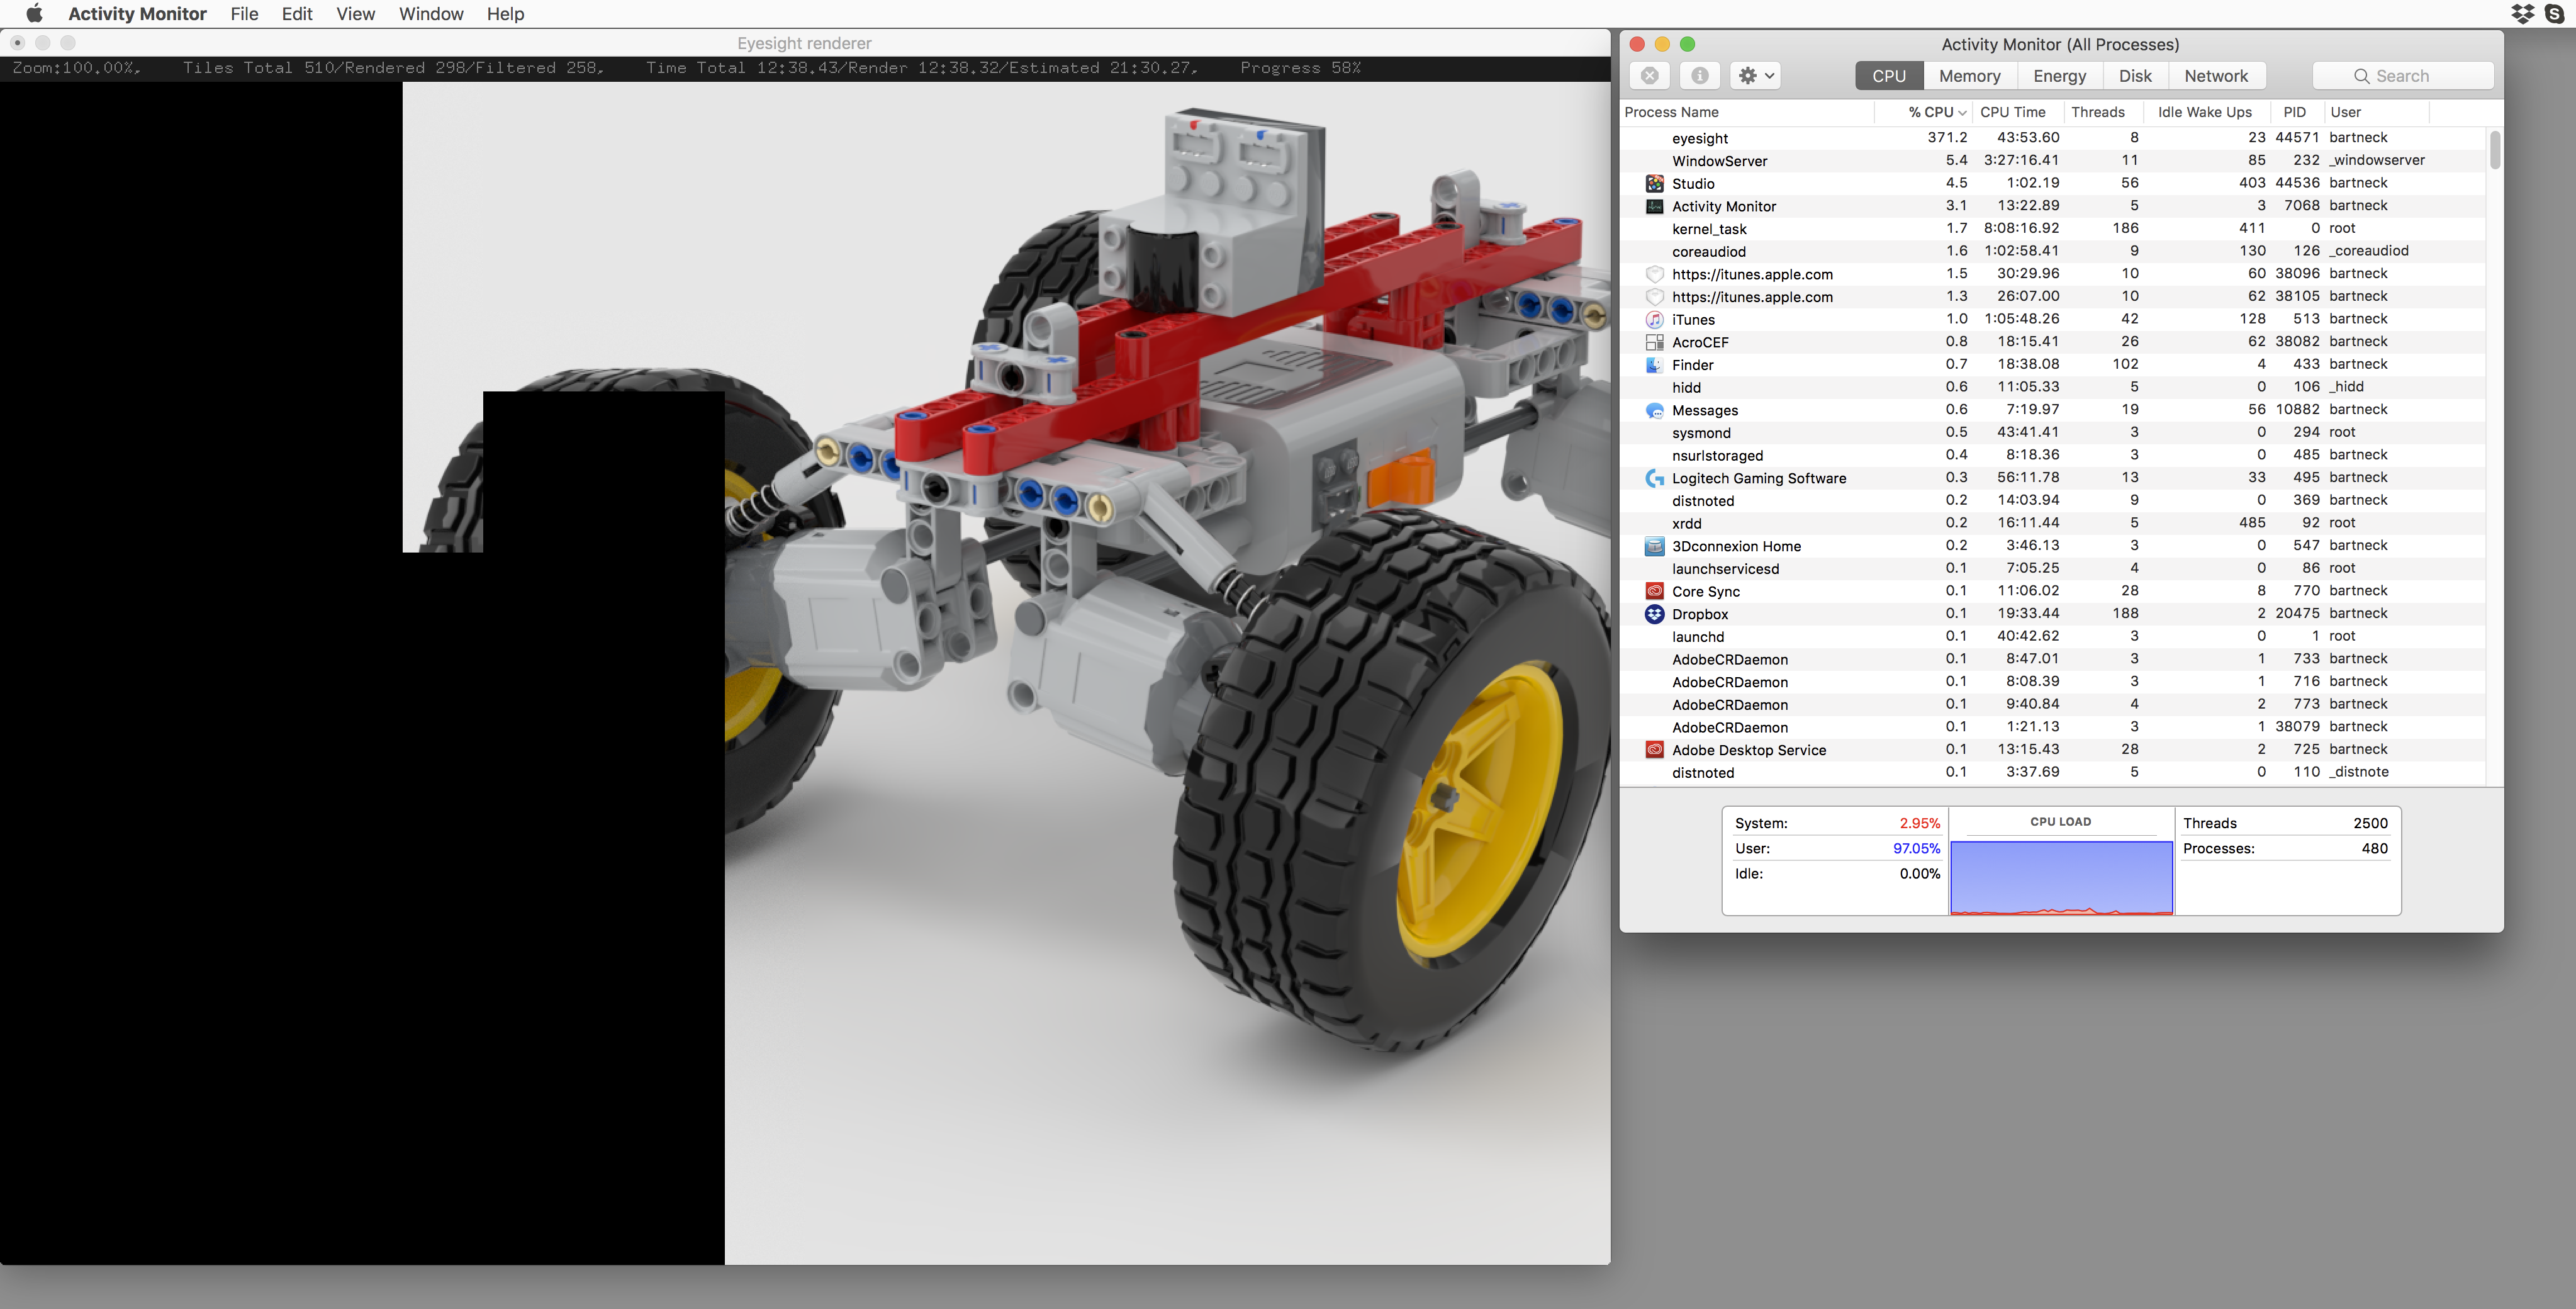
It is also interesting to notice how efficient Stud.io uses the computers computing power to render. Here is a screenshot of my CPU load during rendering: