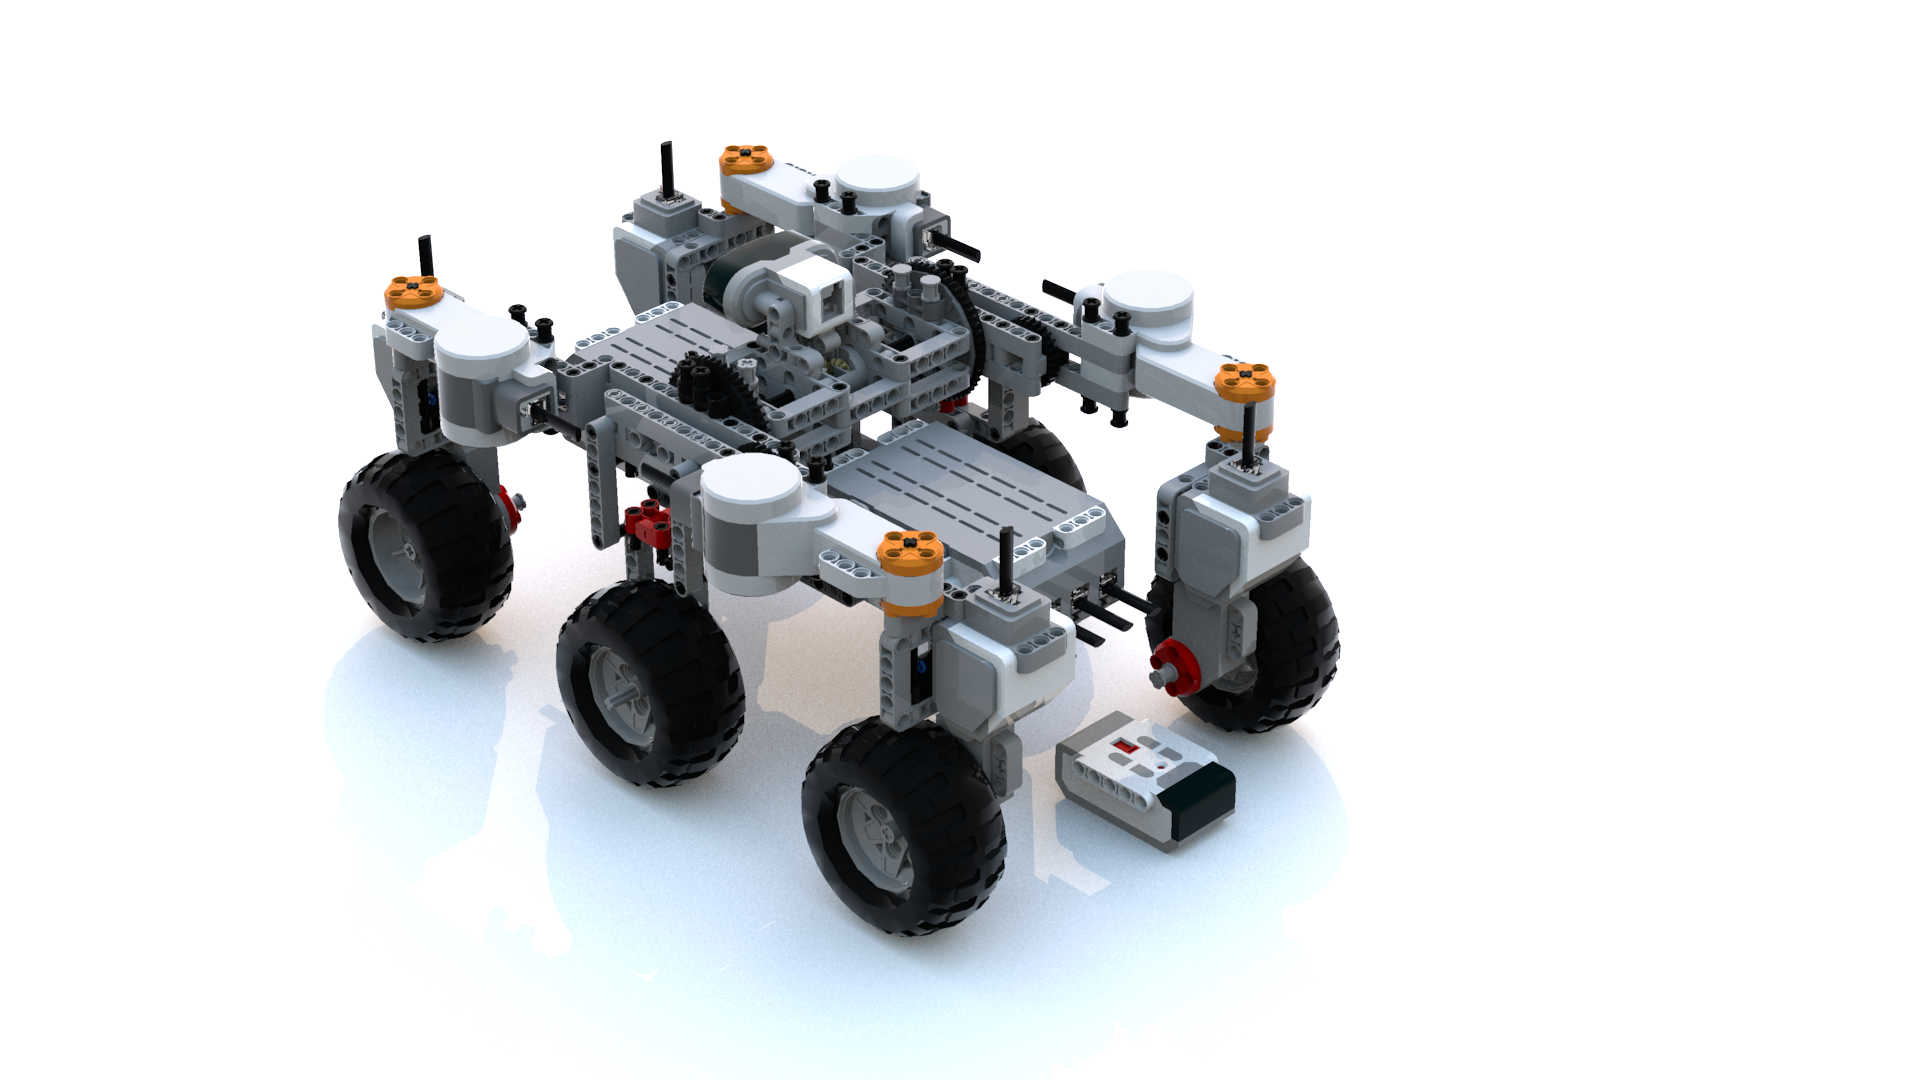
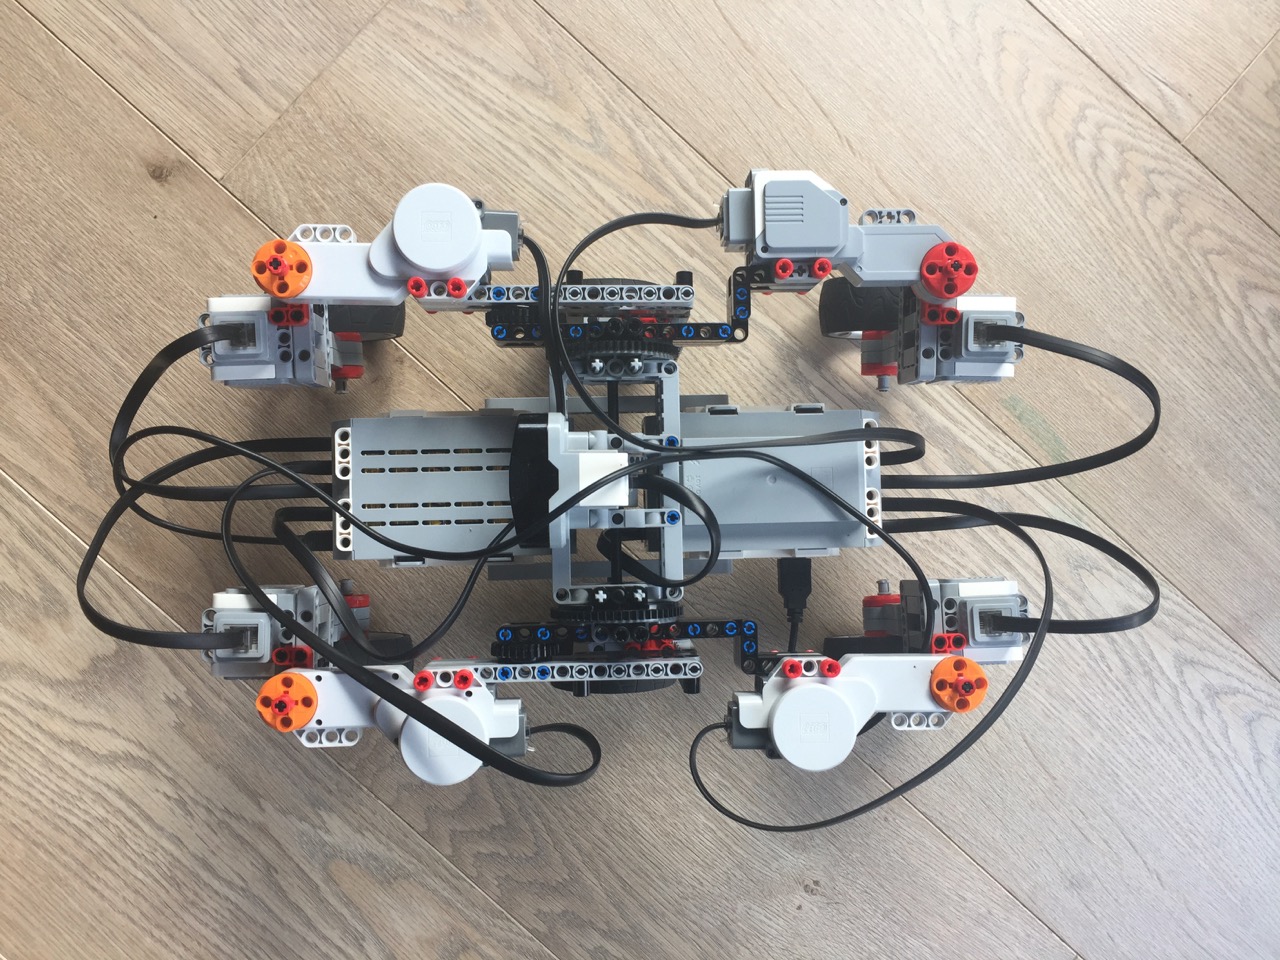
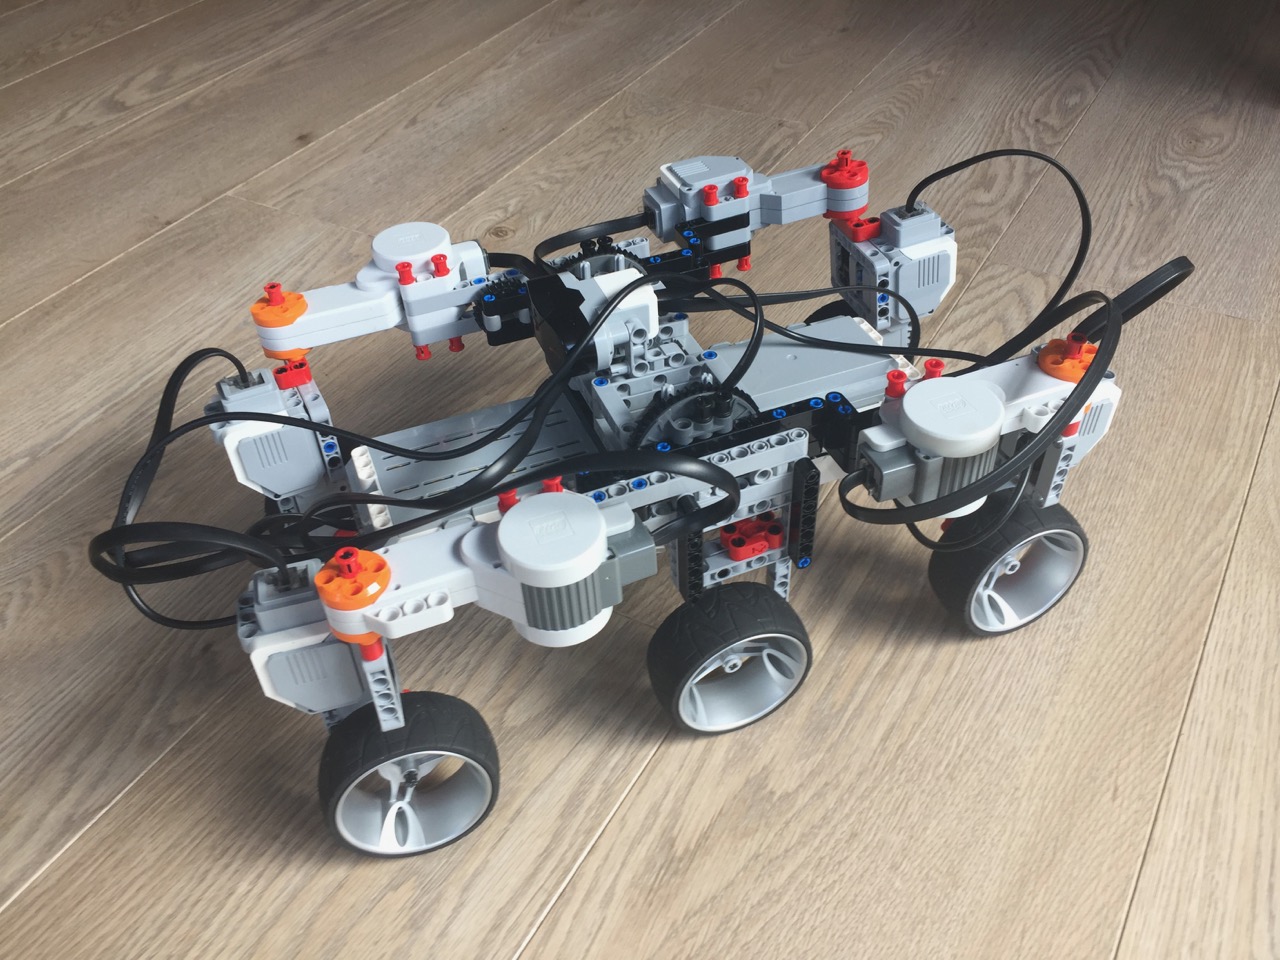
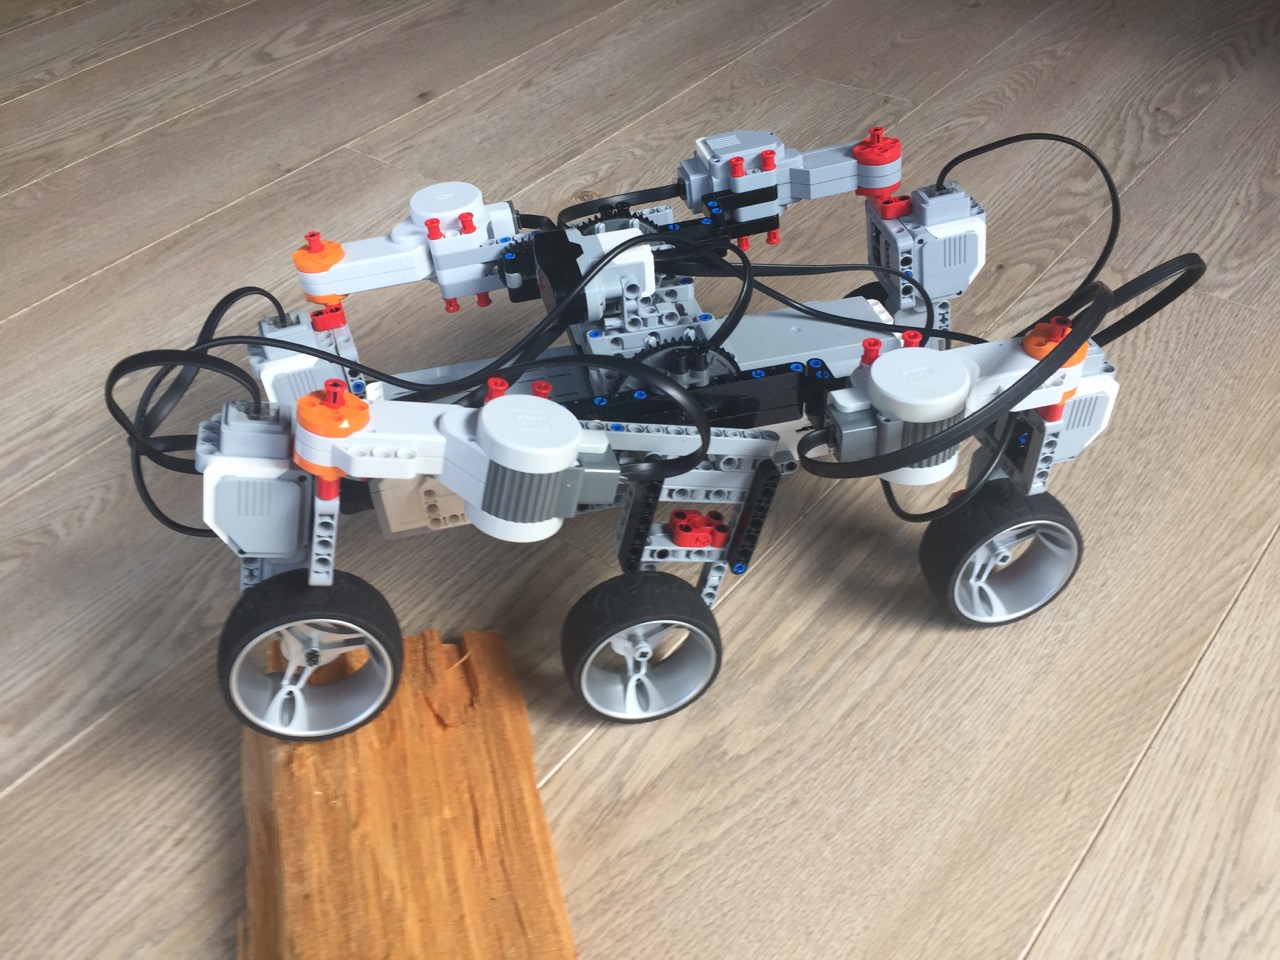
This is simple Mars Rover model using two LEGO Mindstorms EV3 and a total of eight motors. The two EV3 are daisy chained and the model can be controlled using the EV3 IR Remote Control. The model uses the rocker-bogie suspension system including a differential in the middle axis. The two EV3s are suspended and remain horizontal in any position. There are much more complex Mars Rover models already available using many more Mindstorm bricks. My design goal was to keep it simple and experiment with the rocker-bogie suspension system. The principles works, but there is a bit too much flexibility in the model.
The 3D model and the building instructions are available for LEGO Digital Designer. The parts list and instructions are also available at Rebrickable.
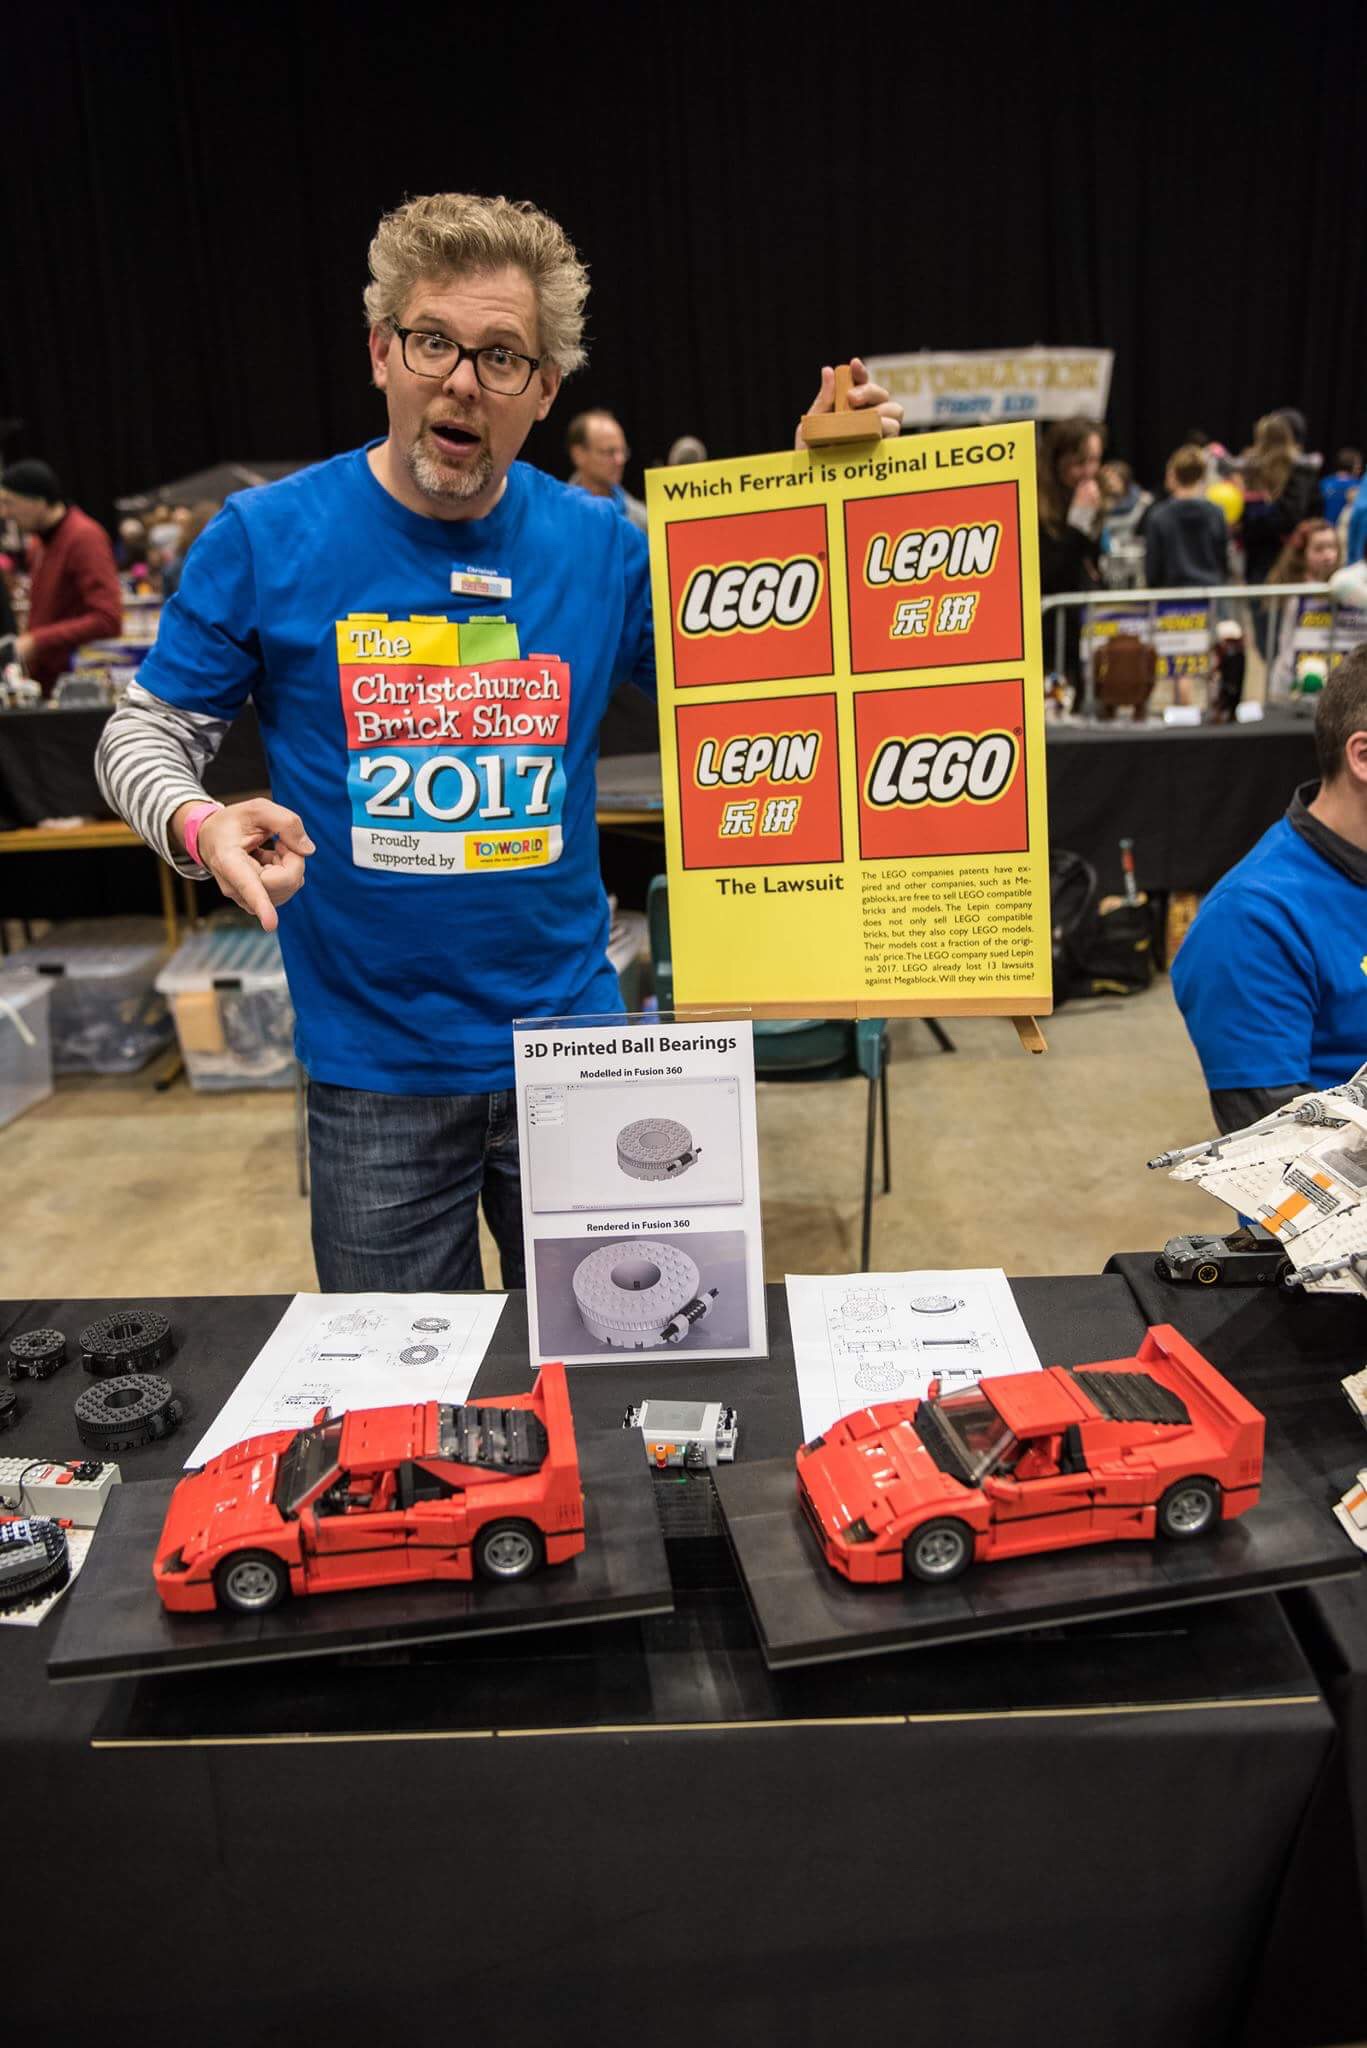
The Christchurch Brick Show committee in conjunction with the Management of LUG 4×2 banned my exhibit at the Christchurch Brick Show 2017. I am seriously concerned about the decision, the process on how this decision was made, and shocked by the reason provided for the decision. I would therefore like to launch a complaint about their actions.
A holonomic robot uses omni-directional wheels to drive and turn in any direction on the spot. Agilis is an example of an early LEGO holonomic robot. My model is much simpler and robust. Essential to all holonomic robots are the use of omni-directional wheel, such as the the ones from Rotacaster. I am using a compass sensor to allow the robot to be remote controlled on an absolute grid using Connexion’s Space Navigator. This 3D input devices can be mapped to the unique movements and rotations of a holonomic robot.
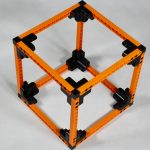
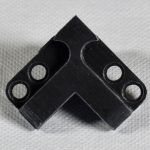
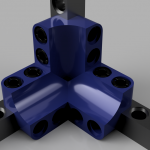
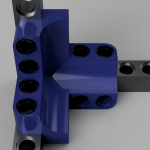
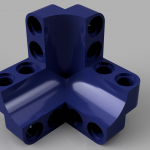
Connecting LEGO Technic beams in three dimensions remains a difficult task. While it has become easy to connect beams in one and two dimensions, it remains difficult to extend this to the third dimension.
I first designed a new LEGO Technic connector that features pins. The design was compact and stable, put the pins were too fragile. It was also very difficult to get the support material out from the holes.
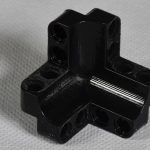
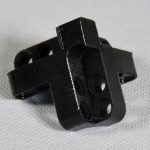
My second design had no pins but still the option to firmly hold a technic beam. With this new 3D printed corner part it is possible to build a perfectly stable cube with a minimum of parts. The additional holes provide options for further strengthening the cube or to connect other parts to the cube.
Racing LEGO cars down a ramp is a popular attraction not only in the LEGOLAND Parks, but also at Brickshows and classrooms around the world. The physics around the race are well understood, but experiencing them in practice is a great learning experience for students.
We setup a little ramp race at home and I would like to share our setup and results with you. We put two base plates together as the ramp and inclined it at ten degrees. We then measured four meters from the starting point up the ramp to the finishing line.
Of course, you can race multiple cars at the same time but then you might encounter collisions and photo finishes too close to call. A reliable and precise measuring system is a much better solution. The SpeedClock App is just what you need. It allows you to measure the speed of a car with a smartphone. You can for example place the phone at the end of the ramp to measure the LEGO car’s maximum speed. You can also synchronize two phones running the app and measure between a start and finish gate. We tried both methods. All races were completed three times and the times and speeds reported are averages.
We started with a typical LEGO car (150gr) and it took it 4.42 seconds to complete the four meter distance. We then started to use my special Ramp Racer. It uses Mindsensor’s ball bearings, large wheels and a heavy battery pack (324gr). It’s maximum speed was 4.3 km/h and it took 3.4 seconds to complete the four meters distance. The same car without the batteries (148gr) had a maximum speed of 4.06 km/h and it took 4.2 seconds to complete the full track. Last we tested the Ramp Races with another set of wheels for which I also had rubber tires. With the rubber tires it took 3.7 seconds to complete the race and 3.6 seconds without.
In conclusion, the ball bearings make the car significantly faster and large hard wheels are best. The heavy batteries conserve the kinetic energy and result in a winning car. For a fair competition a maximum weight should be set. Since the ball bearings used were not from the LEGO company a policy on using third party parts is also advisable.