Racing LEGO cars down a ramp is a popular attraction not only in the LEGOLAND Parks, but also at Brickshows and classrooms around the world. The physics around the race are well understood, but experiencing them in practice is a great learning experience for students.
We setup a little ramp race at home and I would like to share our setup and results with you. We put two base plates together as the ramp and inclined it at ten degrees. We then measured four meters from the starting point up the ramp to the finishing line.
Of course, you can race multiple cars at the same time but then you might encounter collisions and photo finishes too close to call. A reliable and precise measuring system is a much better solution. The SpeedClock App is just what you need. It allows you to measure the speed of a car with a smartphone. You can for example place the phone at the end of the ramp to measure the LEGO car’s maximum speed. You can also synchronize two phones running the app and measure between a start and finish gate. We tried both methods. All races were completed three times and the times and speeds reported are averages.
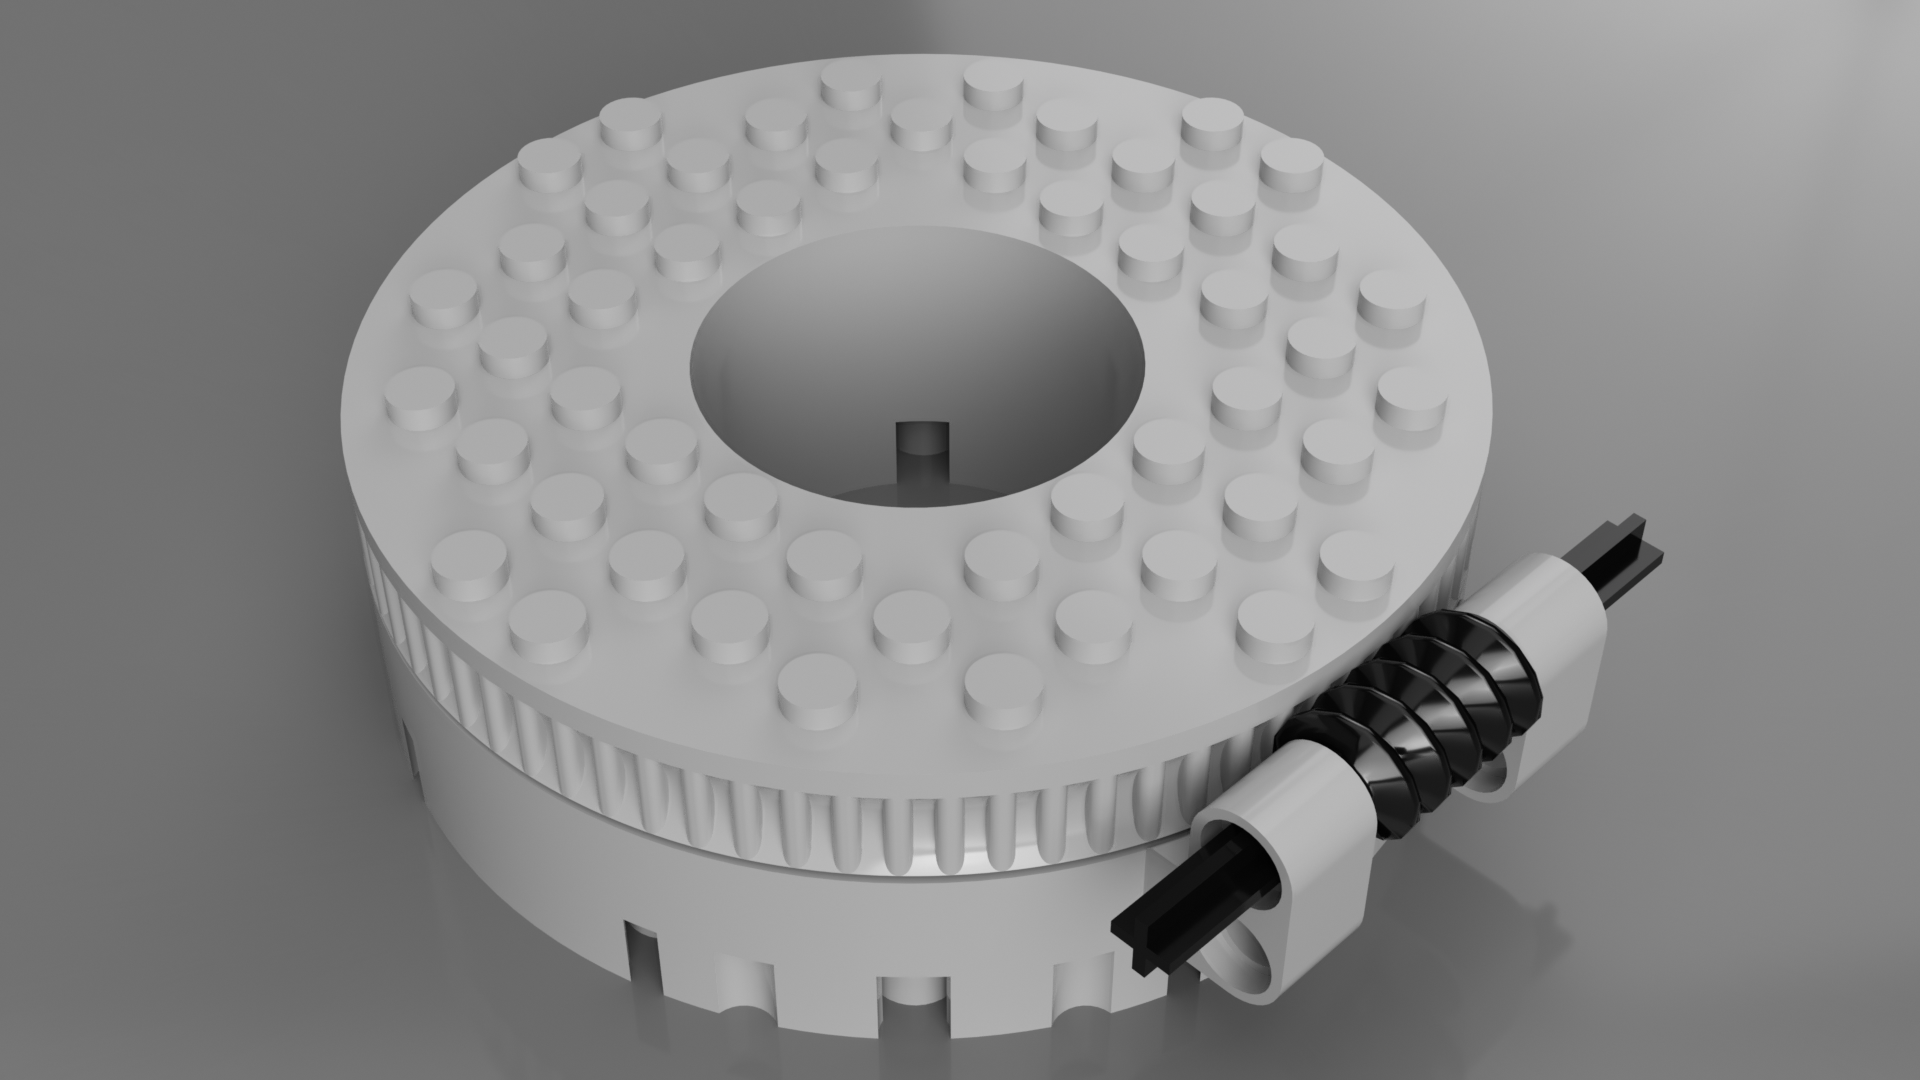
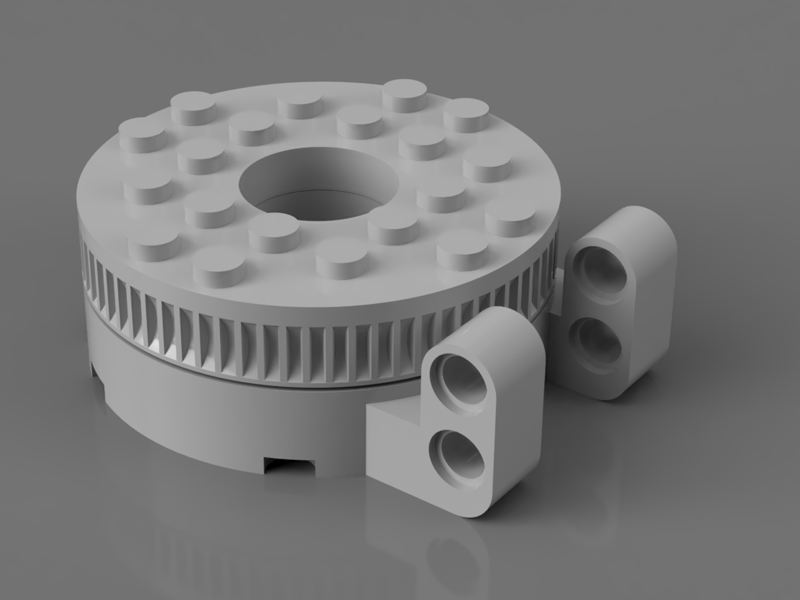
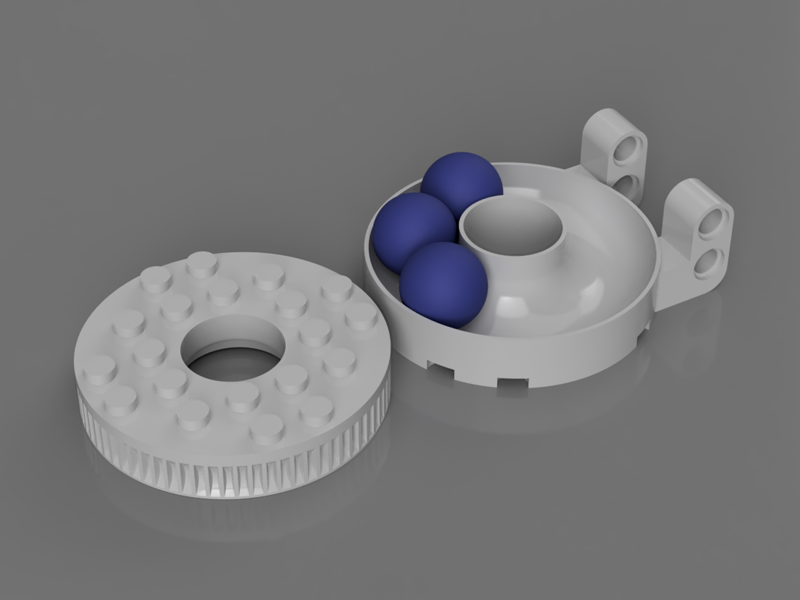
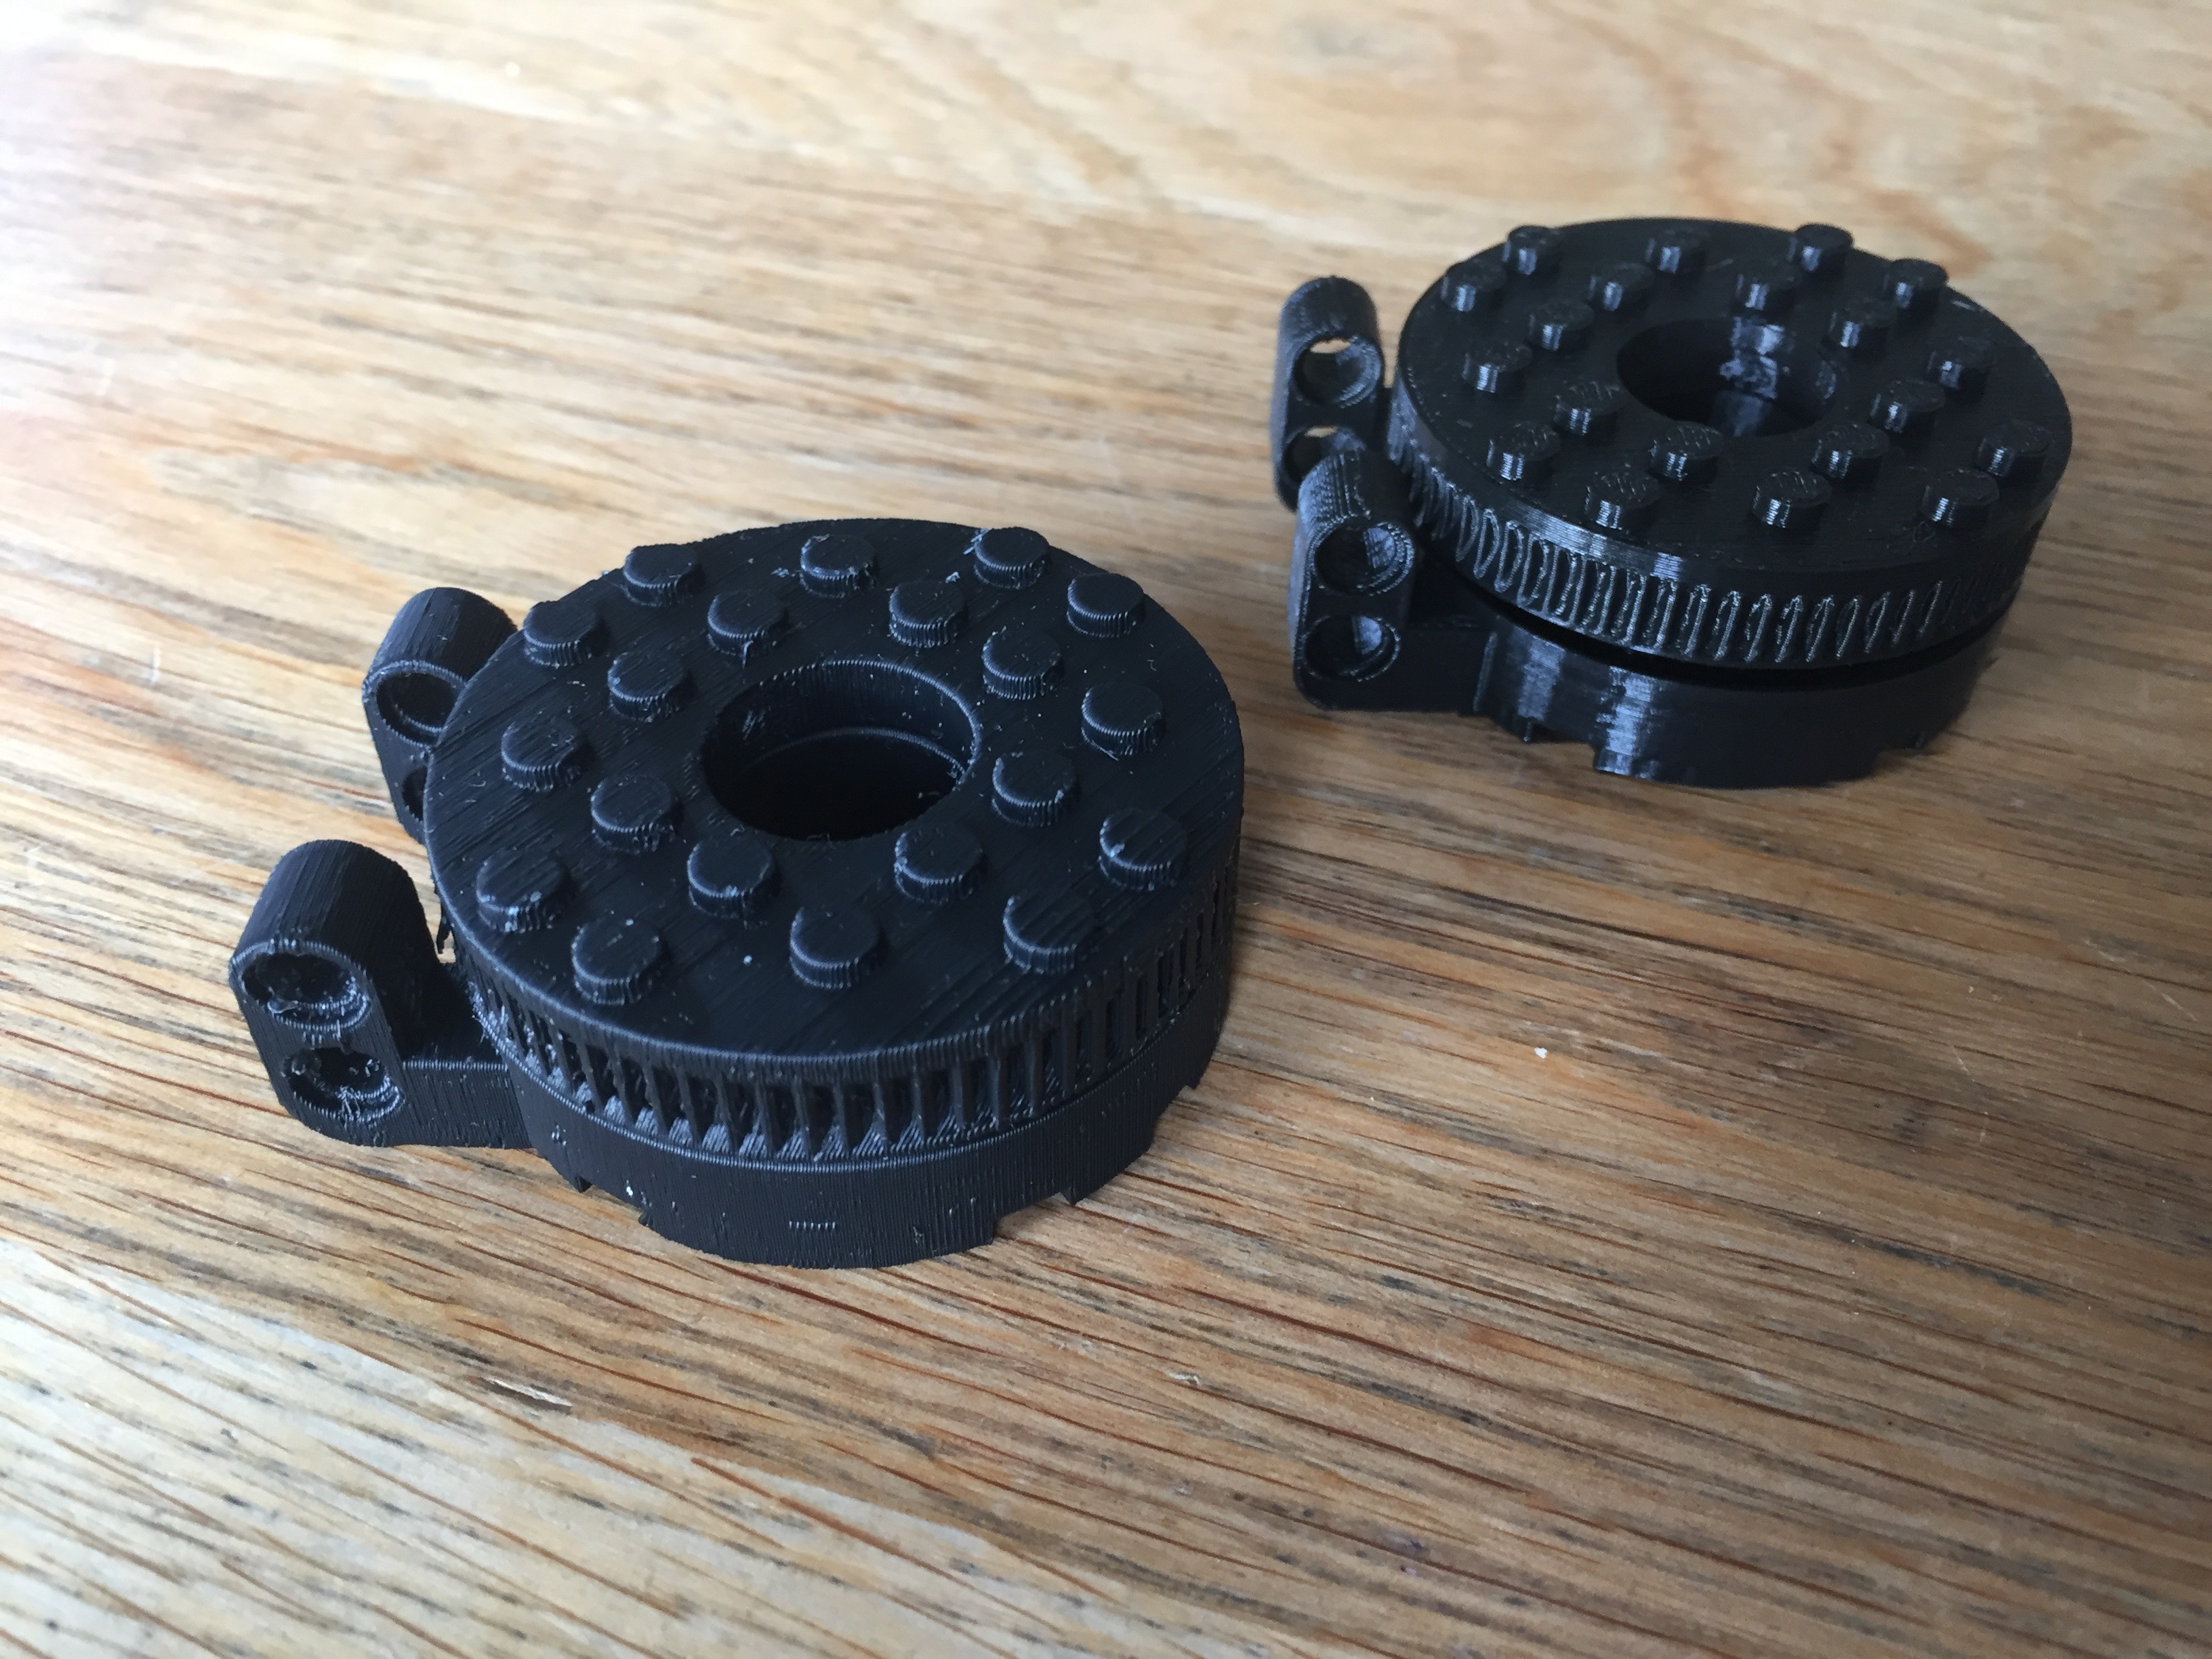
We started with a typical LEGO car (150gr) and it took it 4.42 seconds to complete the four meter distance. We then started to use my special Ramp Racer. It uses Mindsensor’s ball bearings, large wheels and a heavy battery pack (324gr). It’s maximum speed was 4.3 km/h and it took 3.4 seconds to complete the four meters distance. The same car without the batteries (148gr) had a maximum speed of 4.06 km/h and it took 4.2 seconds to complete the full track. Last we tested the Ramp Races with another set of wheels for which I also had rubber tires. With the rubber tires it took 3.7 seconds to complete the race and 3.6 seconds without.
In conclusion, the ball bearings make the car significantly faster and large hard wheels are best. The heavy batteries conserve the kinetic energy and result in a winning car. For a fair competition a maximum weight should be set. Since the ball bearings used were not from the LEGO company a policy on using third party parts is also advisable.