Creating a custom Minifigure in Stud.io – The Case of Bill and Mary

Tutorial on creating custom digital LEGO Minifigures.

I used to own LEGO Ideas Book 6000 when I was a child and still own a copy. The two main characters in this story, Bill and Mary, are not available in any of the major LEGO digital design software packages, such as LEGO Digital Designer, Stud.io or Mecabricks. Time to learn something new. This tutorial will show you how to create your own custom digital LEGO Minifigure.

Frist, I had to create the decals for both figures, since the original minifigures had stickers. I used Adobe Illustrator to create the graphics and Bricklink’s PartDesigner to create the custom LEGO parts.

For the decal design, I used  some of the available shape templates. PartDesigner’s manual has the specific dimensions: 605×512 pixels. So let’s start with creating a new Illustrator document with these dimensions.

Next, we create the artwork without a background layer, since this will give us transparency later.

Now it is time to export the graphics as a png file.

Download and install PartDesigner. When you create a new document, use the minifigure template.

Click on the little mountain icons on the torso and select the PNG file we just created.

Add the model to the viewport.


We can now delete the legs, arms and head.

Next, it is time to safe the new part, ideally with its official LEGO number.

Only the torso of Bill and Mary are unique and I uploaded 973bp0386.part (Bill’s torso) and 973pb0385.part (Mary’s torso) to my website.

Now, we can export the parts to Stud.io. Make sure that you give the part meaningful names and include the proper LEGO ID number is the optional section.

In studio, we have to select the custom parts library.

We can search now for Bill and find this part.

Drag and drop the torso into the scene and add the other parts to the model. The complete model is available for download here.

Now we can add some original models from the LEGO Idea Book 6000, some roads and greenery and we have a perfect first shot.

I hope you enjoyed this little tutorial on how to create custom digital minifigures.

LEGO Resin Casting Brick in a Brick

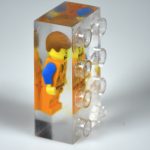
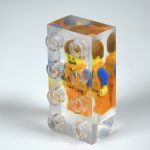
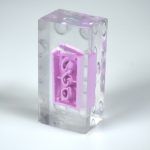
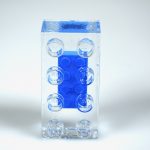
This video will show you how to create your own LEGO bricks that enclose other LEGO bricks. I used the polyester resin pouring method to create the brick by utilising a silicon based mould. These step by step instructions help you to create your own LEGO brick. This is an ideal present for all your AFOL friends.

Here are some more photos of the models I made:

New LEGO Color Guide Published

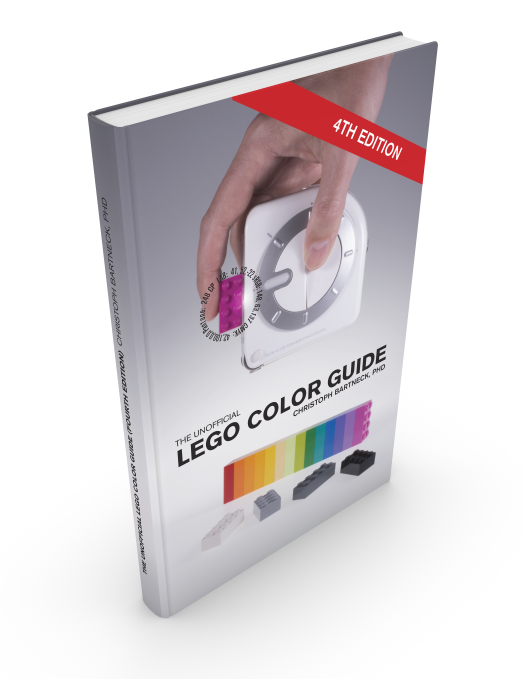
I am proud to announce that the fourth edition of the Unofficial LEGO Color Guide is now available. The printed book is available as a paperback and hardcover from Amazon and other resellers. An eBook (PDF) is available from Lulu. The paper printing process has a limited color space and hence I recommend the PDF if you need to have best possible representation. Head over to Minifigure.org for more details on the book.

New Zealand Record for longest LEGO train track

New Zealand LEGO train track record.

Today we set the New Zealand record for the longest LEGO train track at the University of Canterbury’s library with the help of LUG 4/2. We achieve 230.5 meters, including bridges, tunnels and other features.

I took a 360 panoramic video with my Ricoh Theta camera. You can enjoy the 4K spherical video here:

Photos from the event are available over at Flickr.

New artwork for LEGO 18836pb04 shield

A drawing of the 18836pb04 LEGO shield.

The LEGO Classic Castle shield 18836pb04 is part of the collectible Minifigures series. Time to create a new drawing of the artwork. I have to find a way how to incorporate this new shield in my previous poster and t-shirt.

18836pb04-lego-shield