
It was time to improve the performance of this Raspberry C64 Pi computer by adding the official regulated fan to the case. I also added a USB audio adapter to improve the sound quality. With these two inexpensive upgrades, the Raspberry Pi performs much better and the audio quality is much improved.
Tag: C64
Keyboard Mapping of C64/VIC-20 on Raspbian
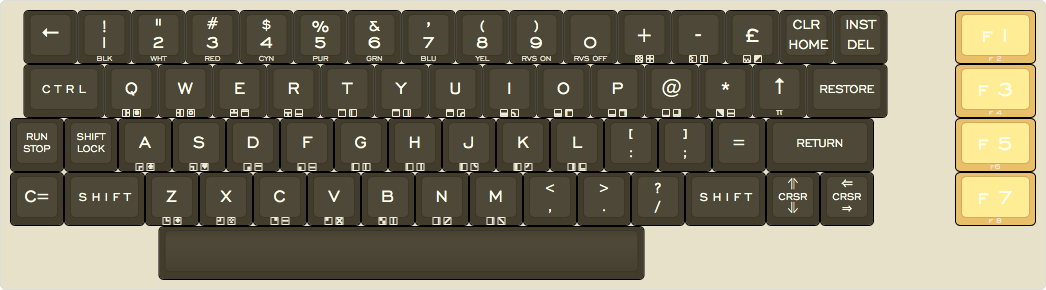
Keyboard mapping of the C64 Maxi keyboard.
After I integrated a Raspberry Pi 4 into a C64 Maxi, I wanted to start actually using it. Once I got my fingers onto the keyboard I realised that what is printed on the keys is not what would appear on the screen. Here is what is printed on the keys:
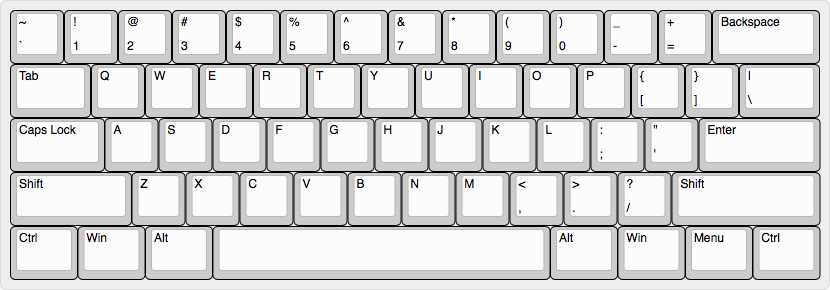
The layout of the C64 keyboard does not follow the ANSI standard. It even has some keys that related back to programming in BASIC, such as RESTORE and RUN STOP. Here is what a typical 60% keyboard would look like:
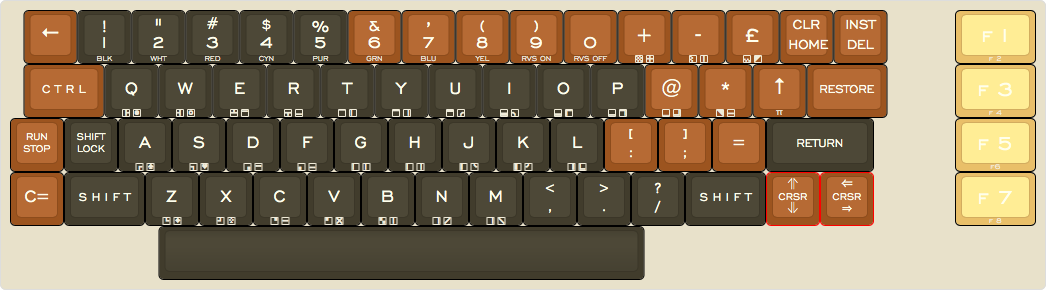
The difference between the two is market here:
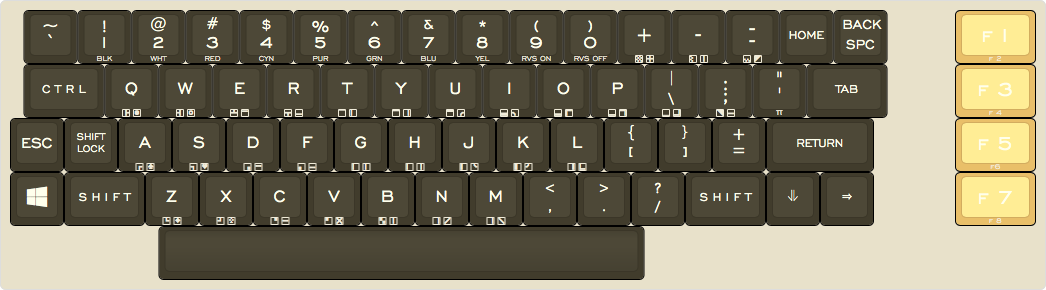
Some keys produce the expected result while other have a very different function. Here is what the actual input is when you press the keys in Raspbian using the ANSI 104 (US) keyboard layout in the settings:
It would be great if there was an easy way to re-map the keys but this would require a little bit of work on the command line and in several configuration files. Still, it would be great to have an actual Cursor UP and Cursor LEFT key. I will look into this.
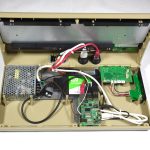
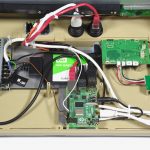
Raspberry C64 Pi Computer
Running A Raspberry Pi 4 in a C64 case with fully functional keyboard and USB hub.
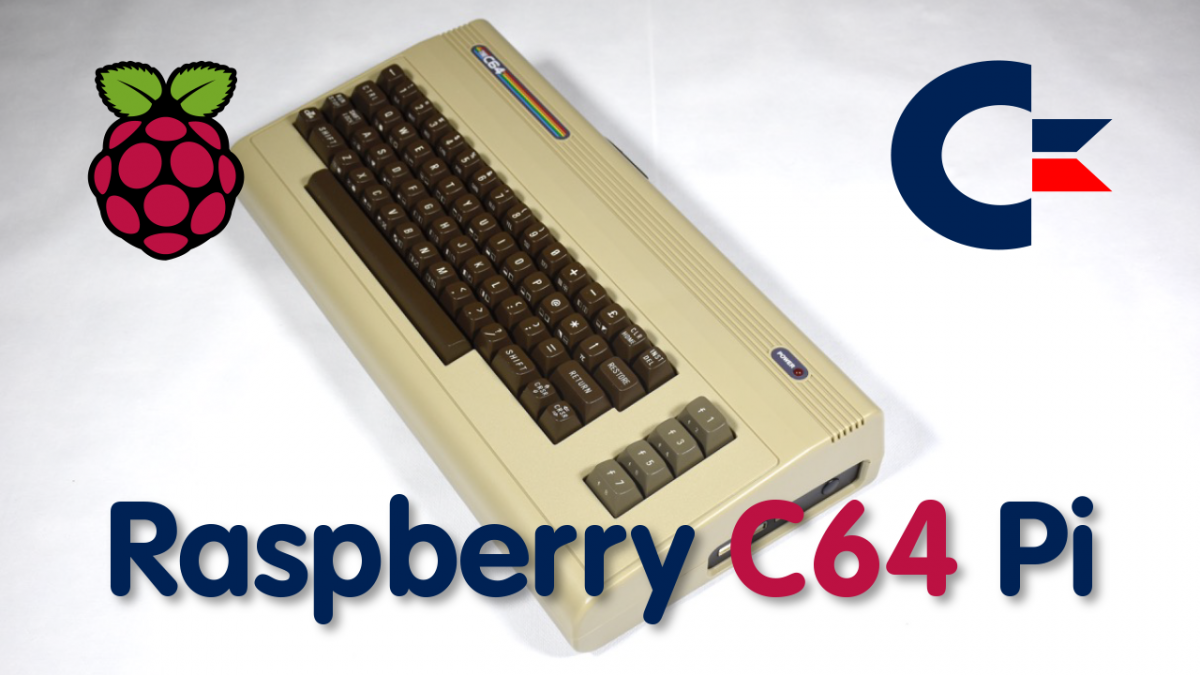
I integrated a Raspberry Pi 4 into a Commodore C64 Maxi case. The Pi uses the integrated keyboard and the USB hub. An integrated power supply provides power to both, the Pi and the C64, which now run in parallel. The Raspberry Pi boots from an internal SSD drive, turning this machine into a full desktop computer that can also run Retro Pi for true retro gaming.
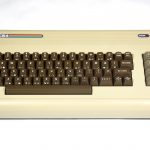
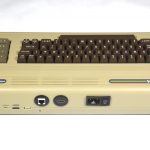
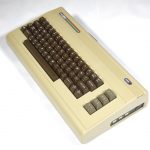
Images
Parts List
- The C64 Maxi
- Raspberry Pi 4 with 4GGB RAM
- 2.5″ Western Digital 240GB SSD
- StarTech 2.5″ SATA to USB 3.0 Adapter
- Mean Well NES-35-5, 5V 7A, Power Supply
- Adafruit HDMI Round Panel Mount Plug
- Adafruit RJ-45 Ethernet Round Panel Mount Adapter Plug
- Adafruit Panel Mount Stereo Audio Extension Cable
- Raspberry Pi Micro HDMI to Standard HDMI Cable
- JST, PH, B4B, 4 Way, 1 Row, Straight PCB Header
- JST, PH, B2B, 2 Way, 1 Row, Straight PCB Header
- Bulgin BZM27/Z0000/53B Power Switch
Instructions
- Instructions on how to boot Raspberry Pi 4 from a USB drive.
- Installing Retro Pi
Technical Drawings
The technical drawings are available here.
raspberry-c64-pi-mounting-plate